Add Customers From Dashboard
SalesPoint makes it easy to manage customer information. Adding customers is a simple process:
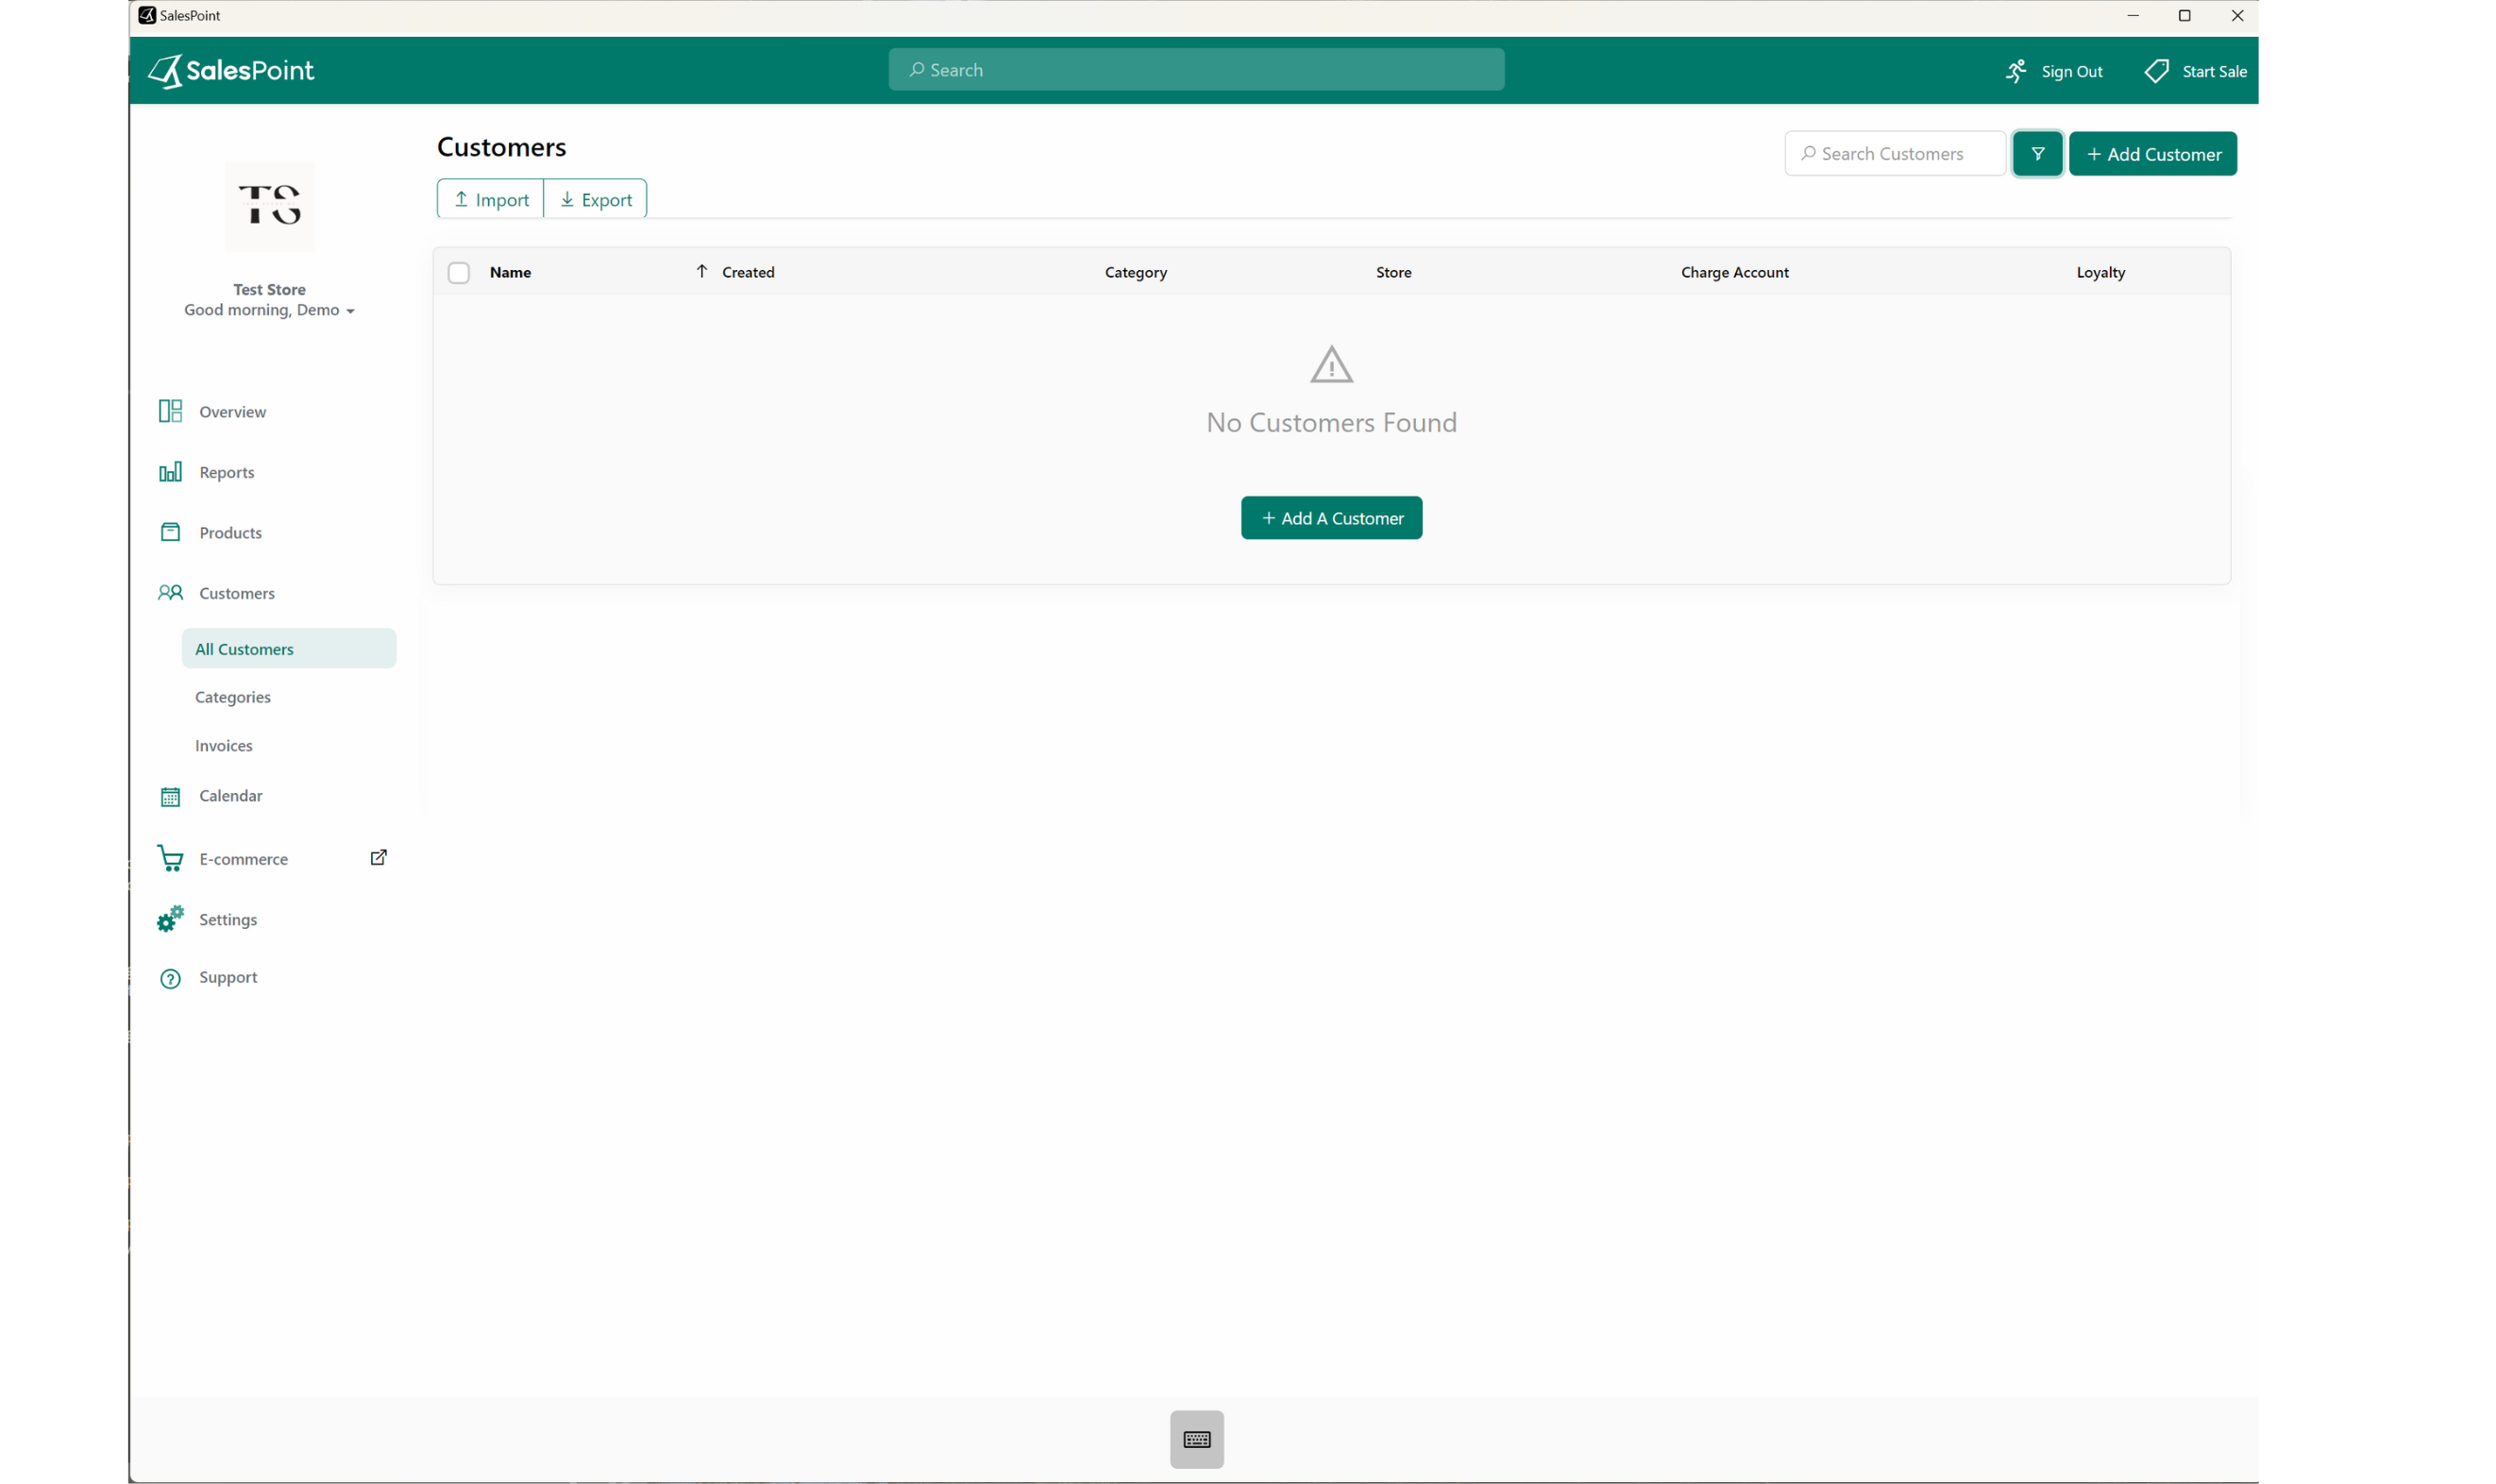
- Access the customer section by navigating to the Dashboard and selecting the "Customers" tab.
- Click the "Add" button to create a new customer profile.
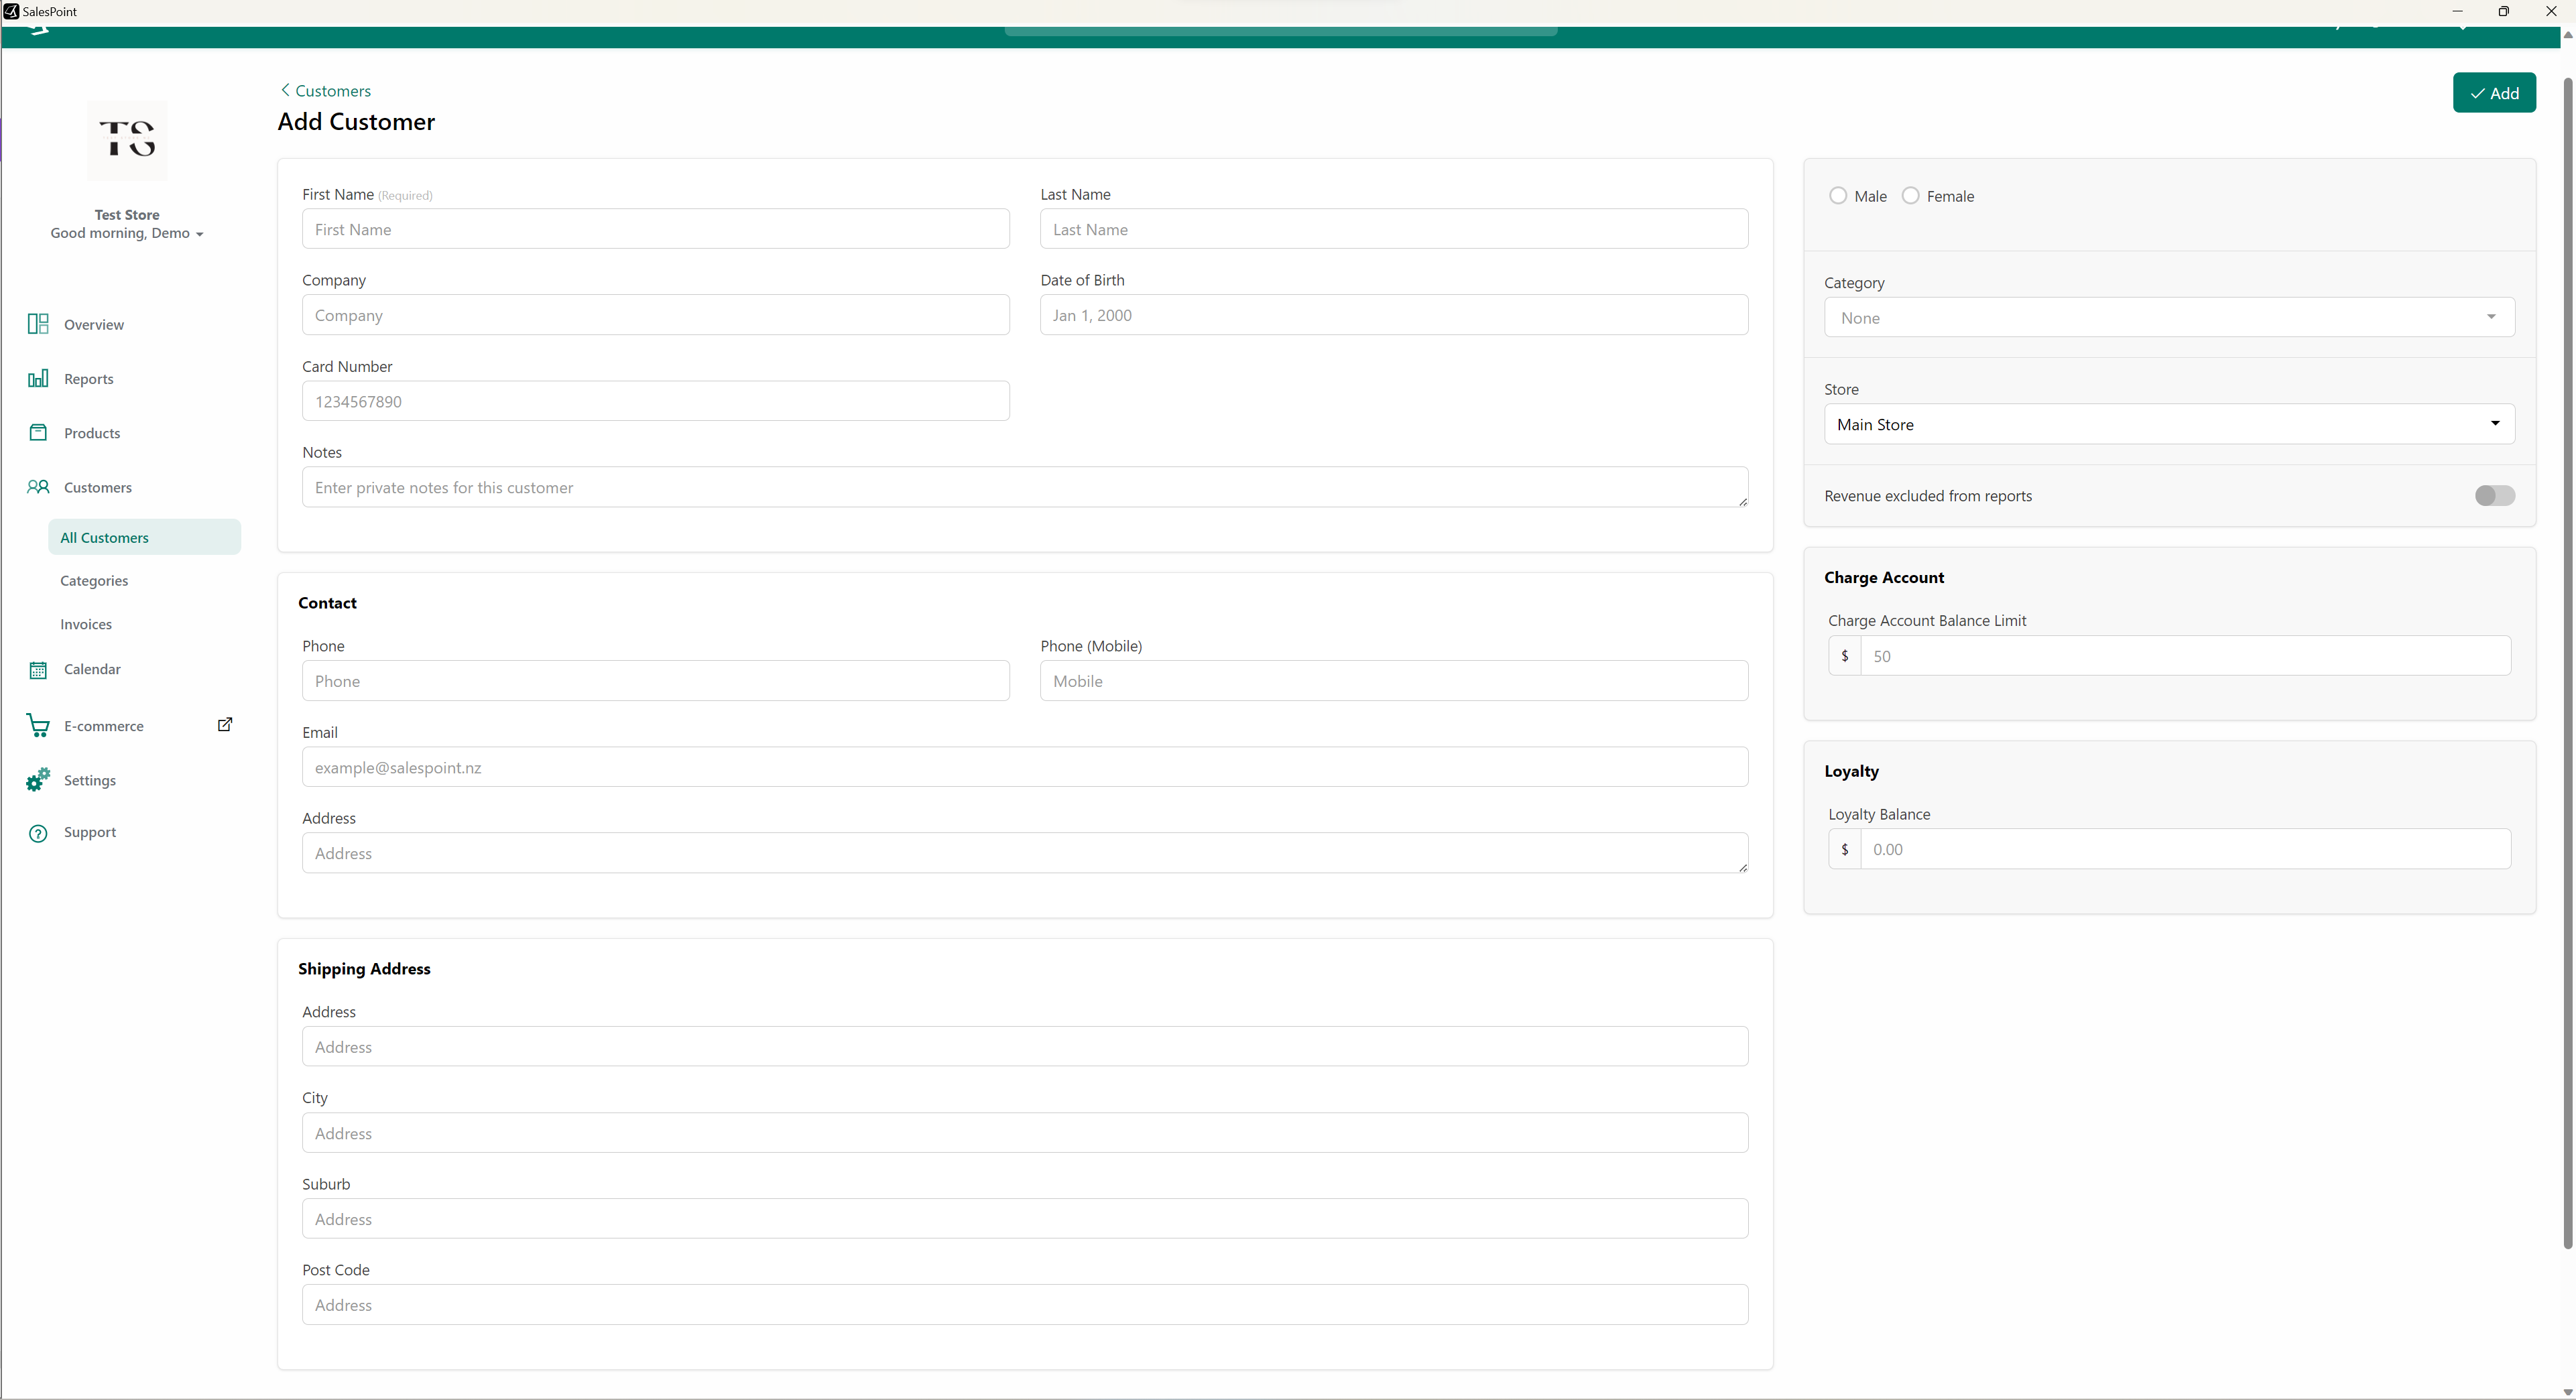
- Fill in the necessary information for the customer.
You can use the "Import" function to easily import customers from a CSV file.
Information
First Name:
Enter the customer's first name.
Last Name:
Provide the customer's last name.
Card Number:
This is a unique identifier for the customer, similar to a barcode.
Email:
Enter the customer's email address for receipts and communication.
Phone:
Add the customer's primary phone number.
Phone (Mobile):
Include the customer's mobile phone number for SMS communication.
Address:
Provide the customer's address, useful for takeaways or online orders.
Category:
Select a category for the customer, which can determine discounts.
Store:
Choose the store where this customer is registered.
Revenue Excluded From Reports:
Enable this if you want to exclude this customer's transactions from reports.
Charge Account:
Set a balance limit for customer charge accounts. Leave it blank to use the global limit (if defined).
Charge accounts must be enabled. Learn more: Set Up Customer Charge Account.
Loyalty:
Track the customer's loyalty balance.
Customer Loyalty must be enabled. Learn more: Set Up Customer Loyalty.
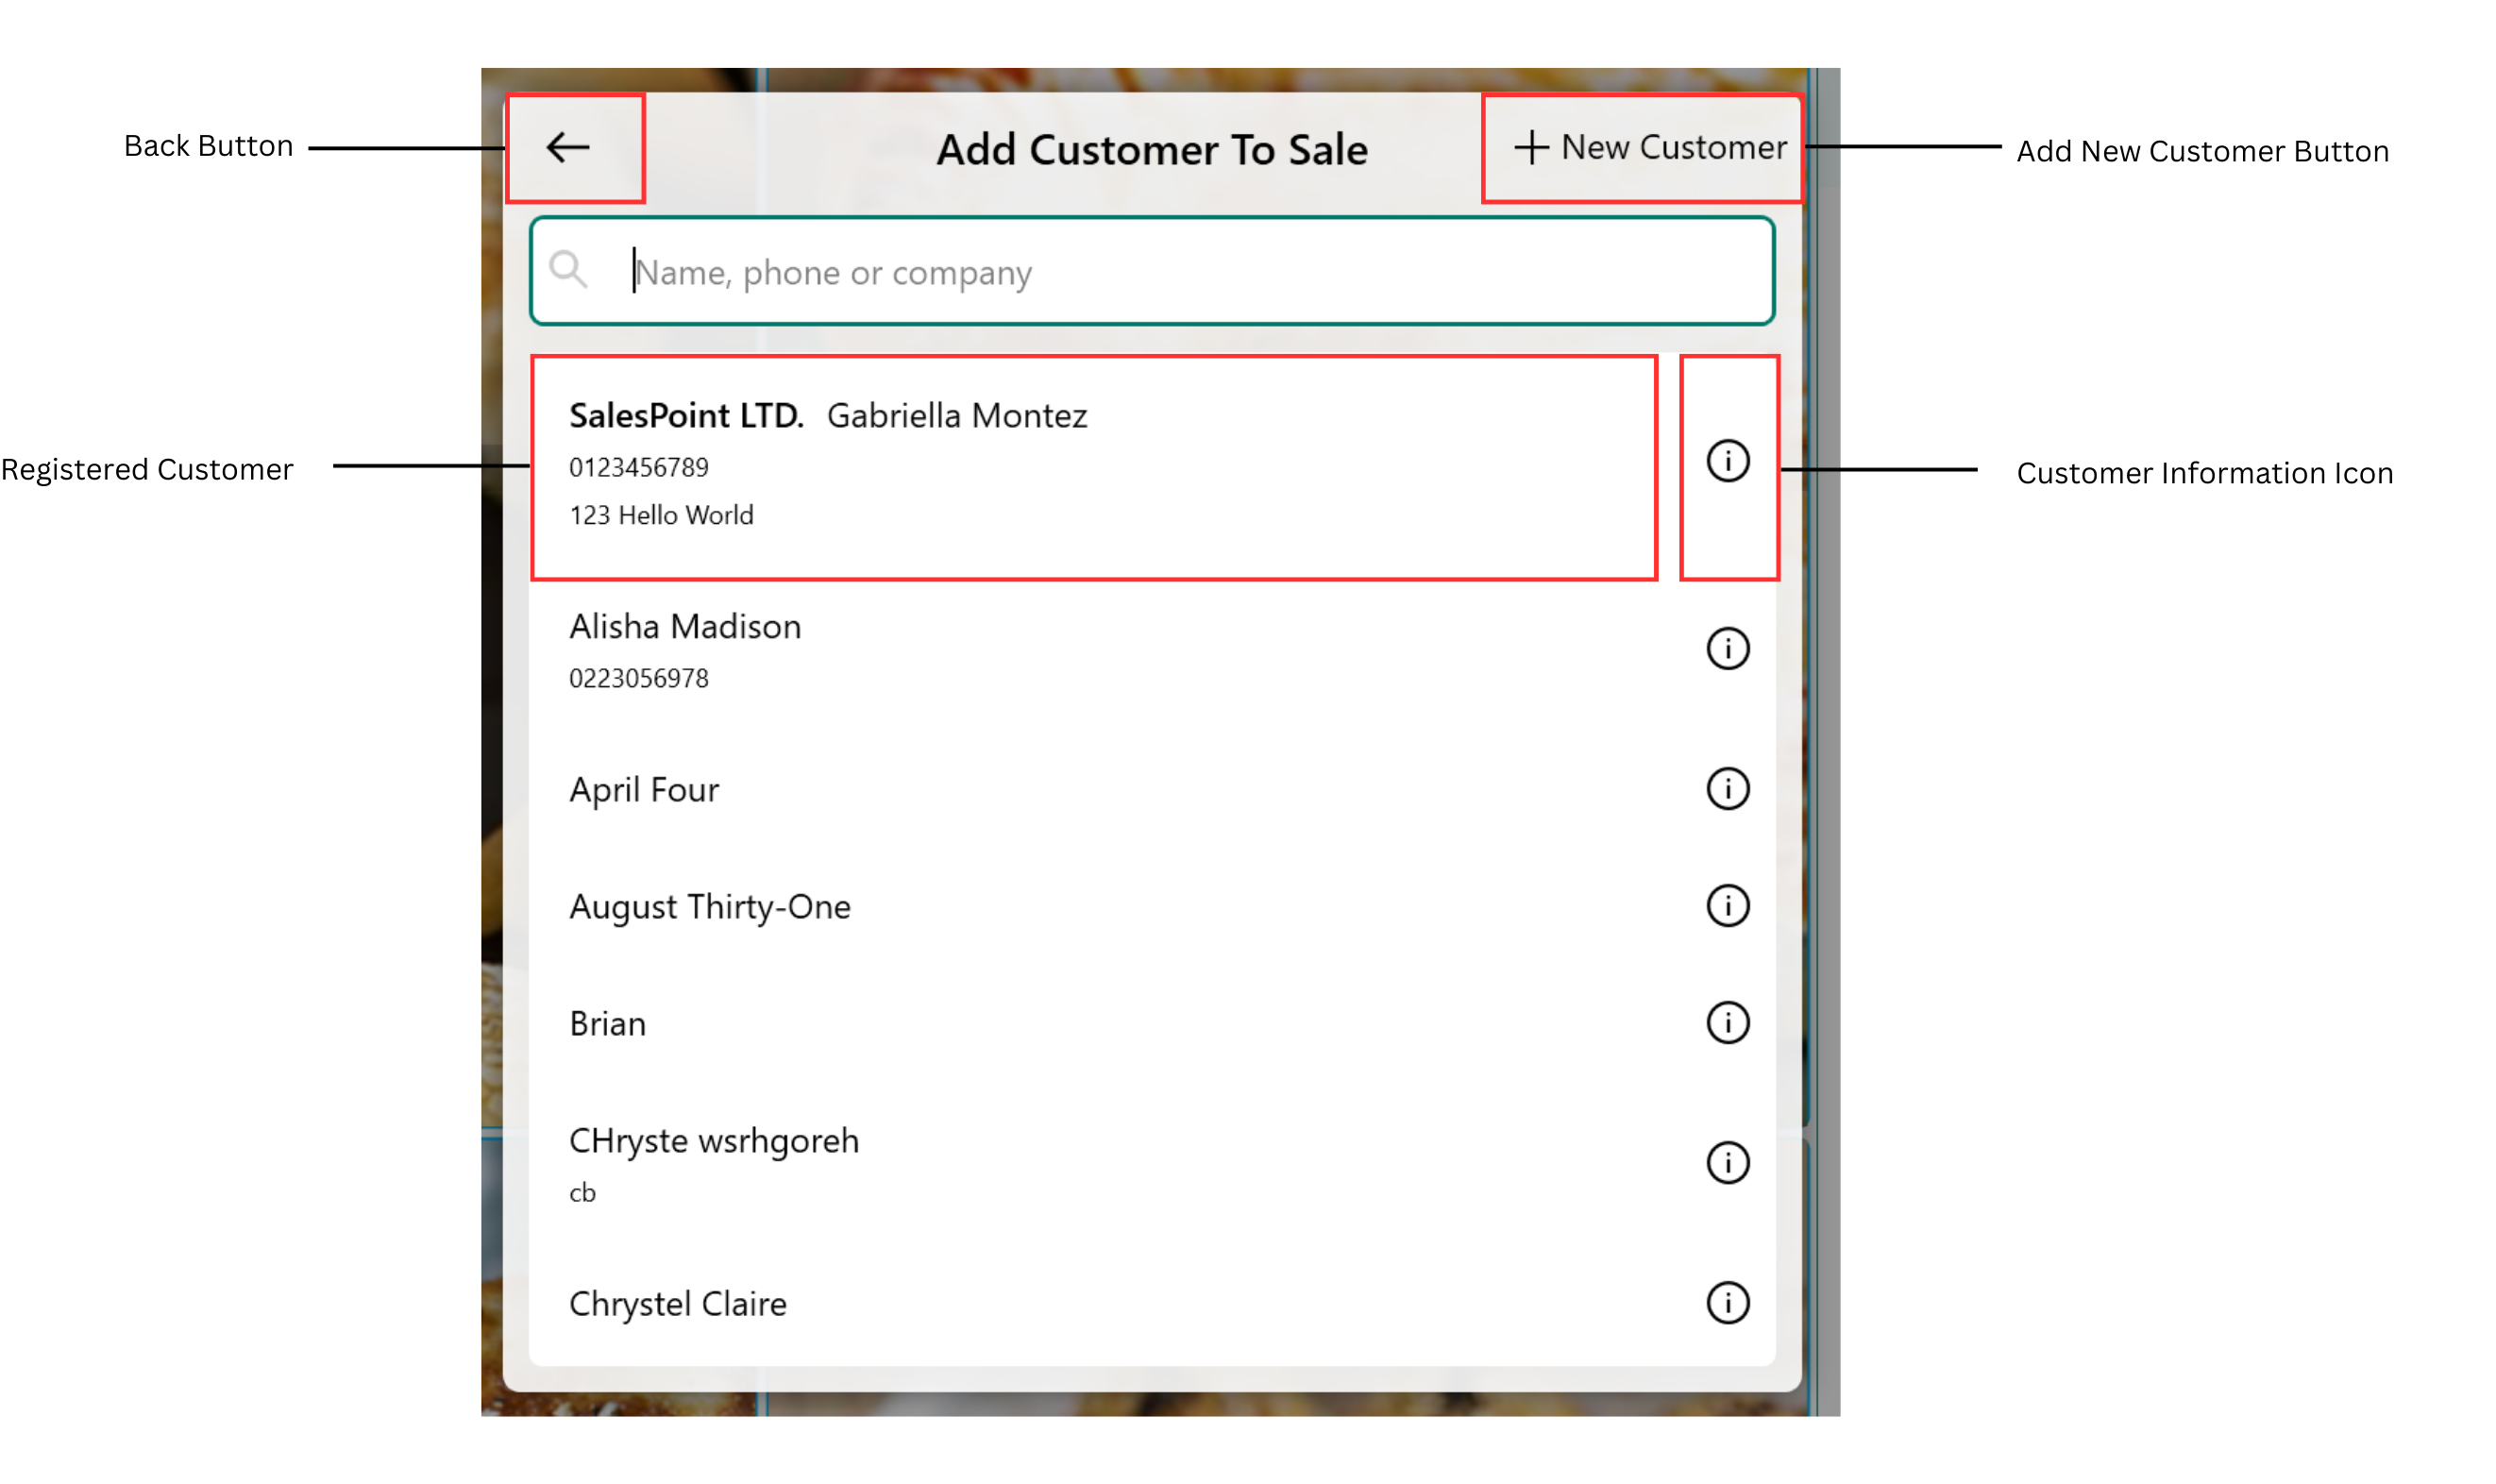
Add Customers From Sale Screen
You can also add new customers directly from the Sale Screen. Follow these steps:
- While on the sale screen, click "Customers" and select "New Customer."
- Ensure you are in a new sale, and wait a few moments for the customer to appear in the customer list.
Please note that the loyalty balance cannot be adjusted. Charge account balance, on the other hand, can be topped up on the sale screen or in the dashboard. Learn more: "Add Credit To The Customer Charge Account".
Related Articles
- Setting Up Customer Charge Account
- Setting Charge Account Limits
- Adjusting Customer Charge Account Payments
- Set Up Customer Loyalty
- Customer Bulk Update
- Create A "VIP" Customer Discount
- Generate A Customer Invoice
- Require Customer Selection for Sales Transaction
- Recreate Customer Order
- View Customer's Recent Sales
- Importing Customers to Your Store