To facilitate sales, it is necessary to utilize the SalesPoint app. This application serves as a tool for managing and conducting sales transactions efficiently.
Start a sale
To sign in, there are three options to make a sale.
Admin/Store Owner: Sign in with using the Admin Account. If you're an Admin or the Store owner and looking to make a sale, please sign in using your Username and Password. Once you've done that, you'll be redirected to the Administration Office/Back Office. From there, simply click on the Start Sale button.
Staff: Sign in with a Staff Account using Username and Password or by using Quick Code. If you're a staff member, you can also make a sale by signing in using your staff account either through your login details or by using a quick code then press the Start Sale button.
To create a quick code your staff, please visit: Quick Code Setup
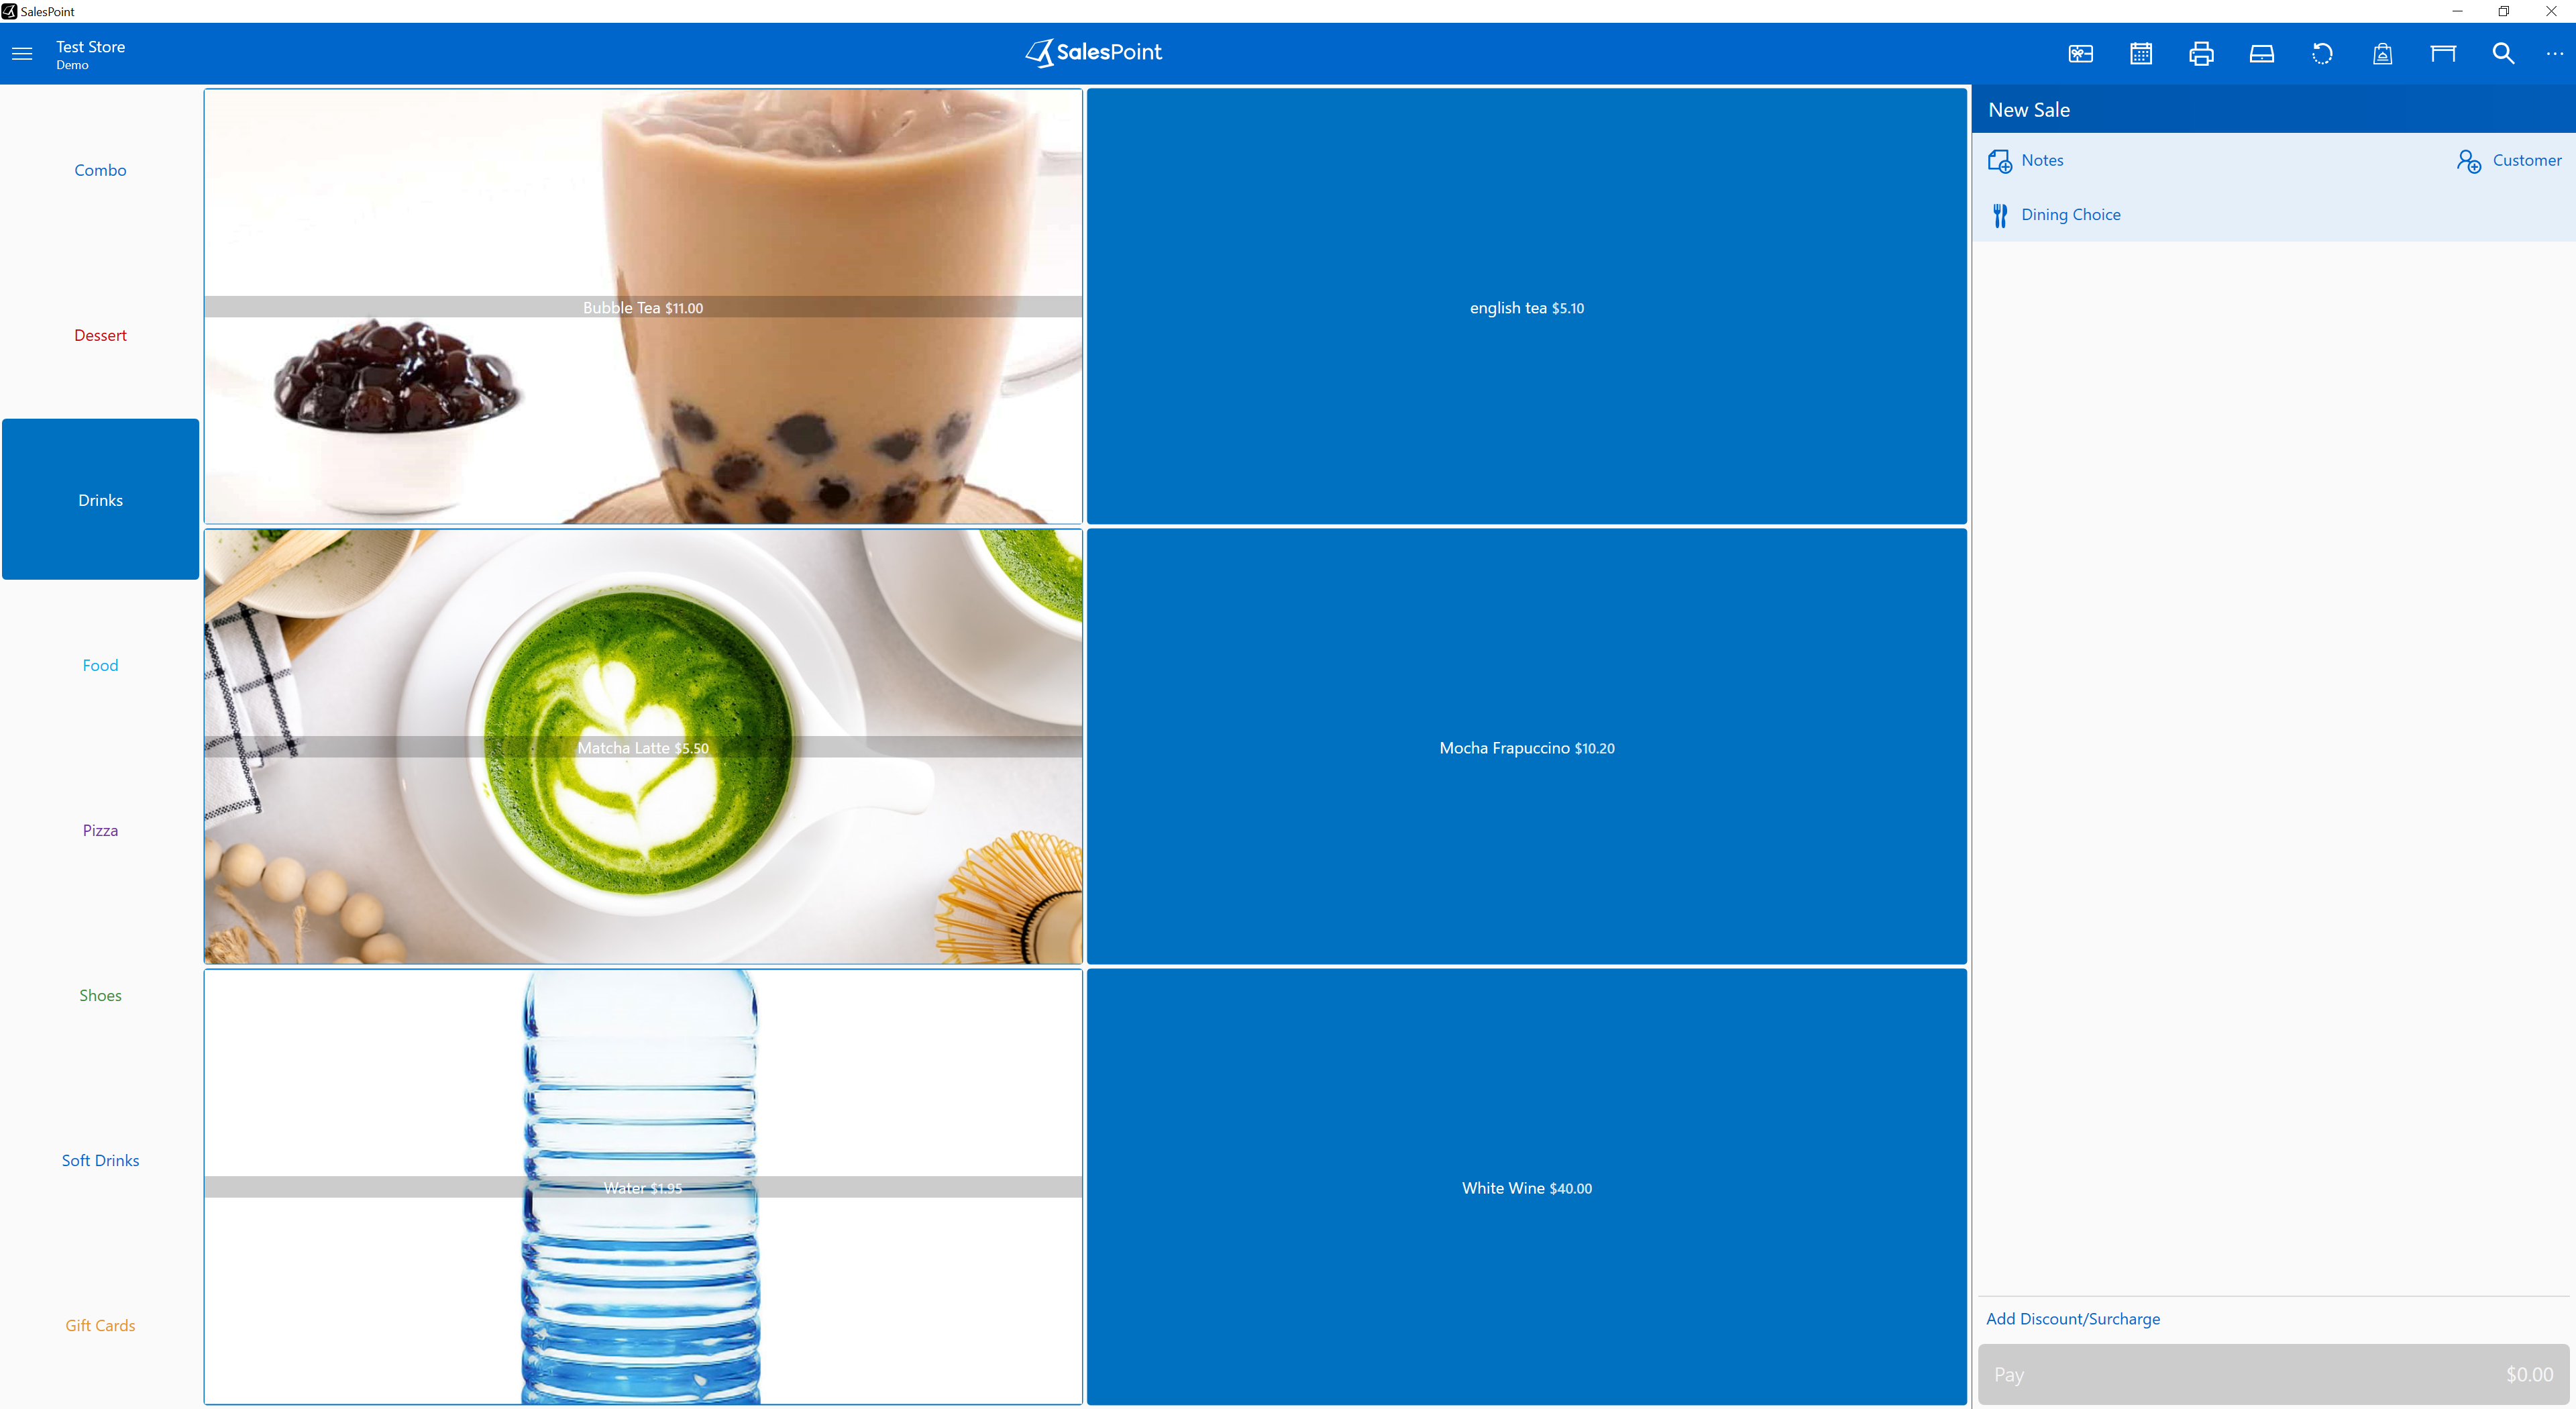
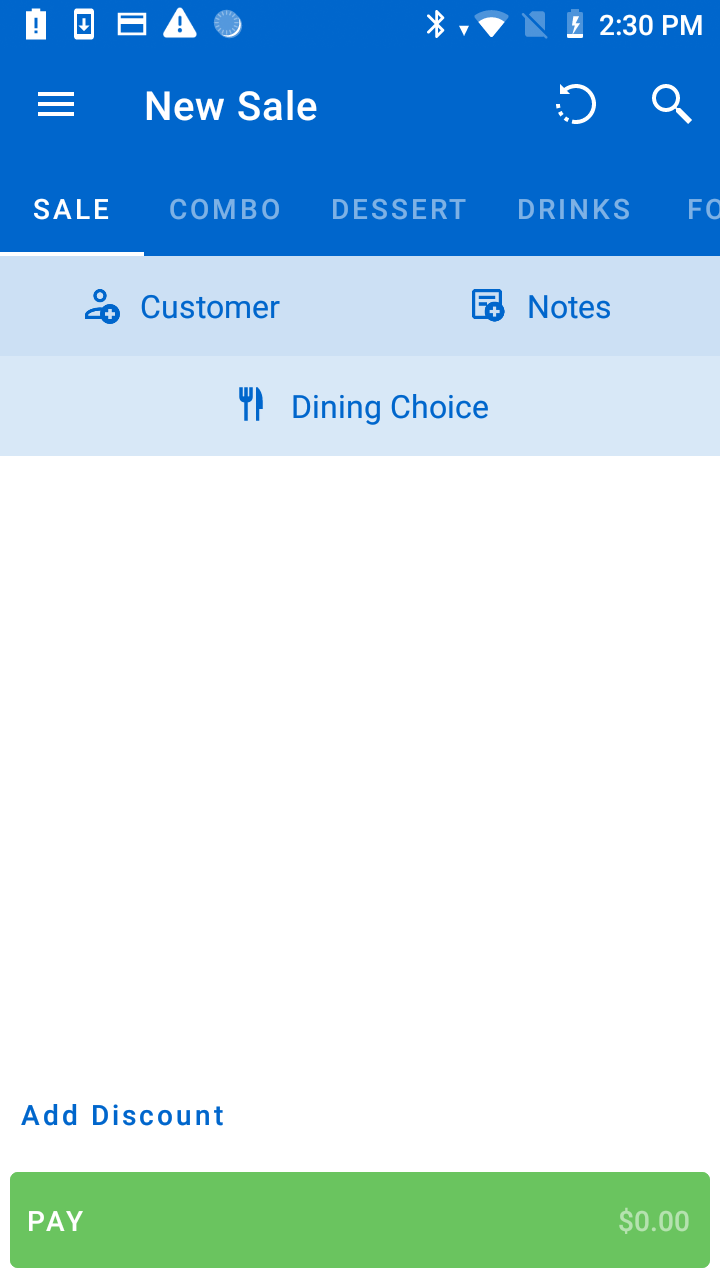
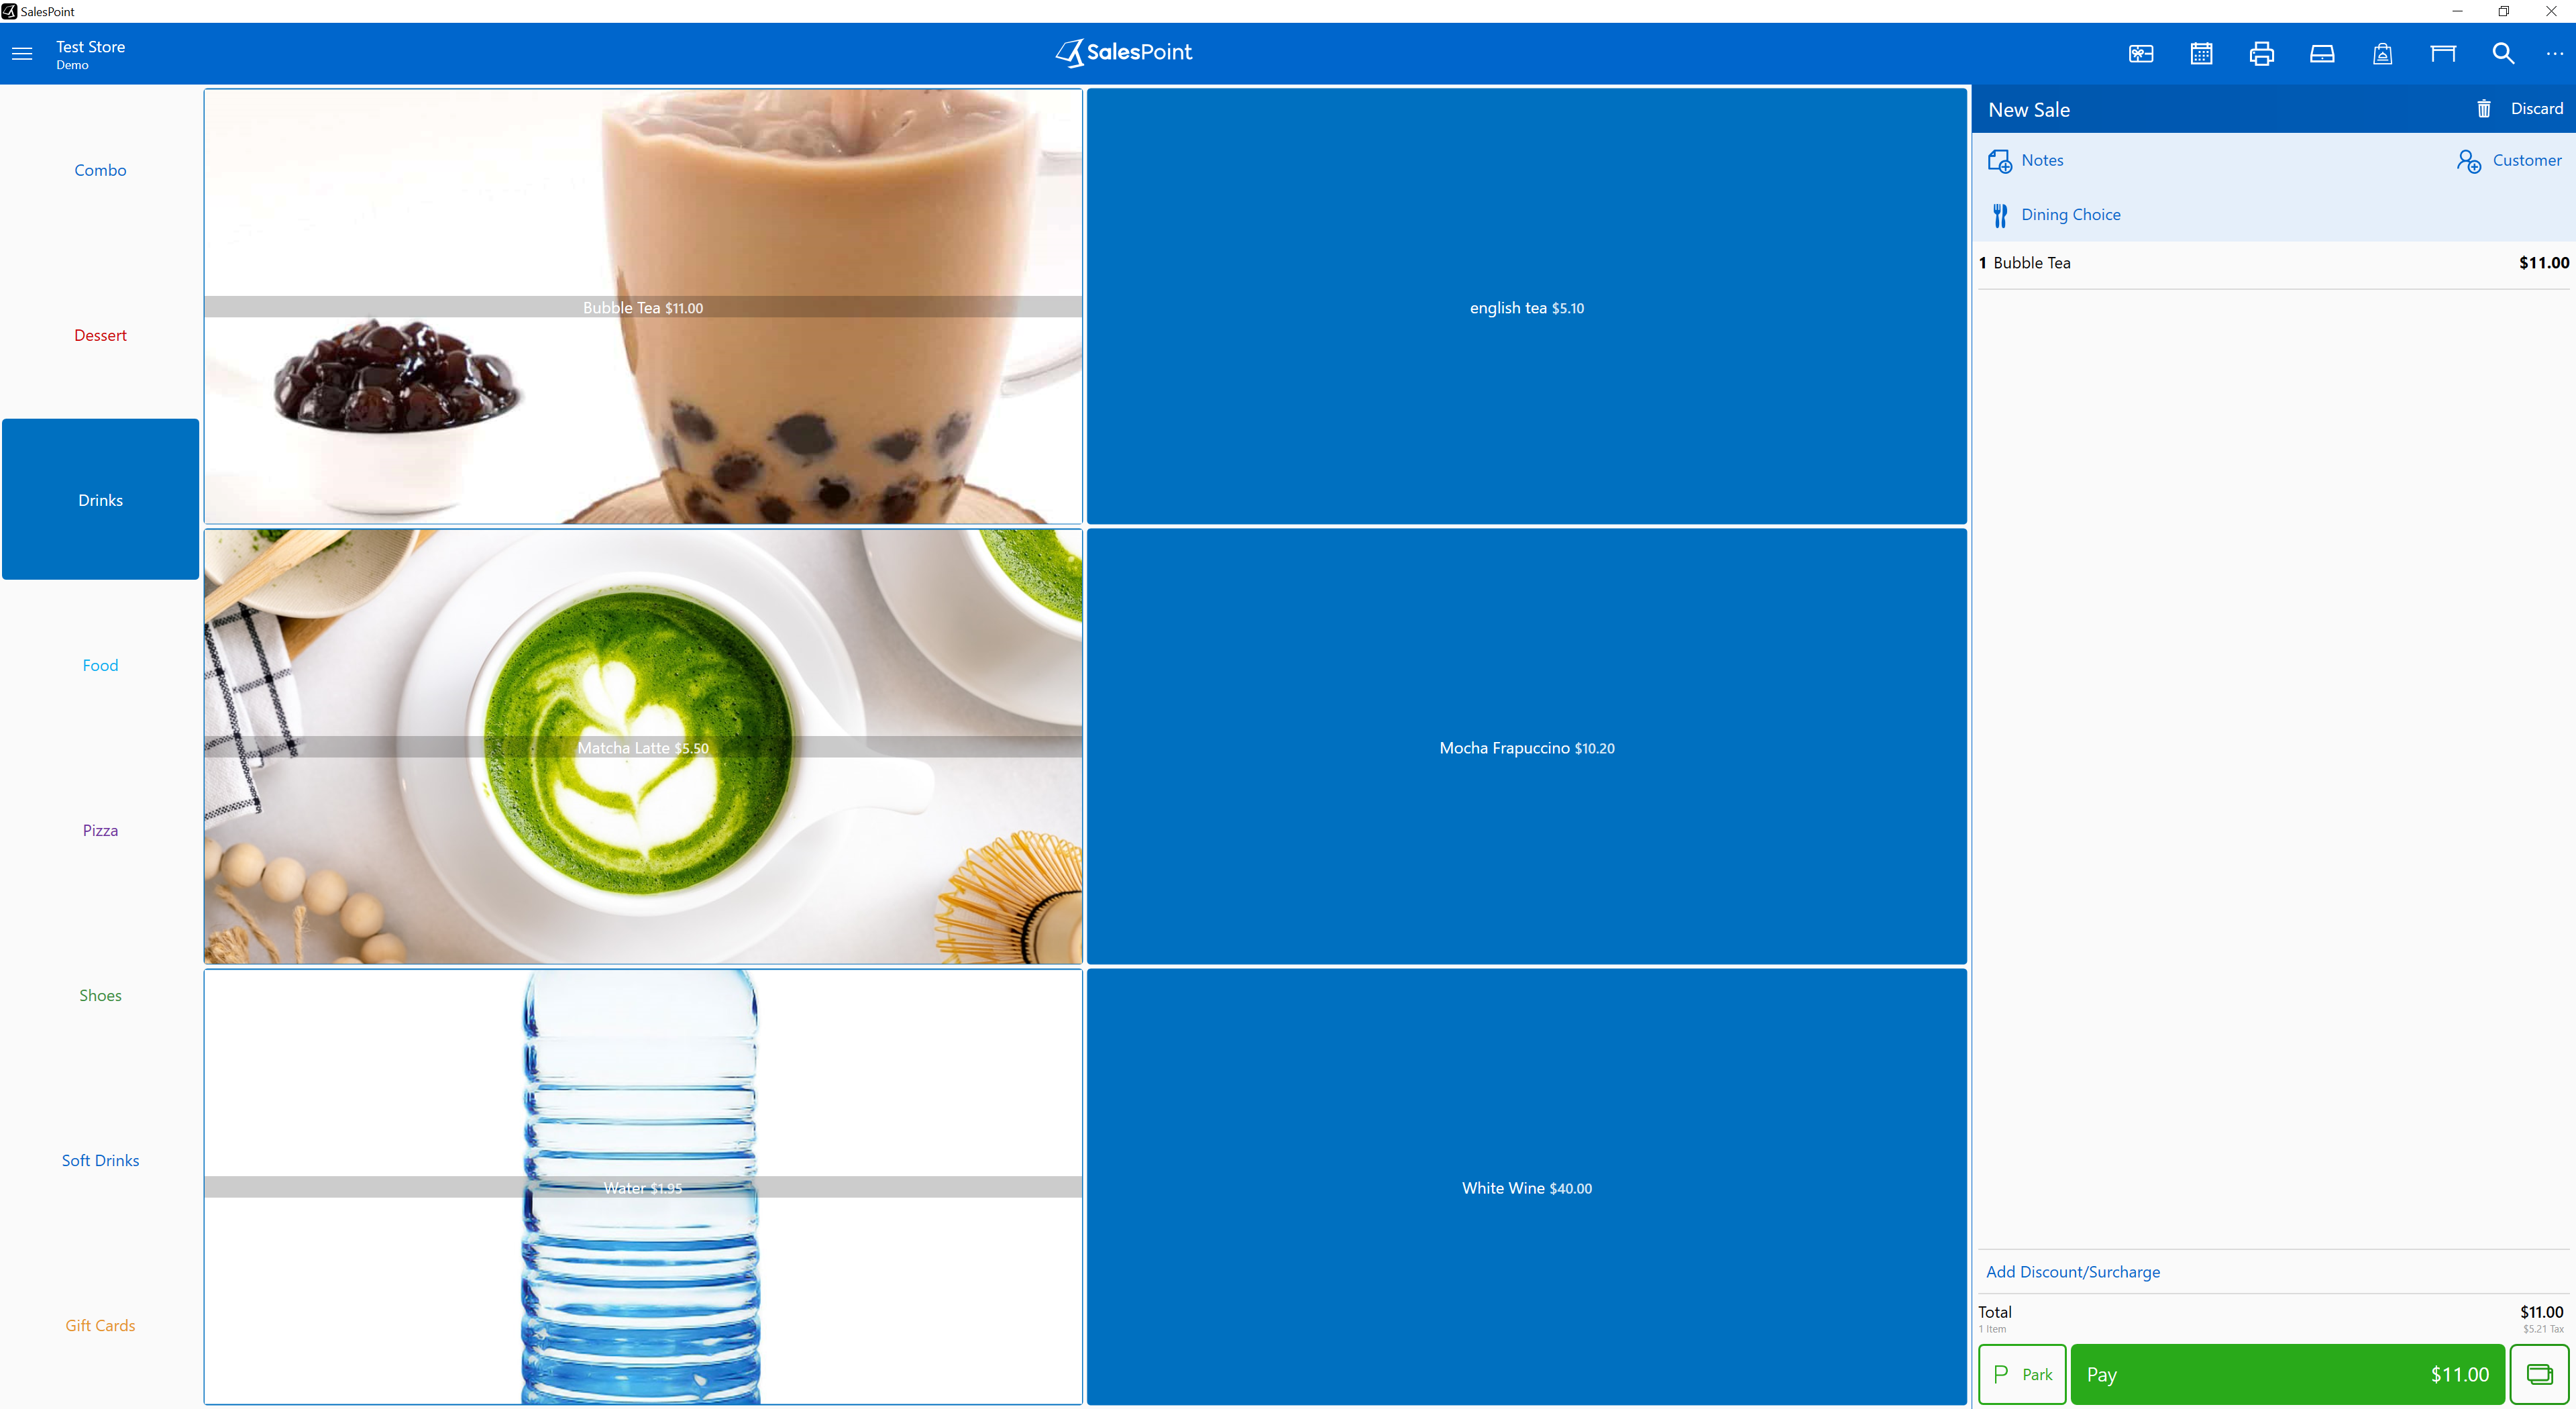
Sales screen
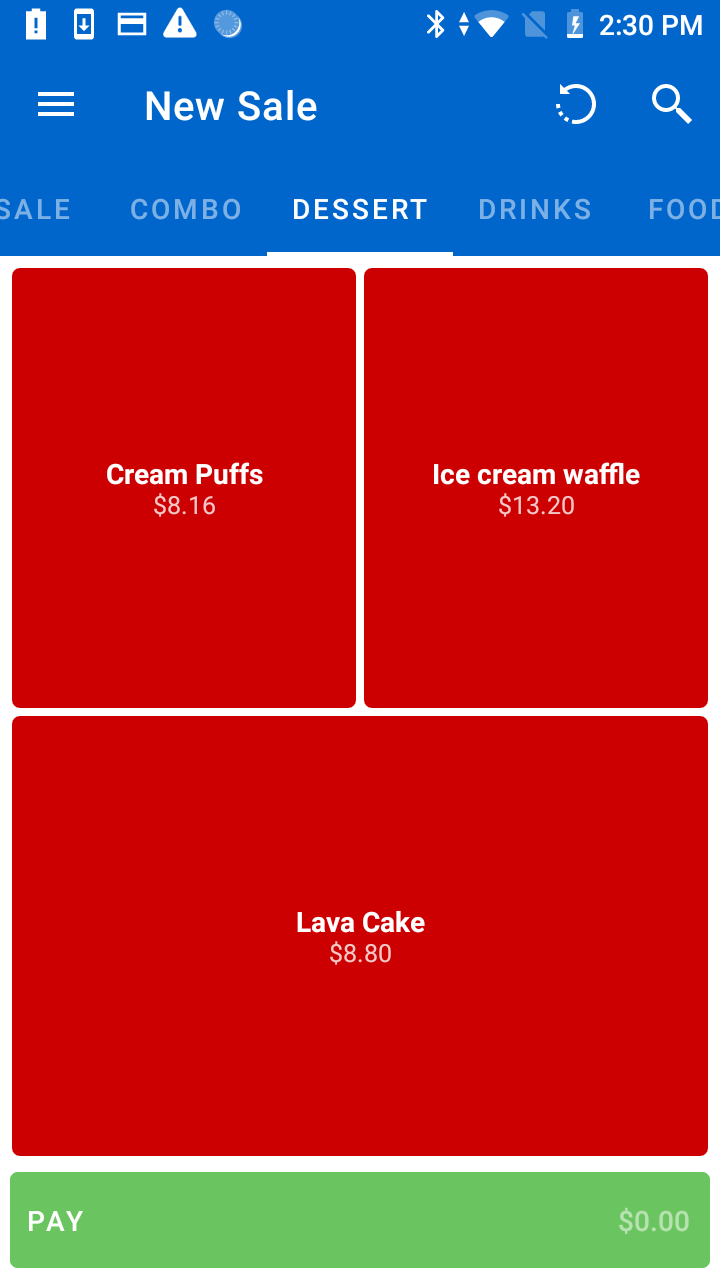
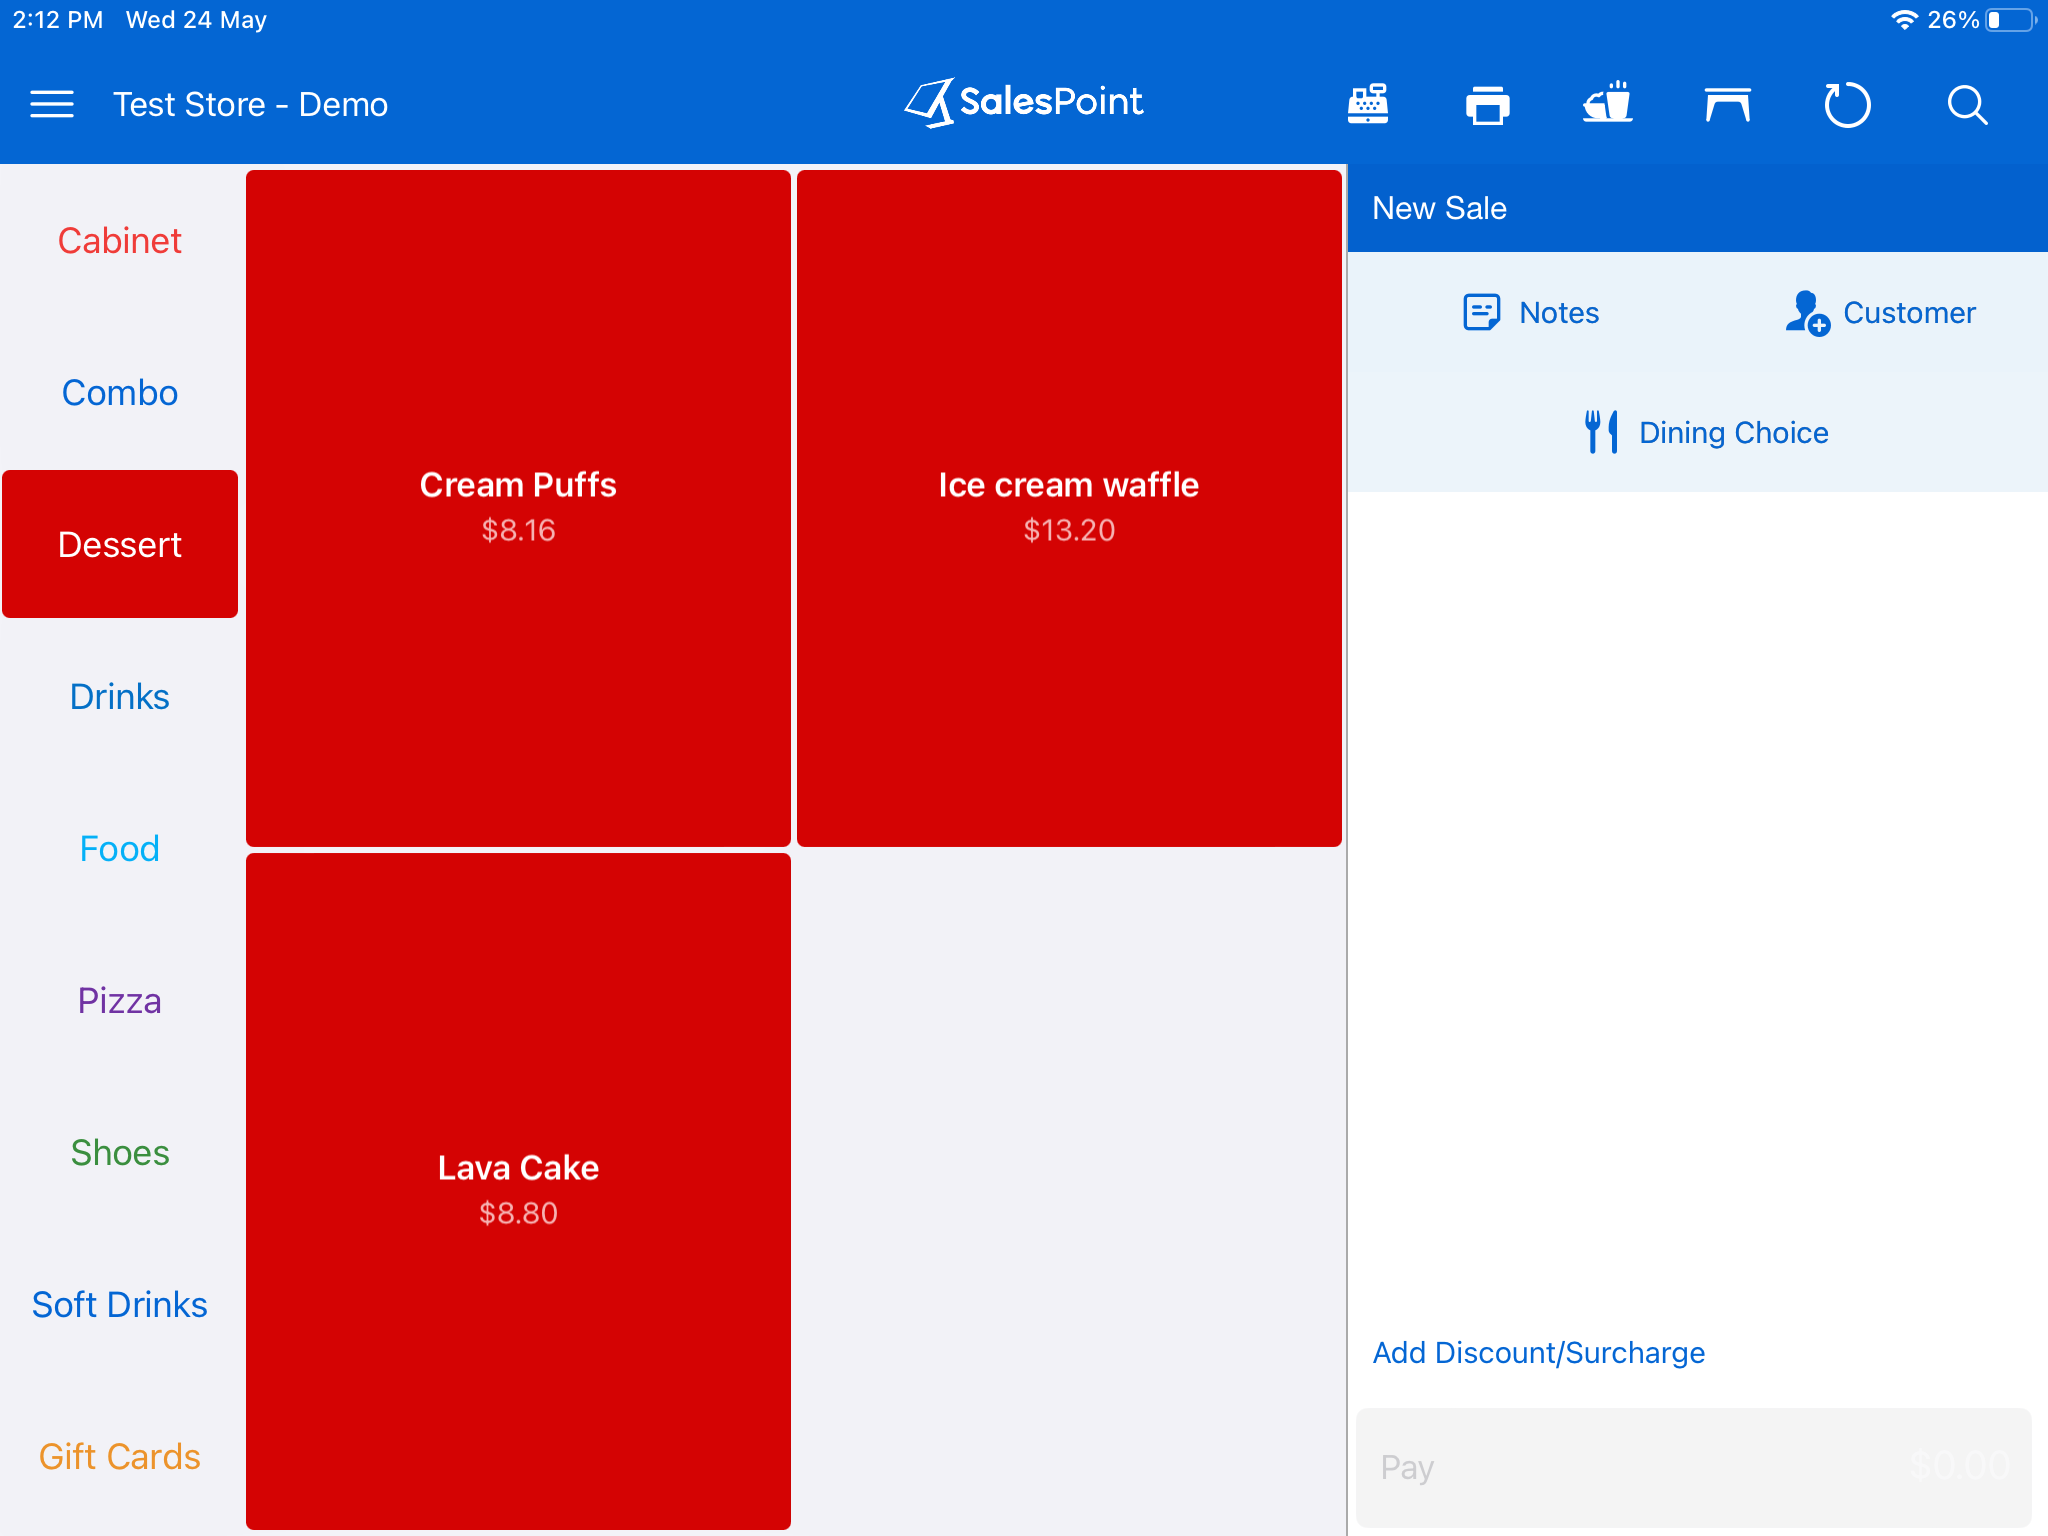
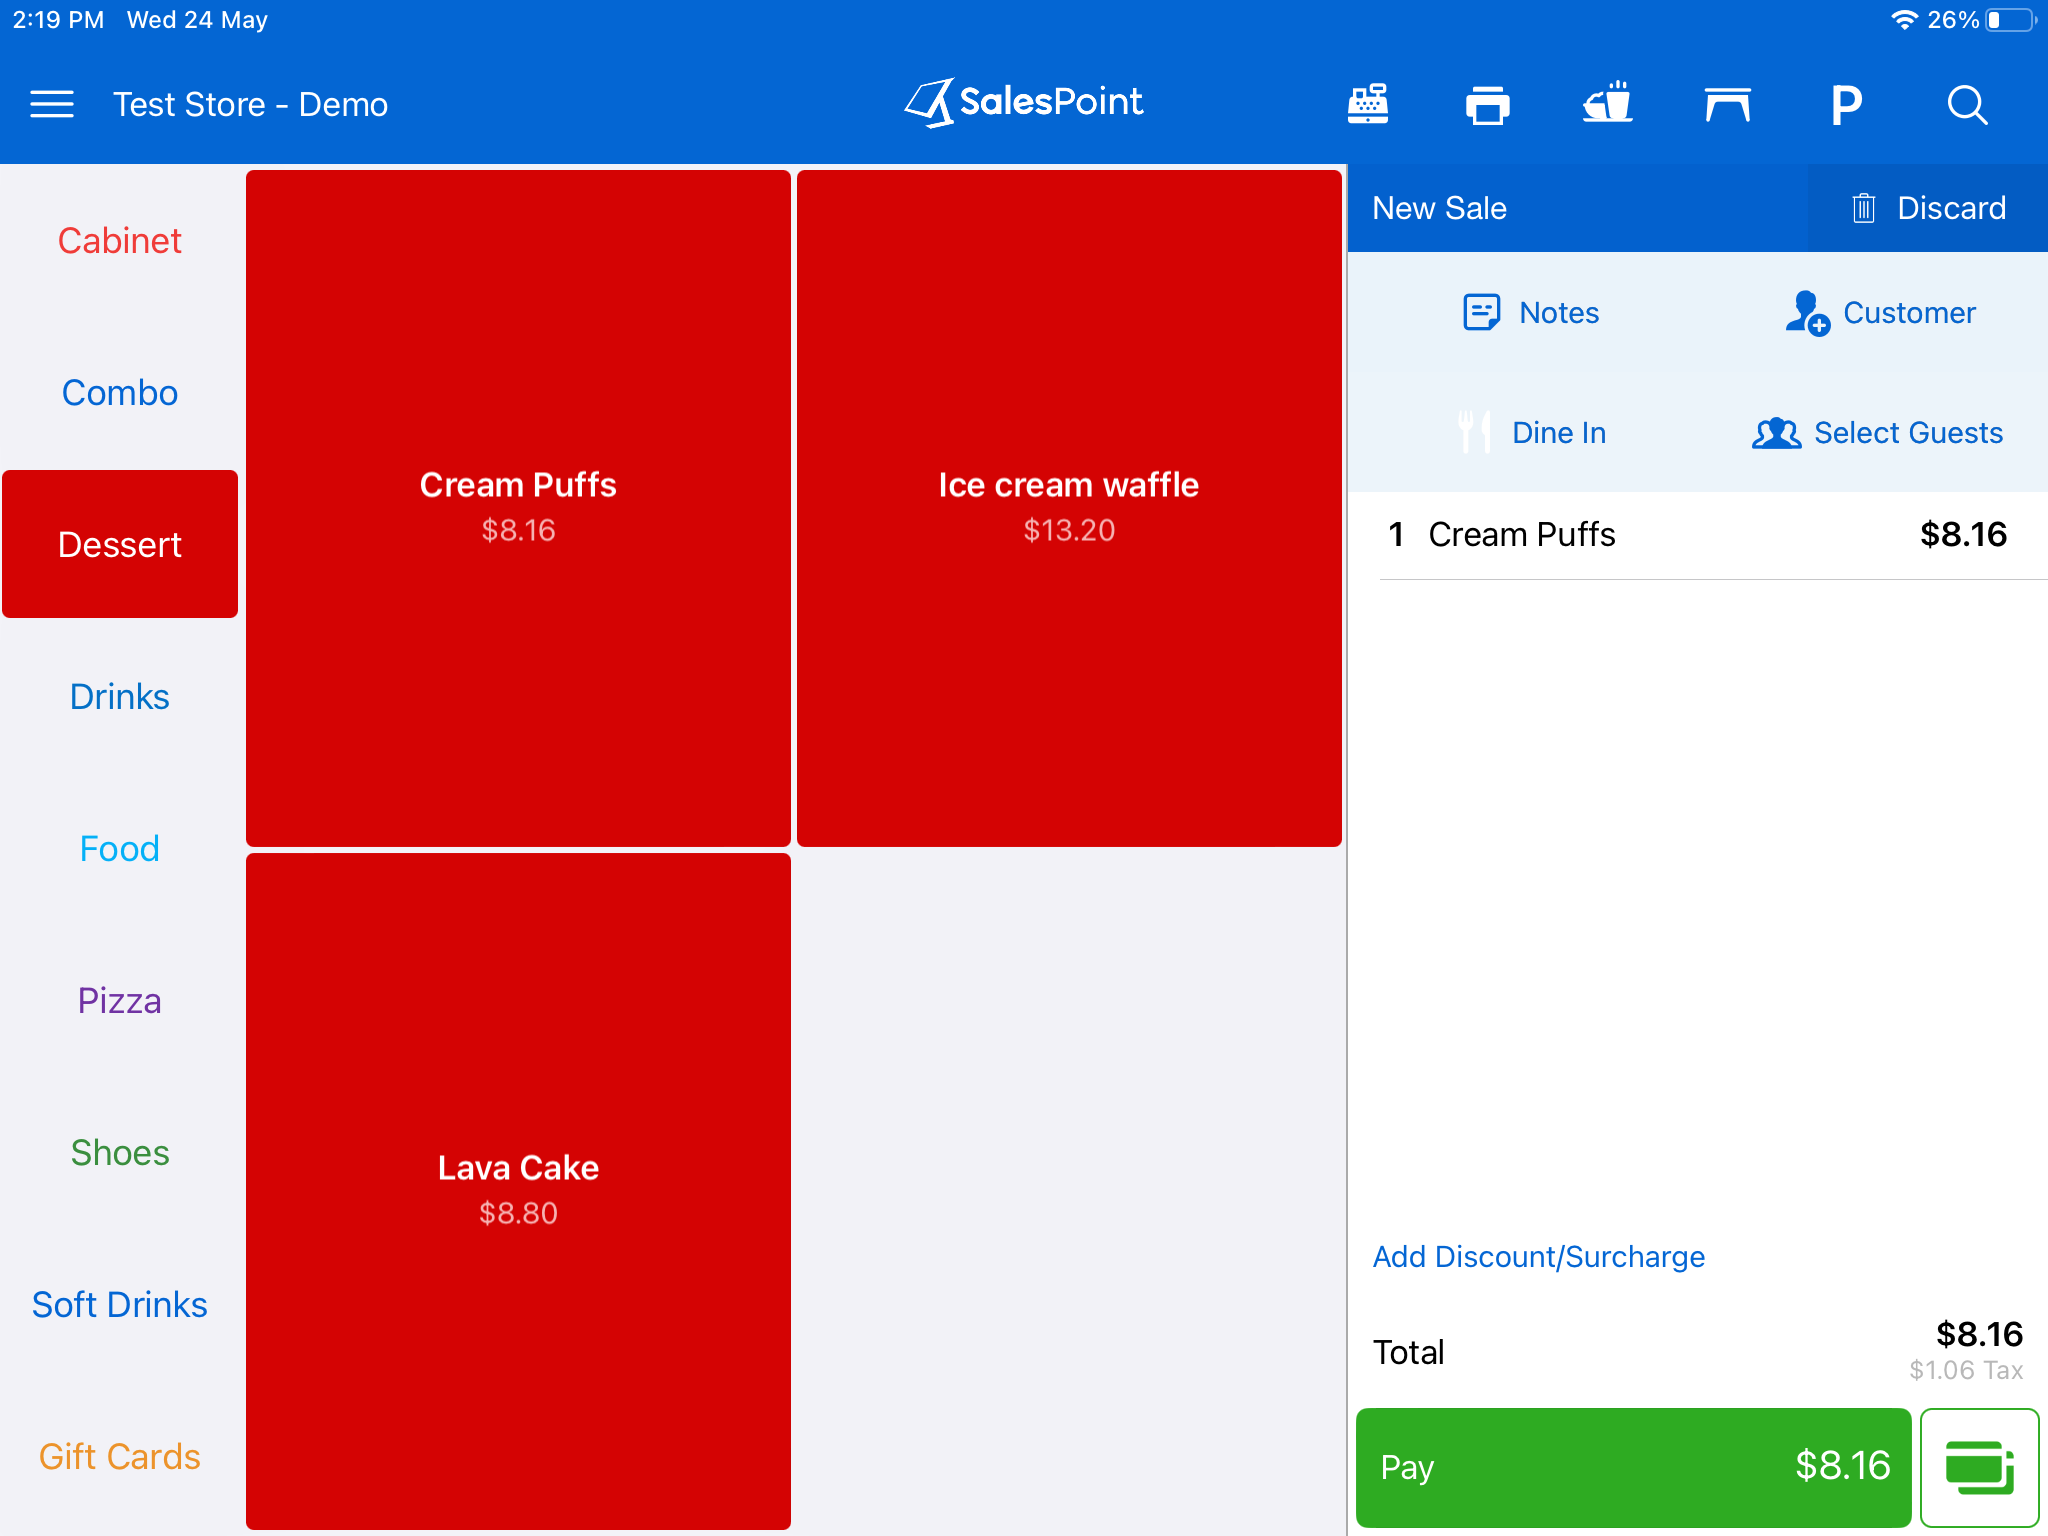
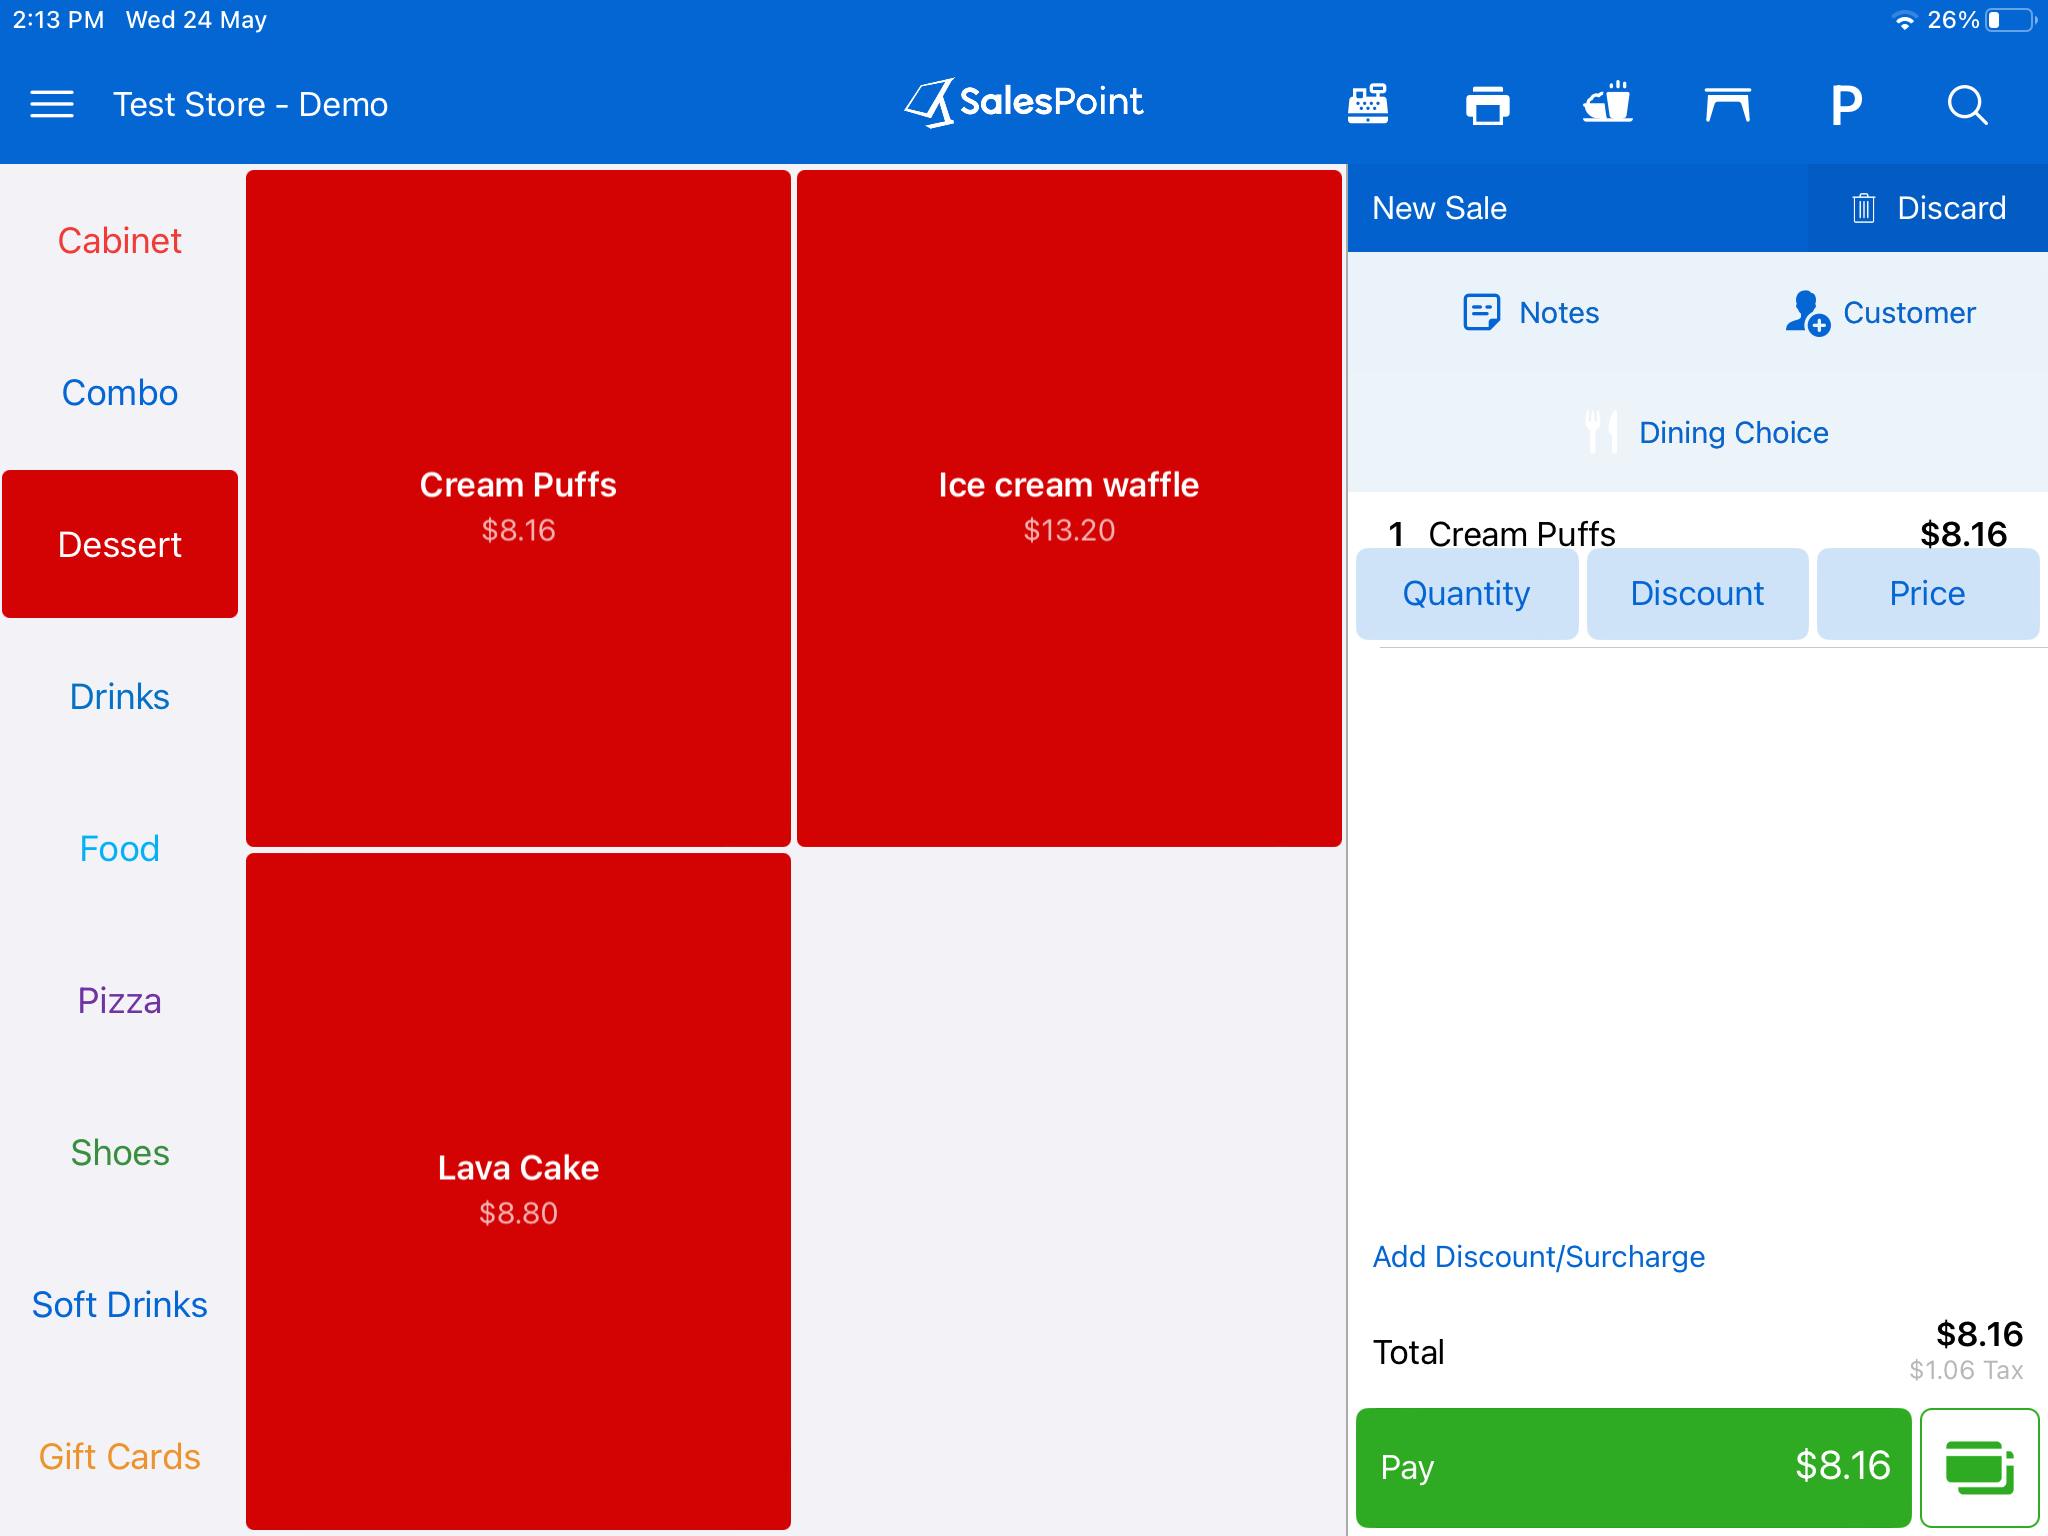
When signed in, you will be presented with the sales screen. Items can be added to a sale by searching for a product or by pressing the product button. Product buttons are grouped by the category that the product is in.
Product categories are at the top, you can press the category name or swipe/left right between the categories. Android devices can press the back key to return to the sale.
Product categories are along the left of the screen. You can swipe up/down between the categories.
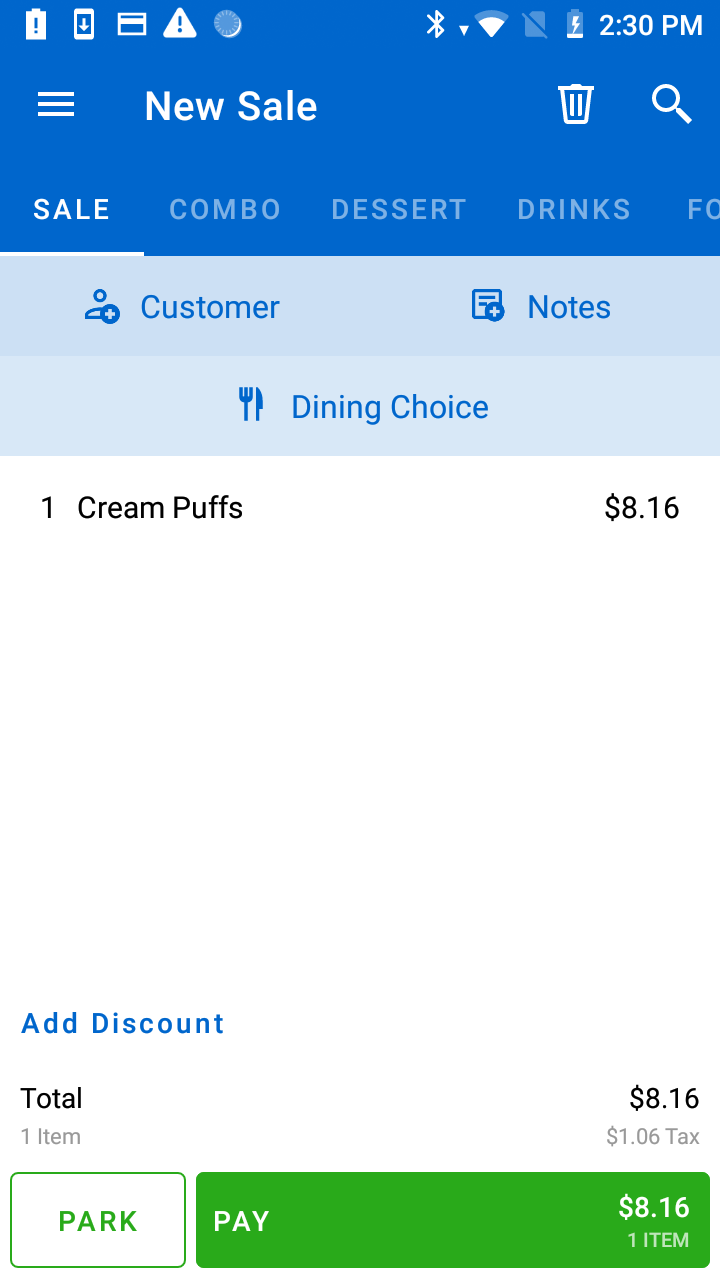
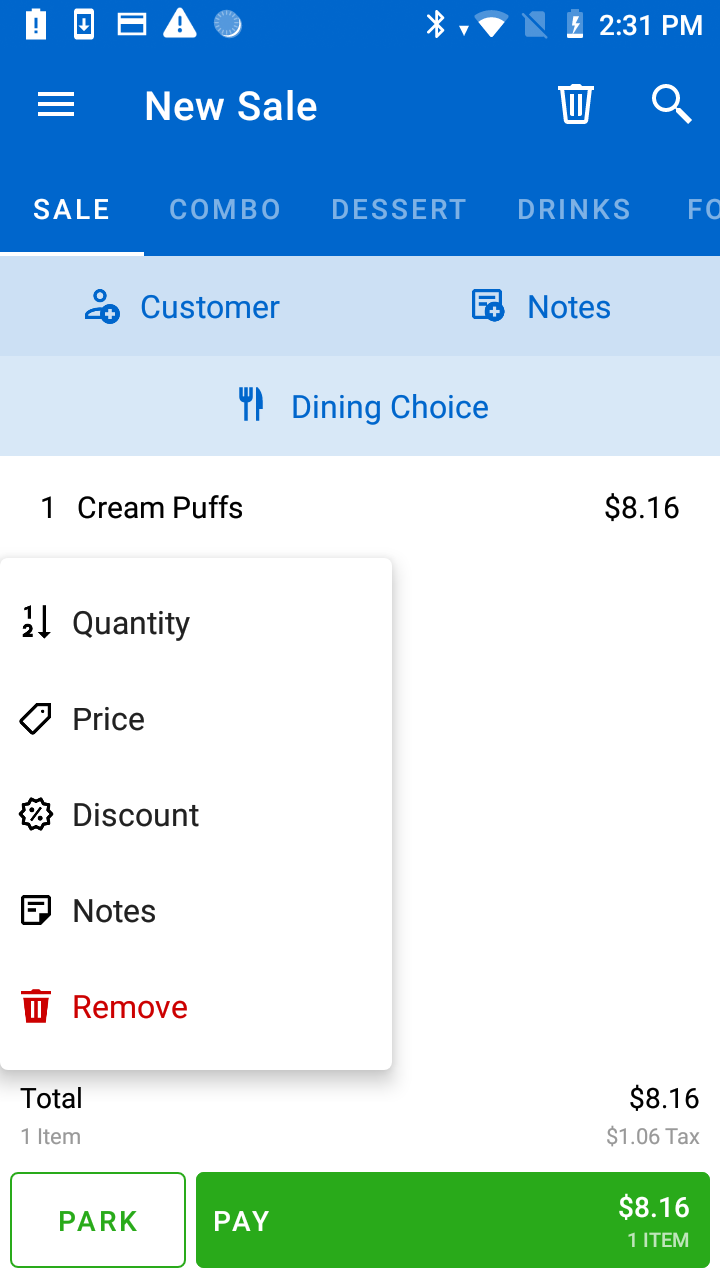
Items which have been added to a sale can be adjusted or removed. You can then change the quantity, price, discount & add item notes by selecting the menu item.
Quantity Change the number of items the customers want.
Price Override the current price of the item.
Discount Add a discount on the item with a percentage or amount off.
Notes Add notes on the item. This is useful for Hospitality eg. A customer wants to buy a burger but without onion.
Delete Remove the item from the current sale.
Press on the item on the list.
Press on the item on the list, swipe right to left to remove.
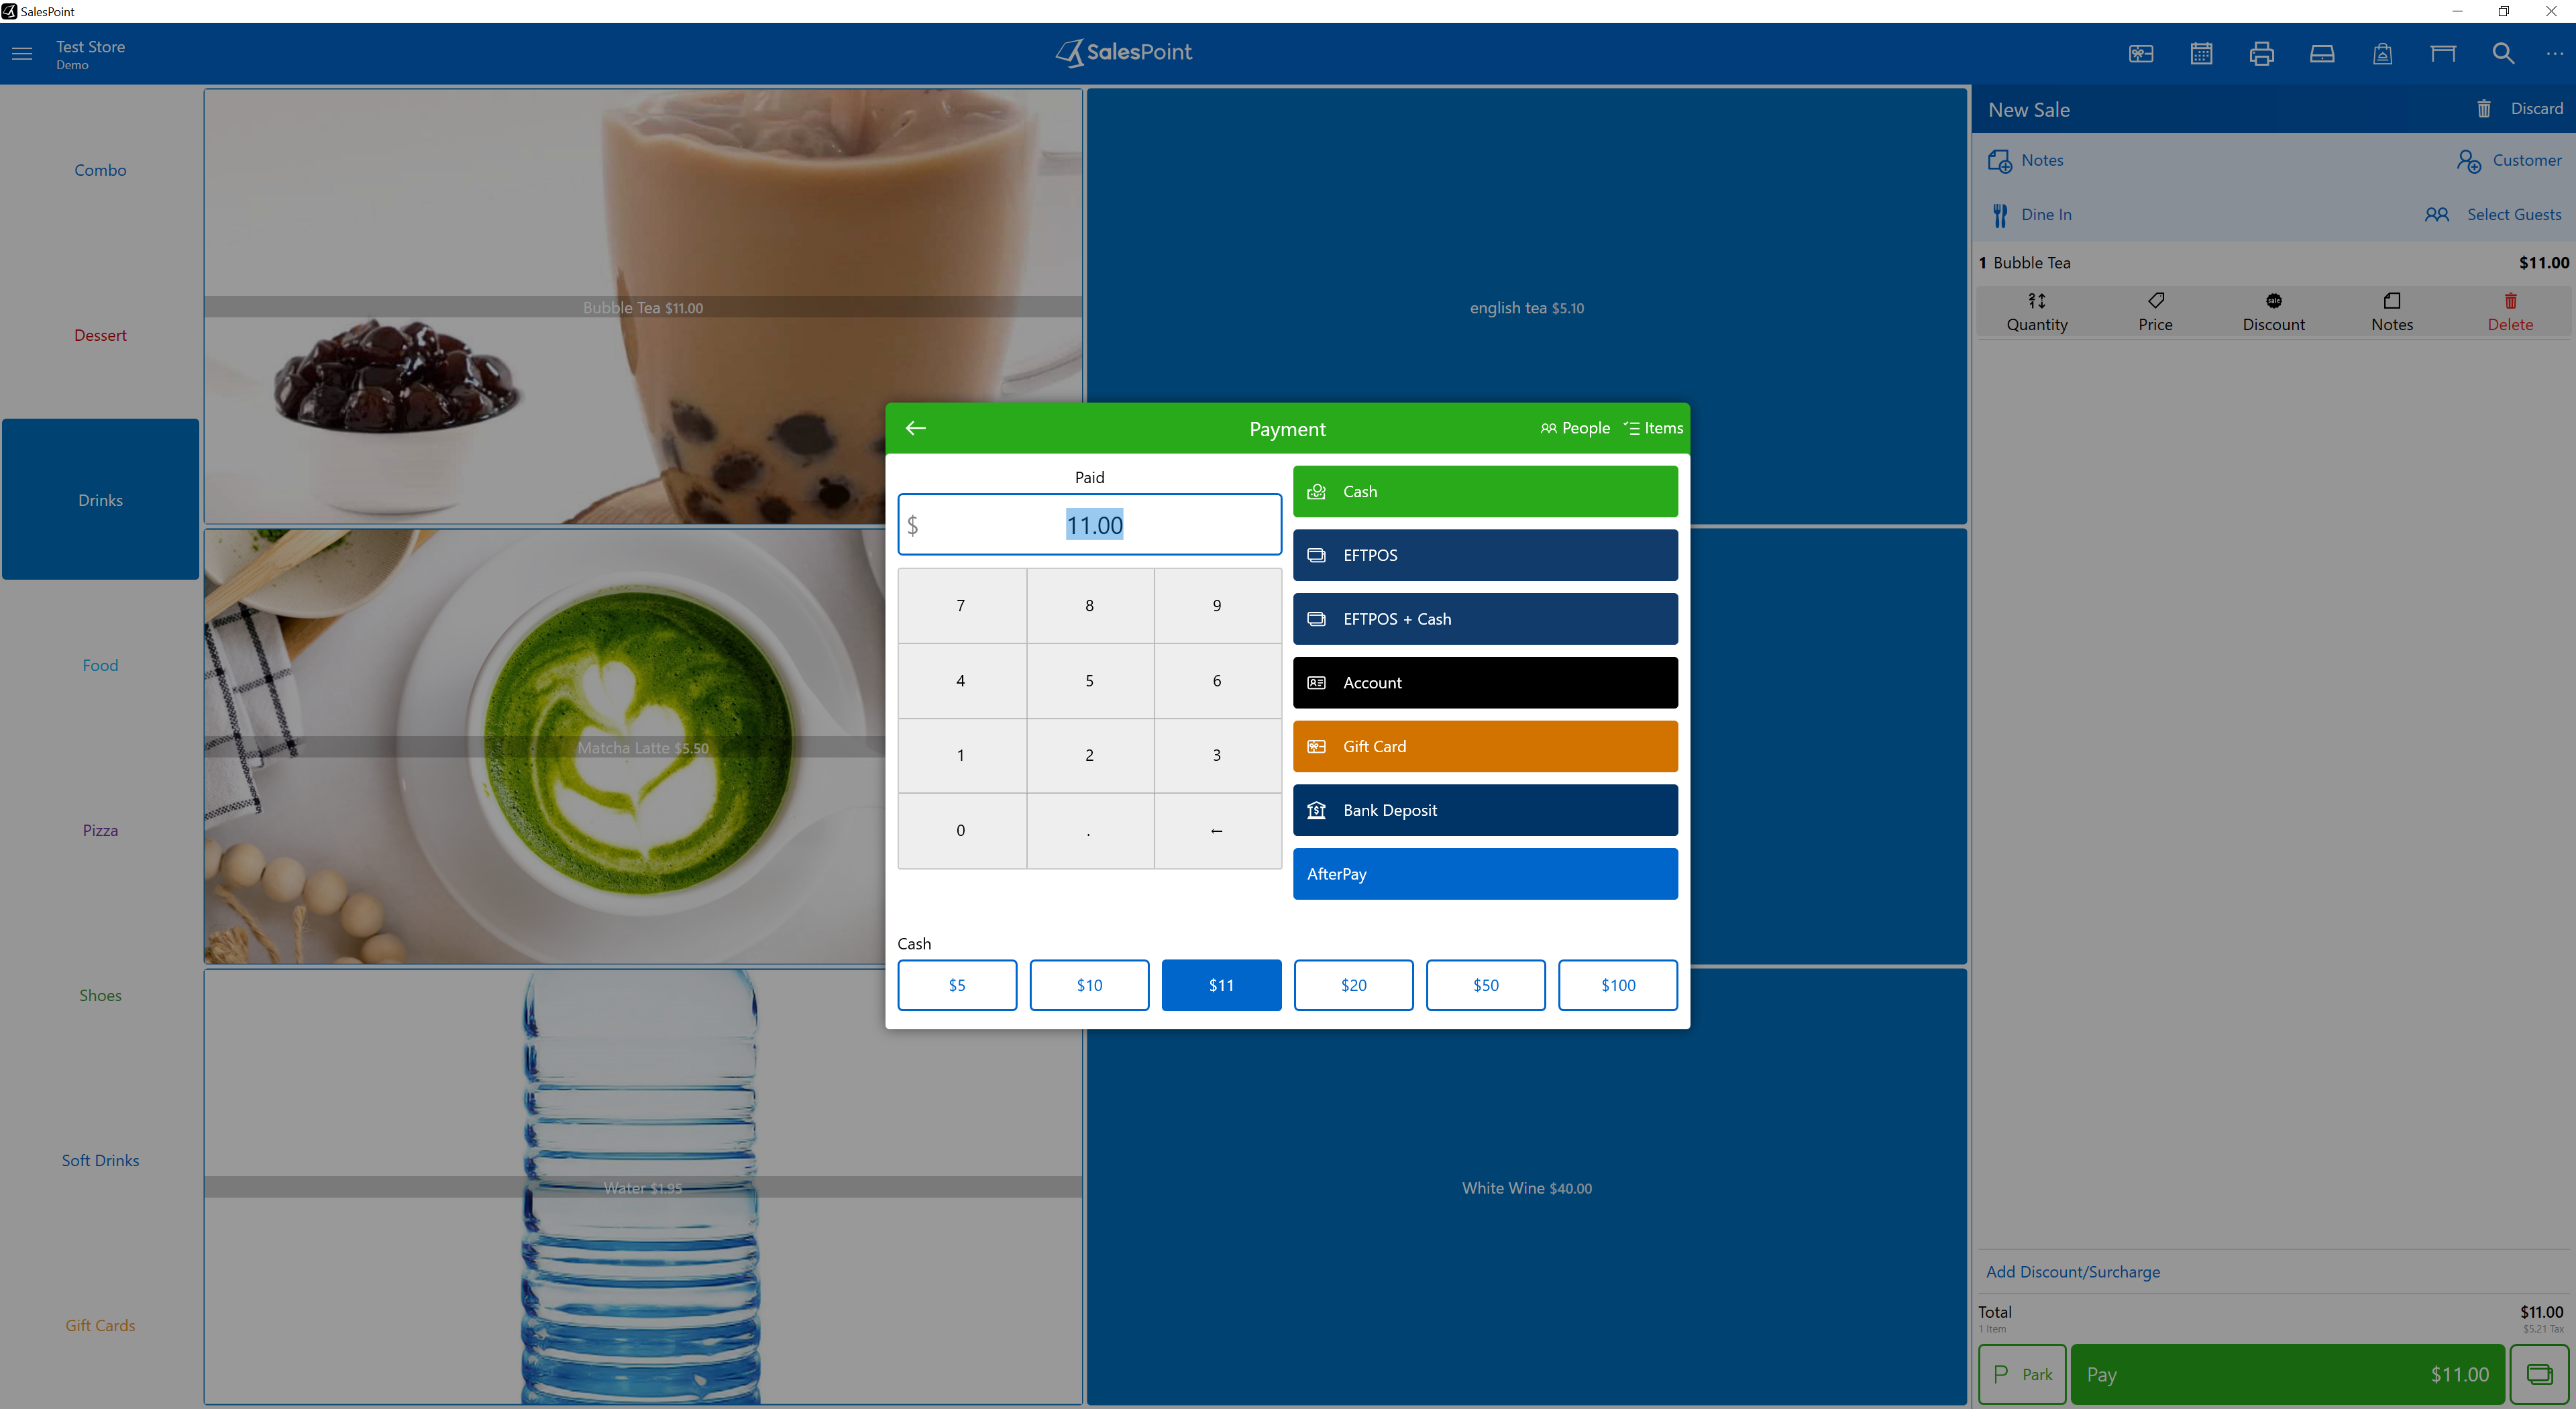
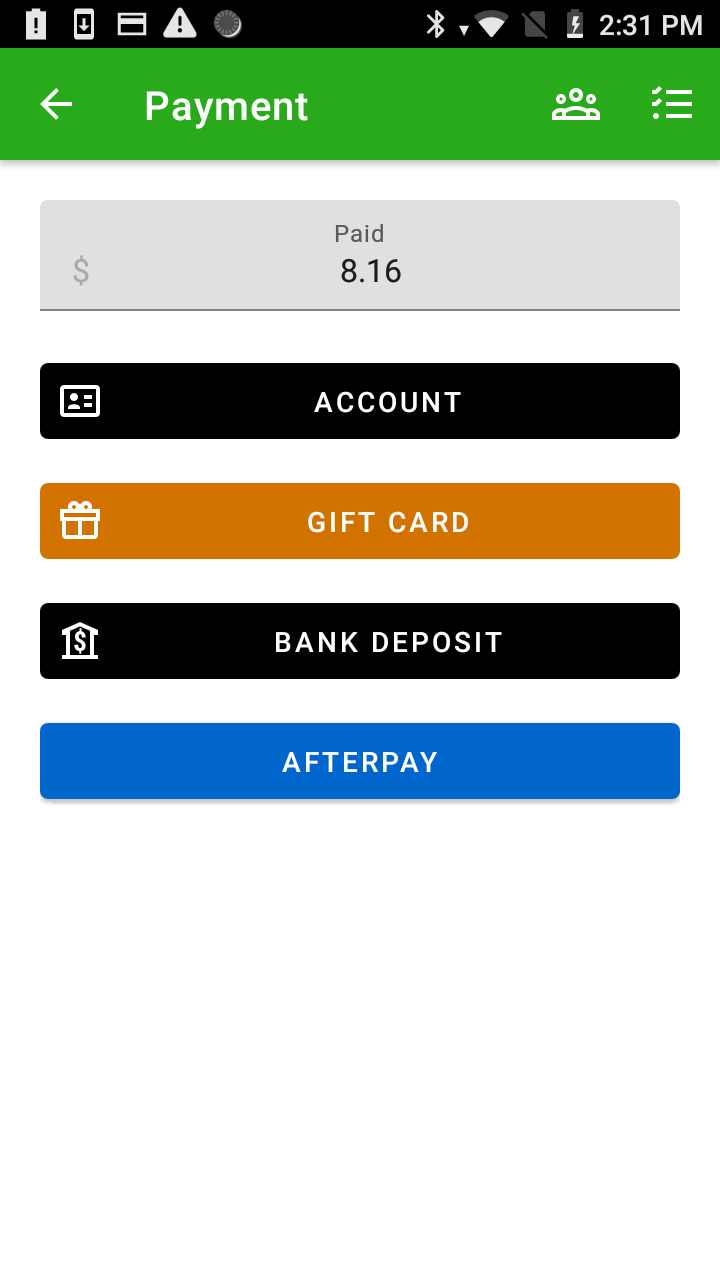
When you are prepared to receive payment, click on the Pay button, and this will lead you to the payment options such as EFTPOS, Cash, etc.
Quick EFTPOS Press the button to the right of Pay to automatically start full payment with EFTPOS.
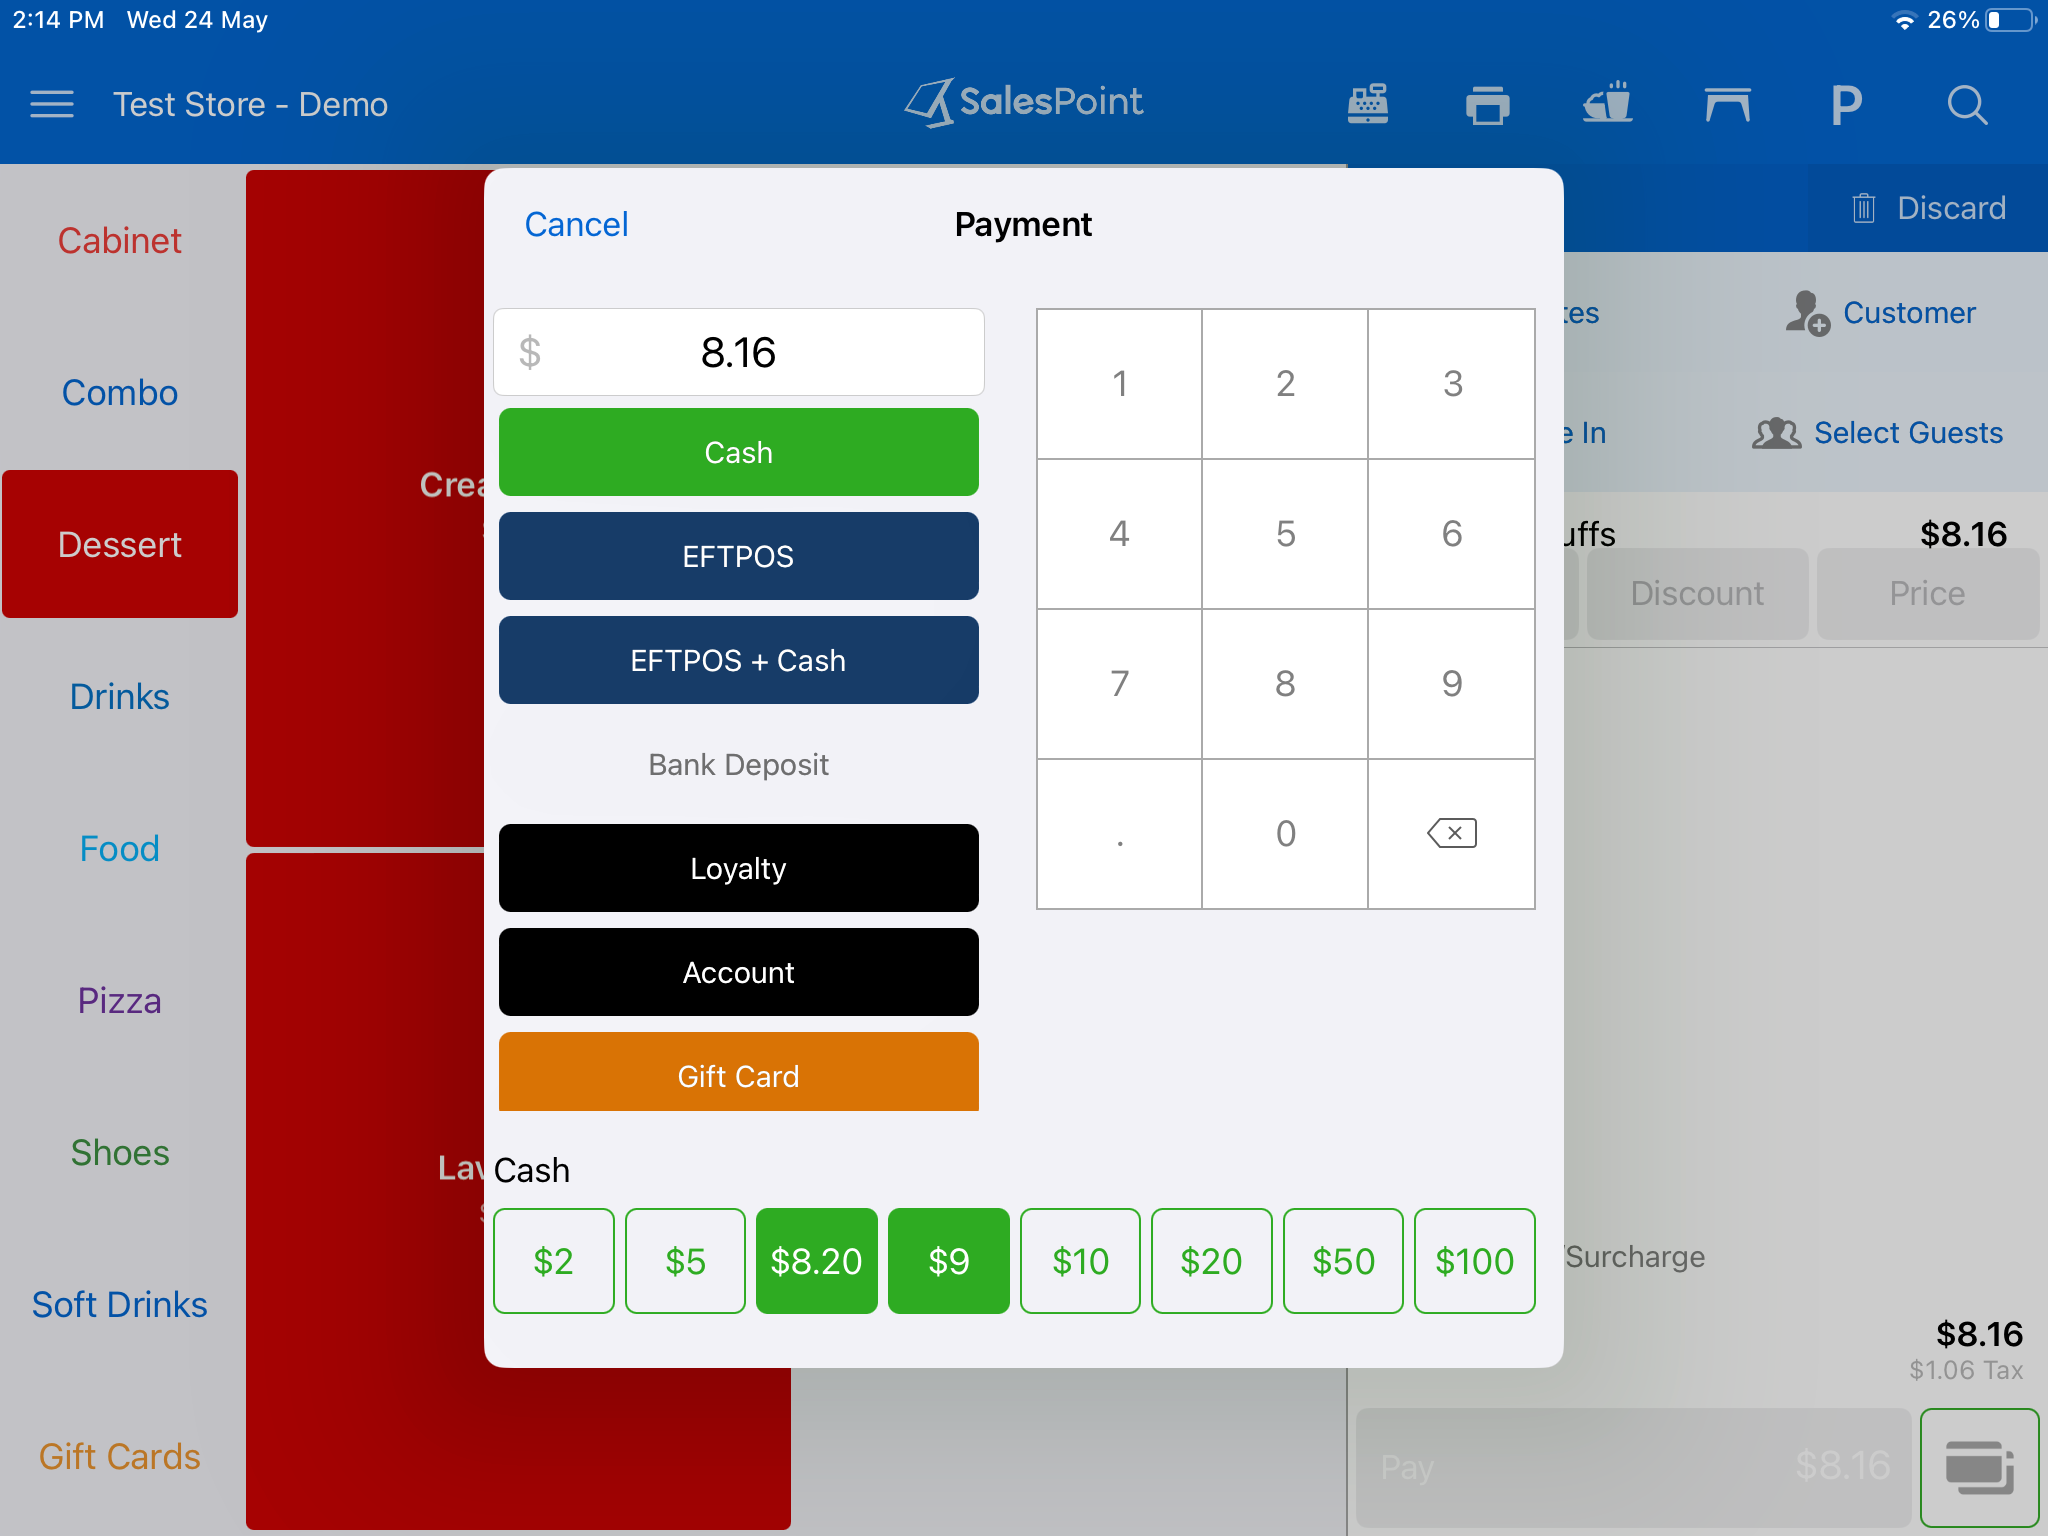
Quick Cash Quick cash buttons will add the amount to 'Paid', if the amount exceeds or matches the outstanding, the payment process will automatically proceed.
To learn more about different types of Payment Methods SalesPoint offer, please visit: Payment Method Set Up
Payment Process
After items have been added to a sale, the payment process can begin.
Press Pay to start the payment process.
Enter in the amount the customer will pay and select the payment method.
If the amount entered does not cover the sale total you will be prompted 'Payment Received' with the option to add another payment.
Once the sale is paid in full, the 'Sale Completed' dialog will appear.
If the amount paid in cash requires change to be given you'll be prompted to give the customer their change.
After the sale is finalized, the customer can decide whether to receive the receipt in printed form or via email. To initiate the next sale, select New Sale.