Create Another Store
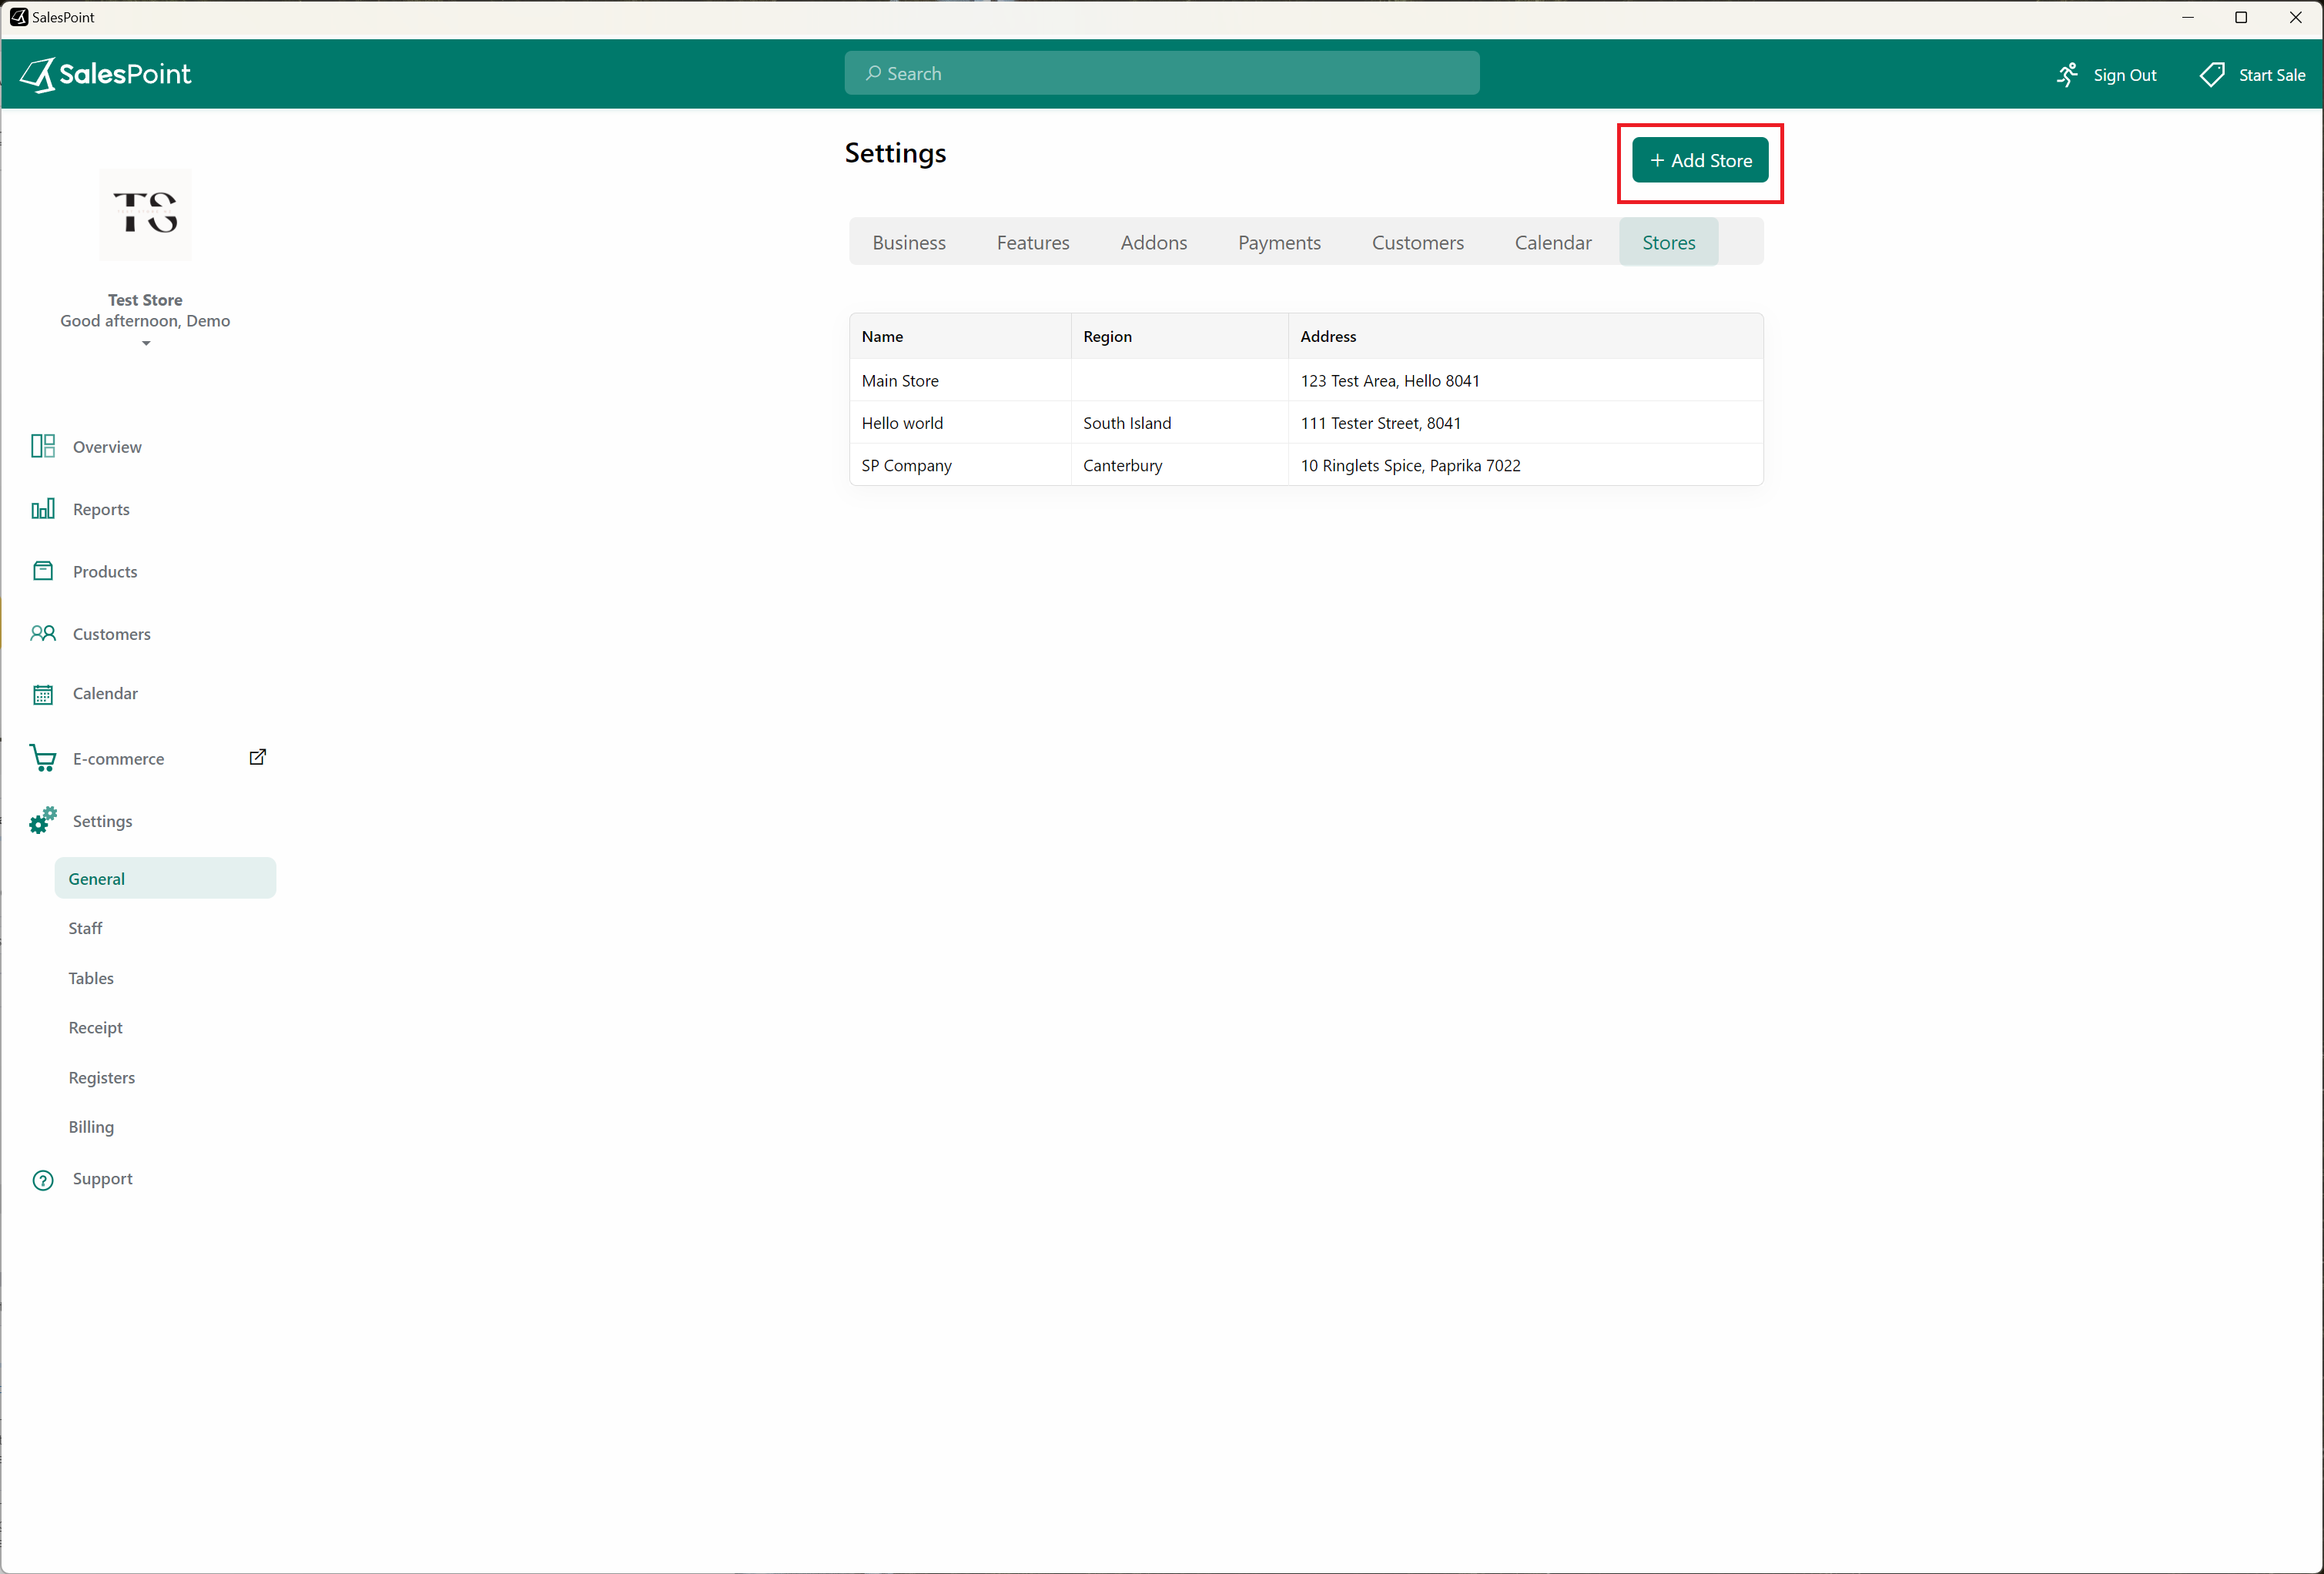
1. On the Dashboard, navigate to the Settings tab. Within the General subcategory, access the Stores Section.
2. Click the "Add Store" button to initiate the creation of a new store.
3. Provide the necessary information for the new store, including its address. If applicable, select a parent store to establish a hierarchical connection.
4. If you want the products of this child store tracked by the parent store, tick the "Track Stock By Parent" checkbox.
Ensure the "Track Stock By Parent" option is selected if you want the products of this child store to be tracked by the parent store.
5. Don't forget to click the "Save" button once done.
Products
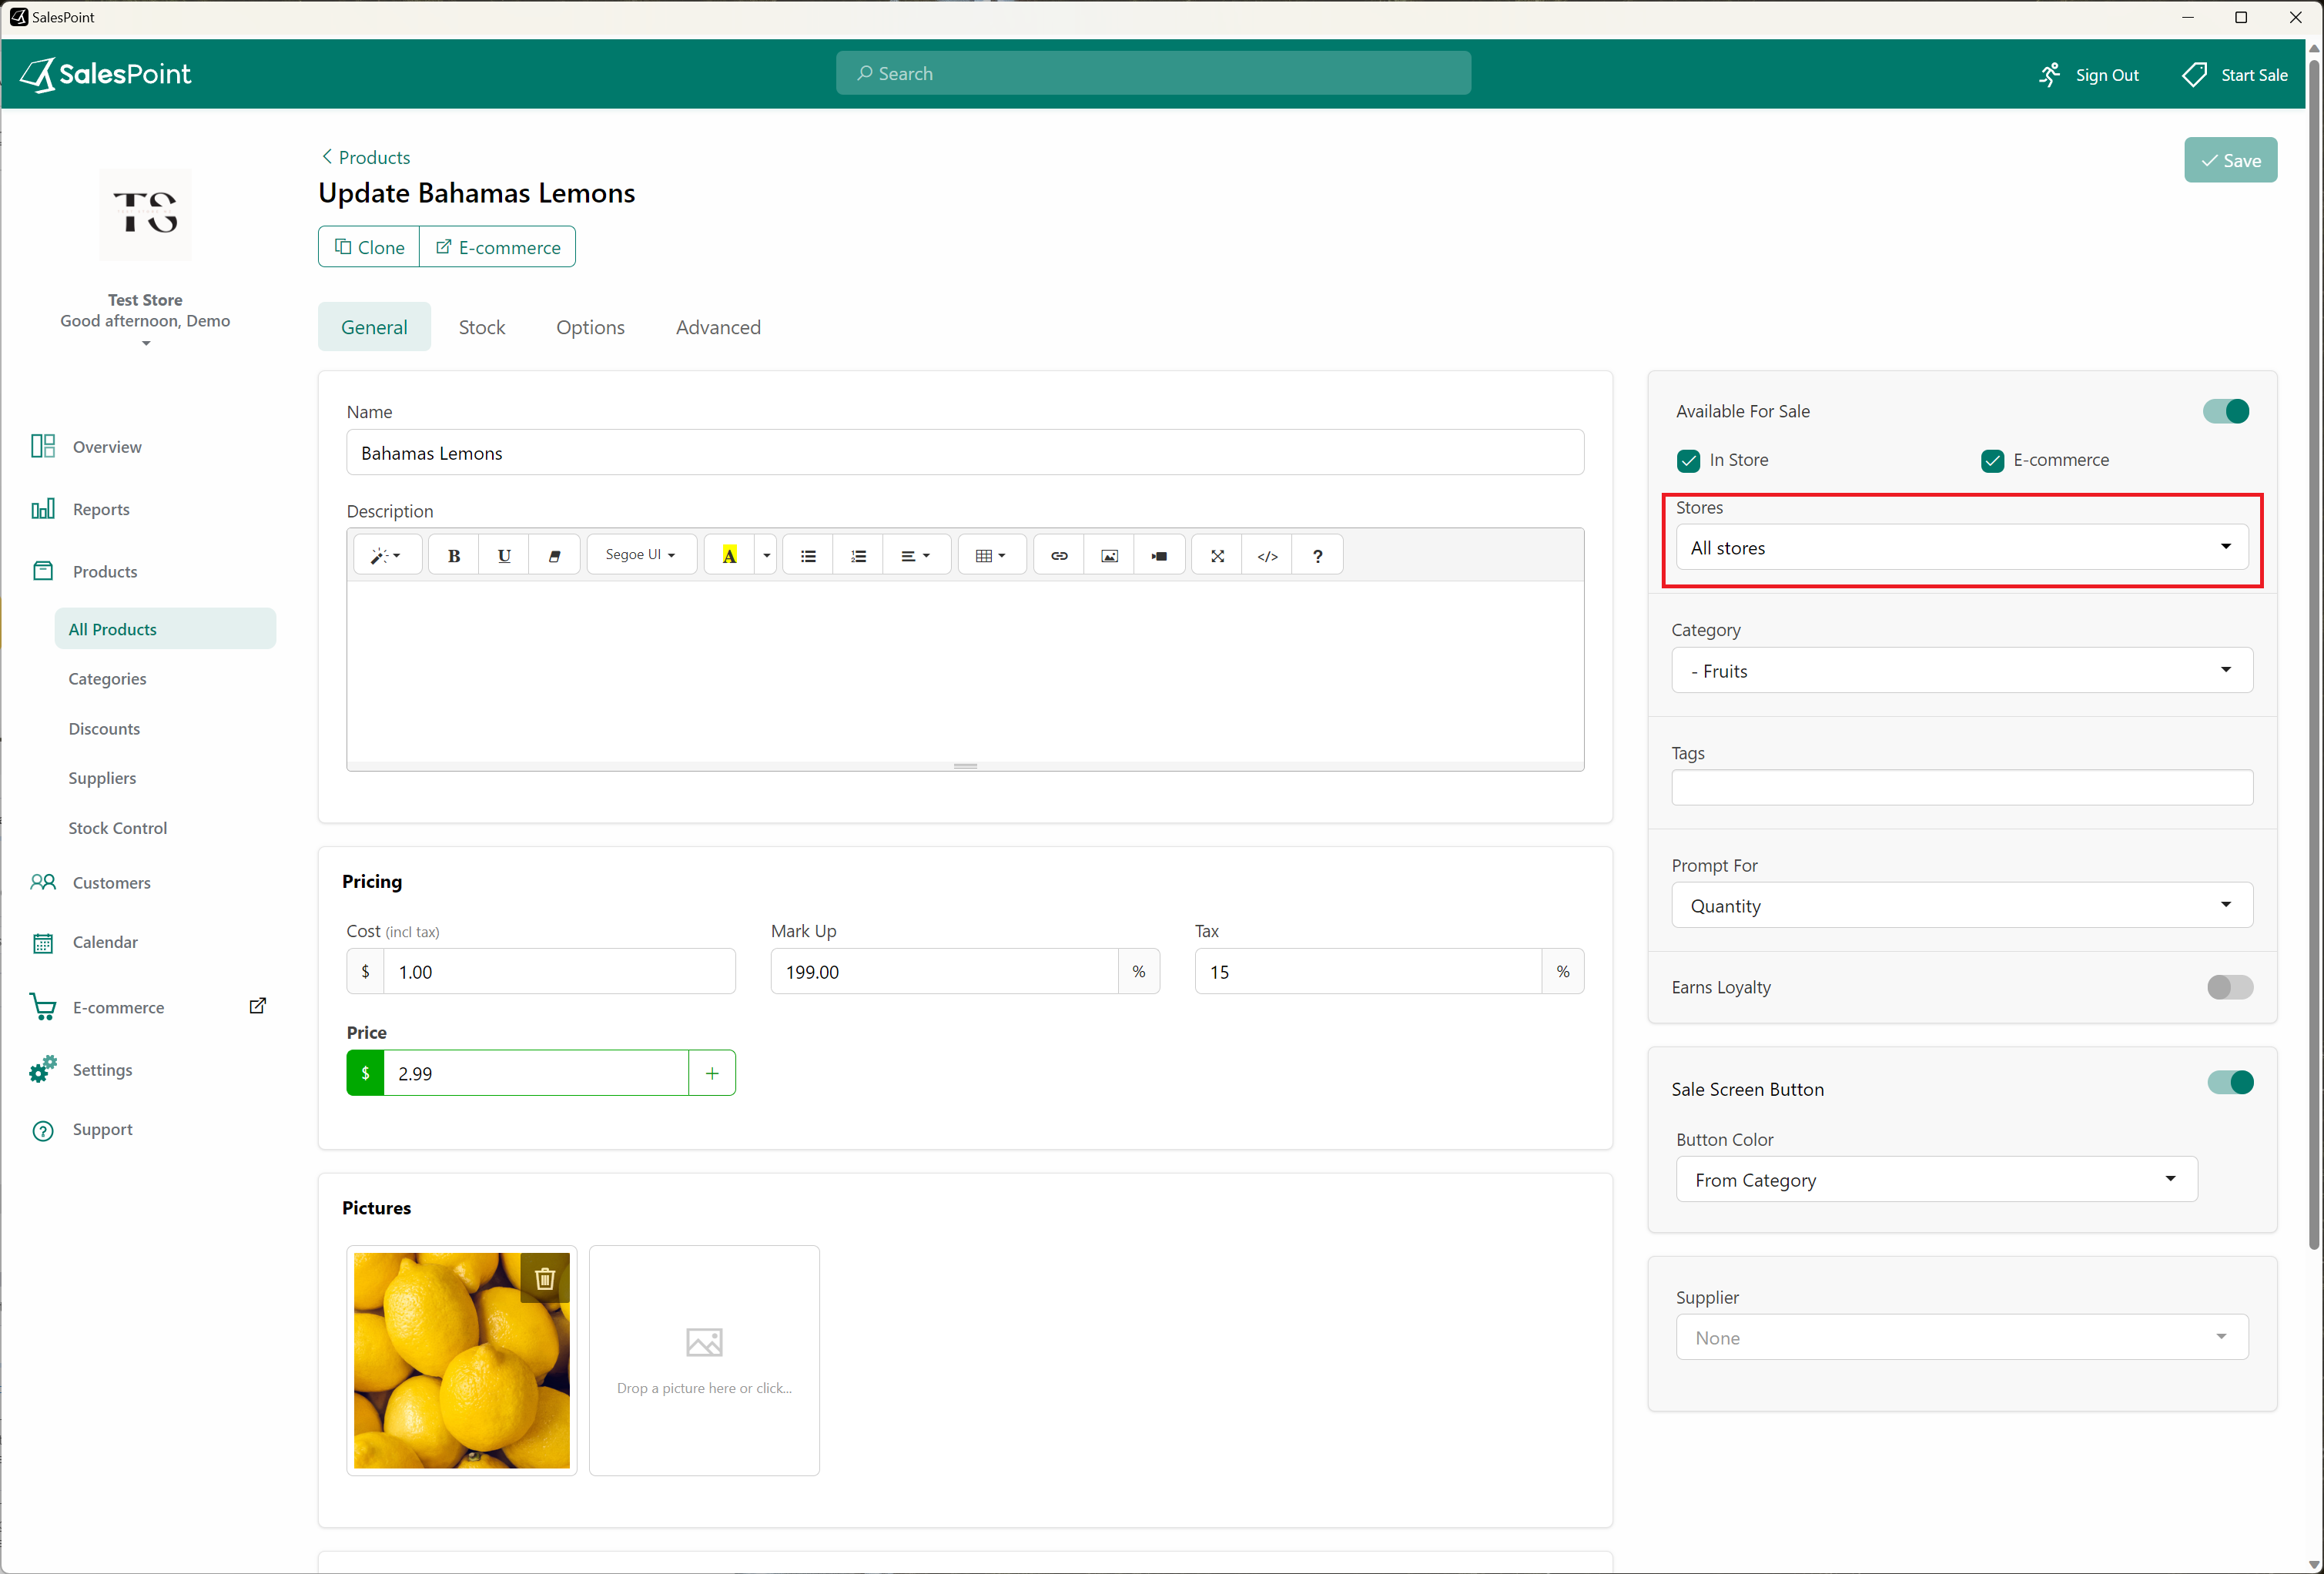
When creating or editing a product to be available exclusively in a specific store, select the product and then designate the store where it should be available. Alternatively, use the Product Bulk Update for multiple items at once.
Stock Control
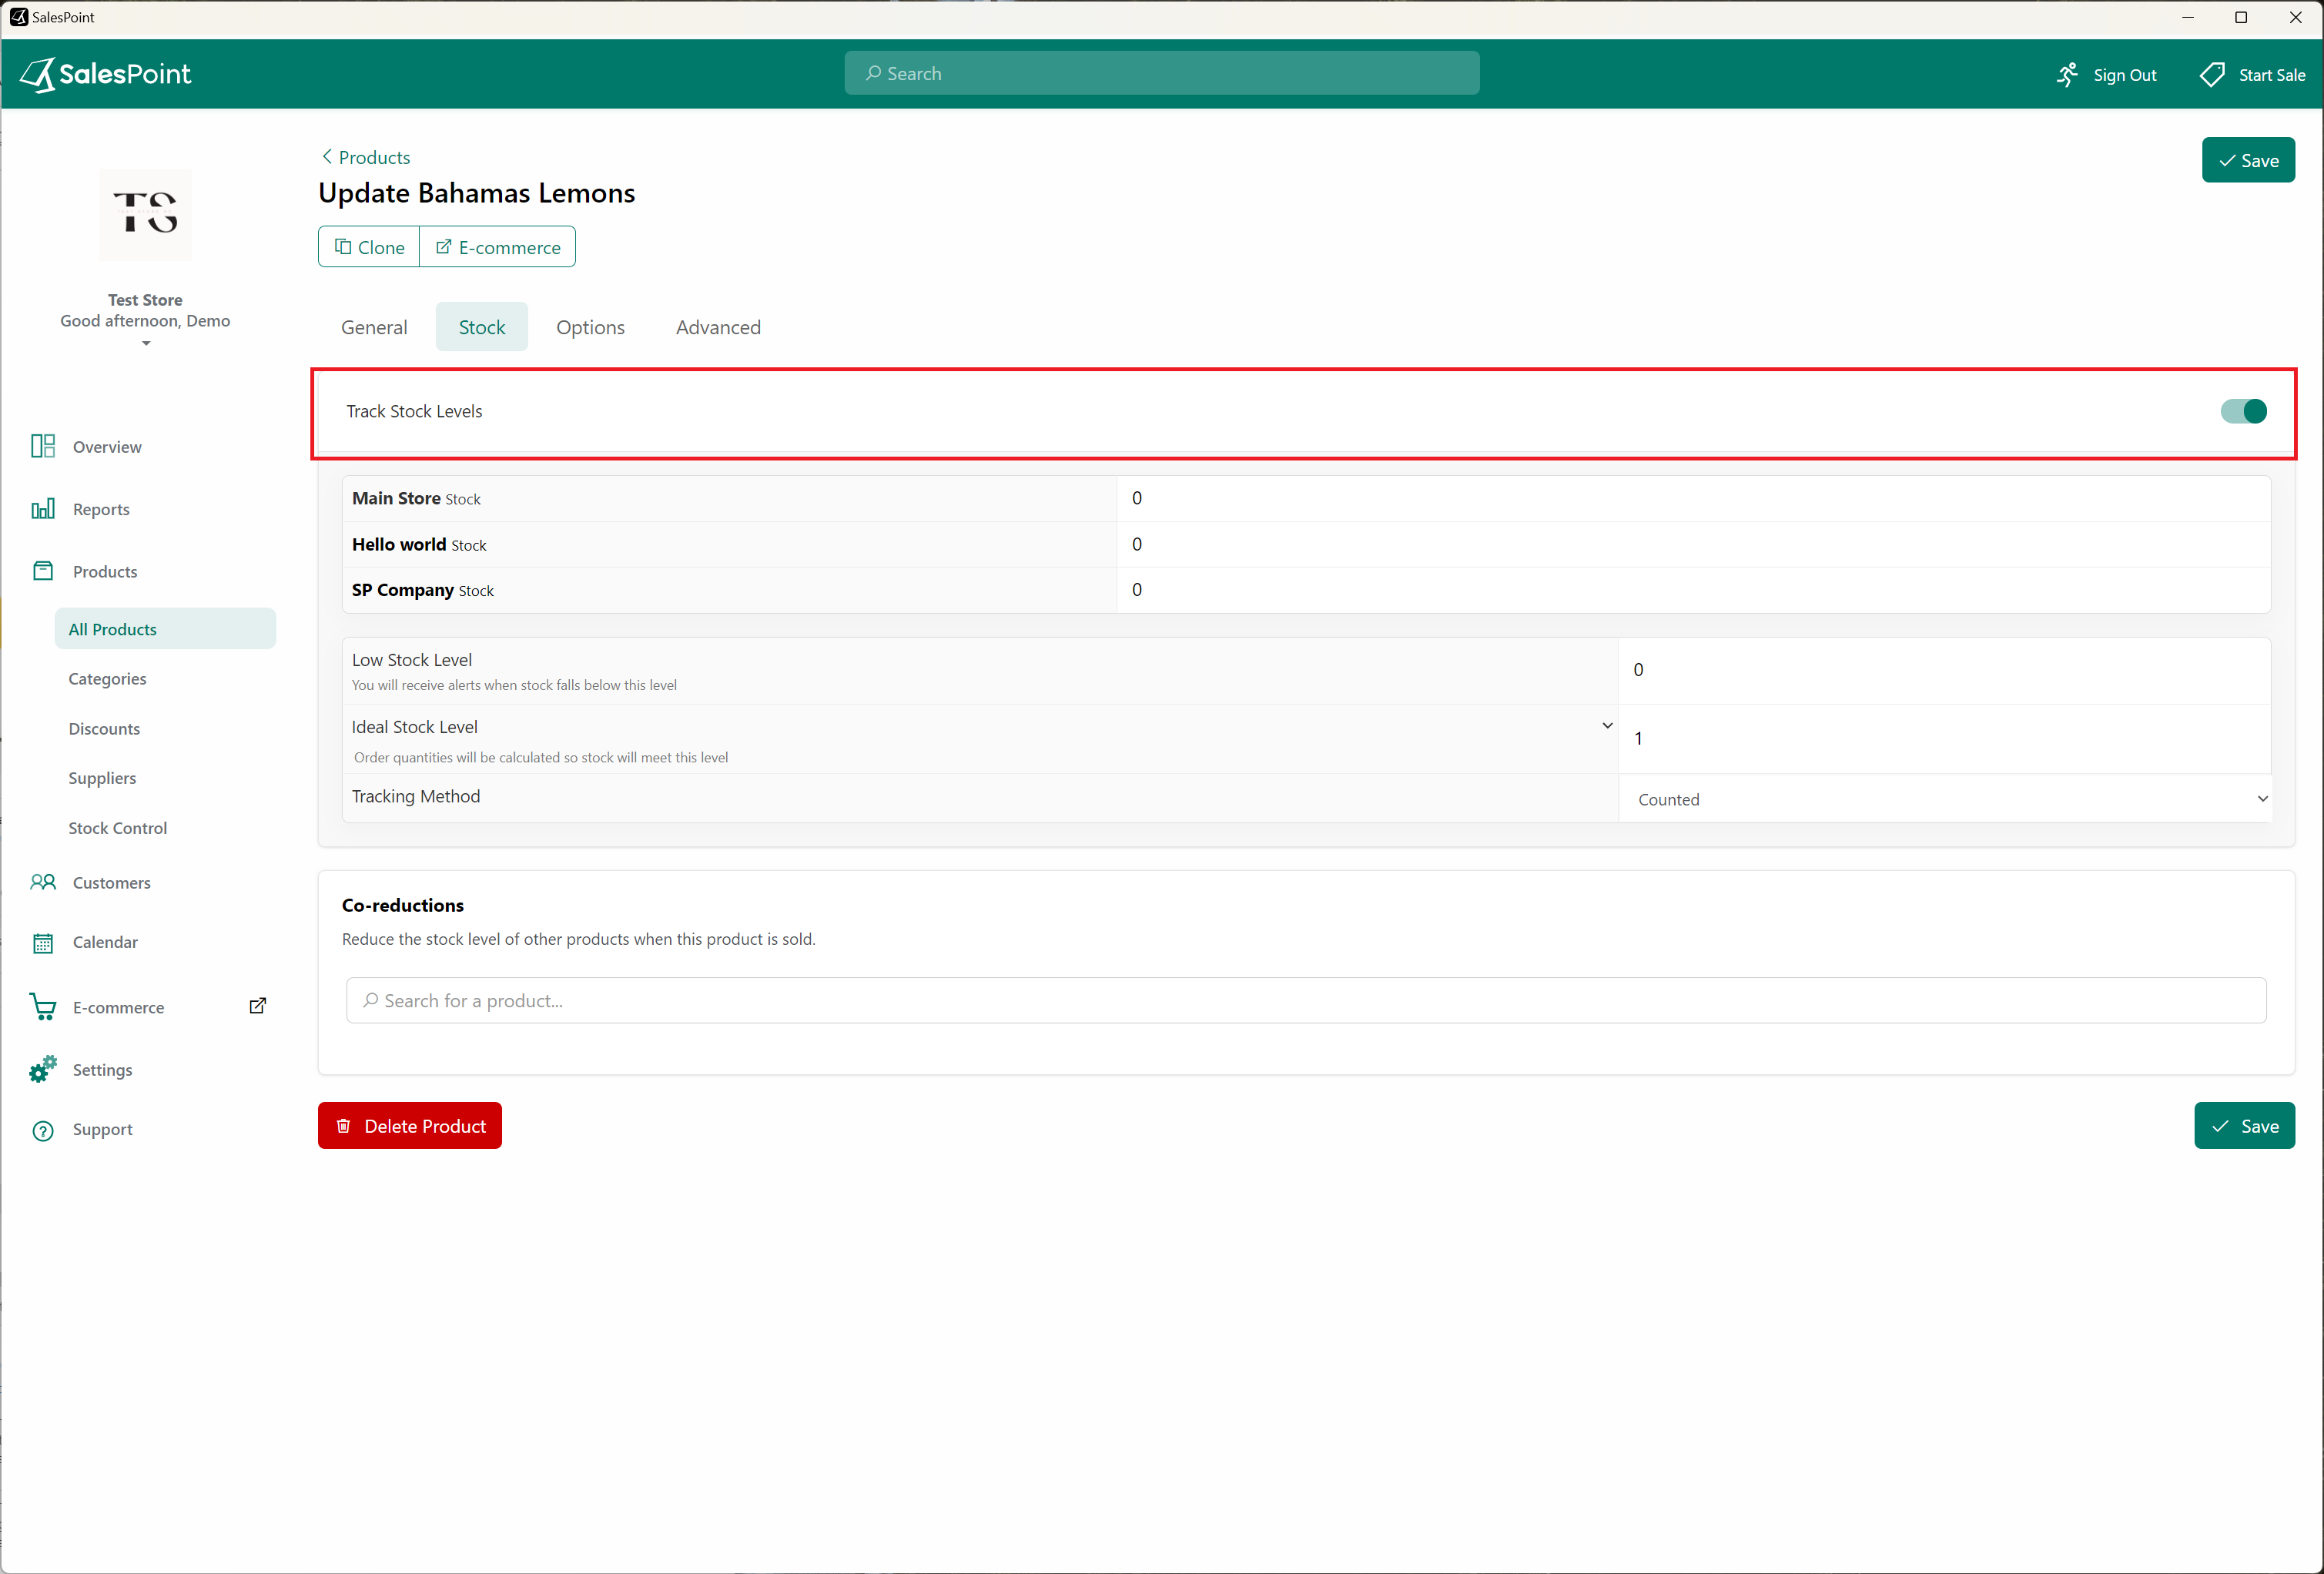
If stock tracking is enabled, ensure that the "Track Stock" option is selected in the product's stock settings. If the new store has "Track by parent" product stock, selling products in this store will deduct the product stock from the parent store. If not, the product stock in this store will be deducted from its own inventory.
Discounts
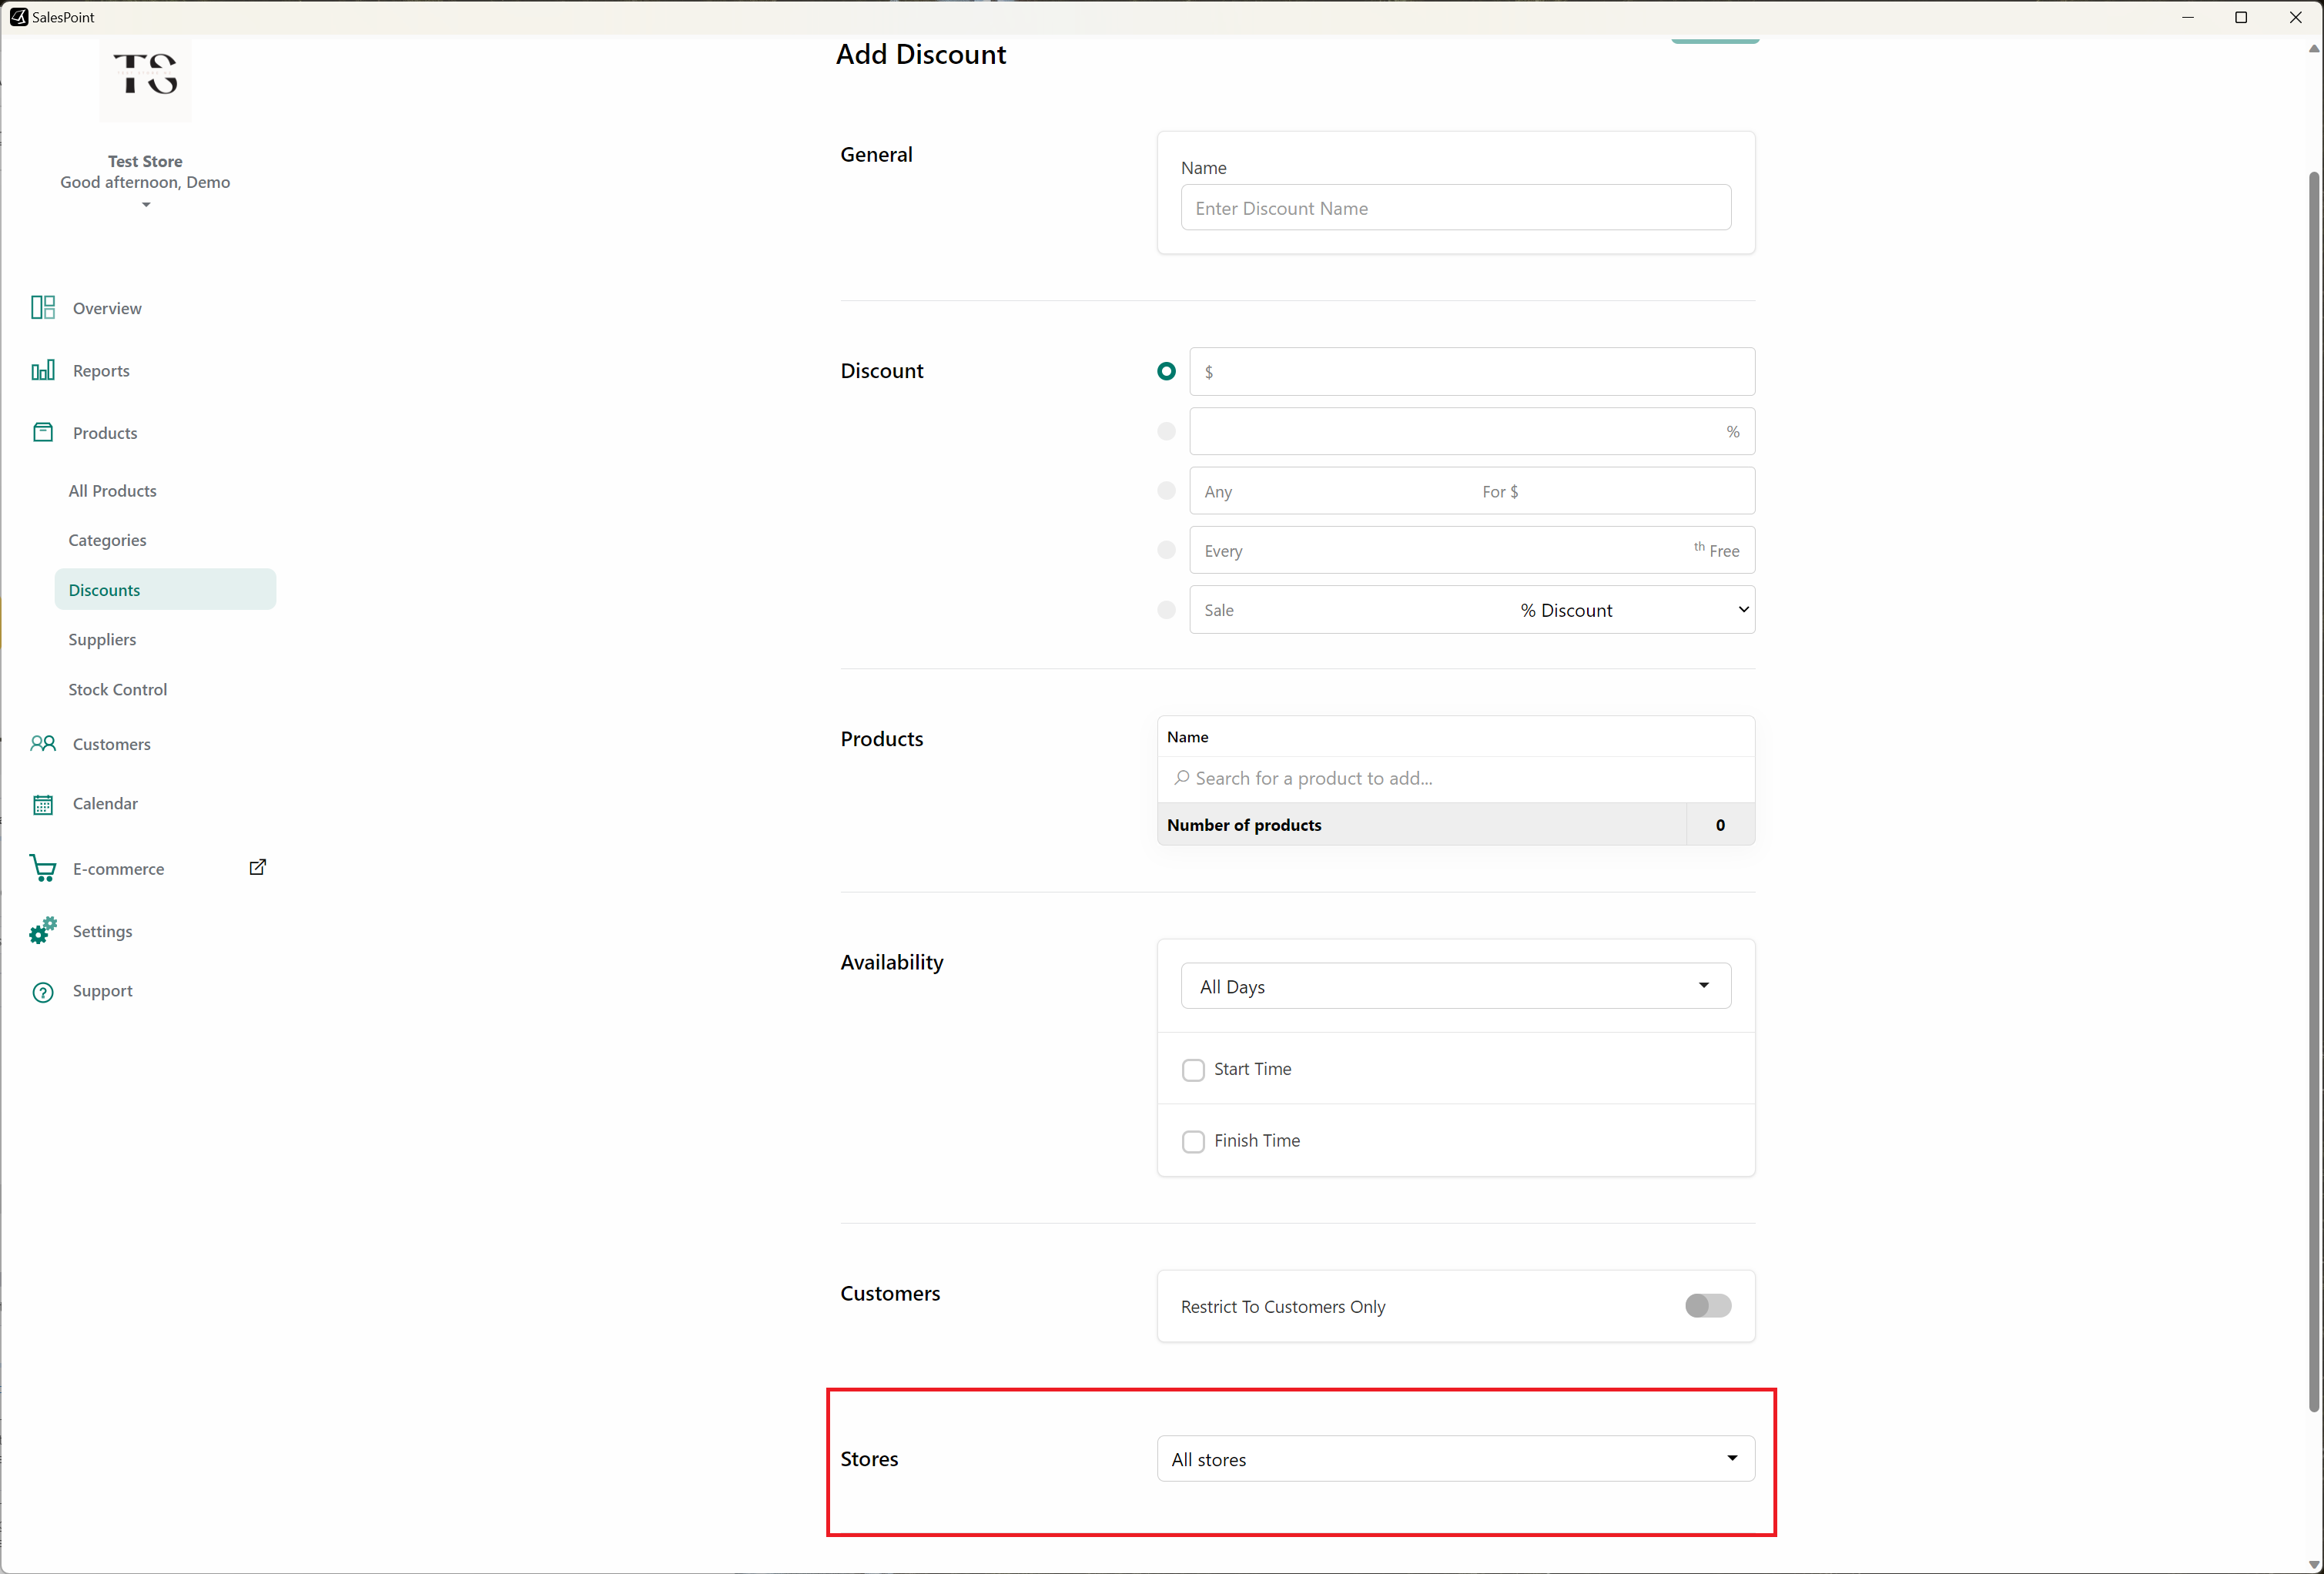
Create a discount applicable only to this store by going to the Discounts subcategory tab under Products. Select "Add" to create a new discount, filling in the necessary fields and specifying the store where it should apply.
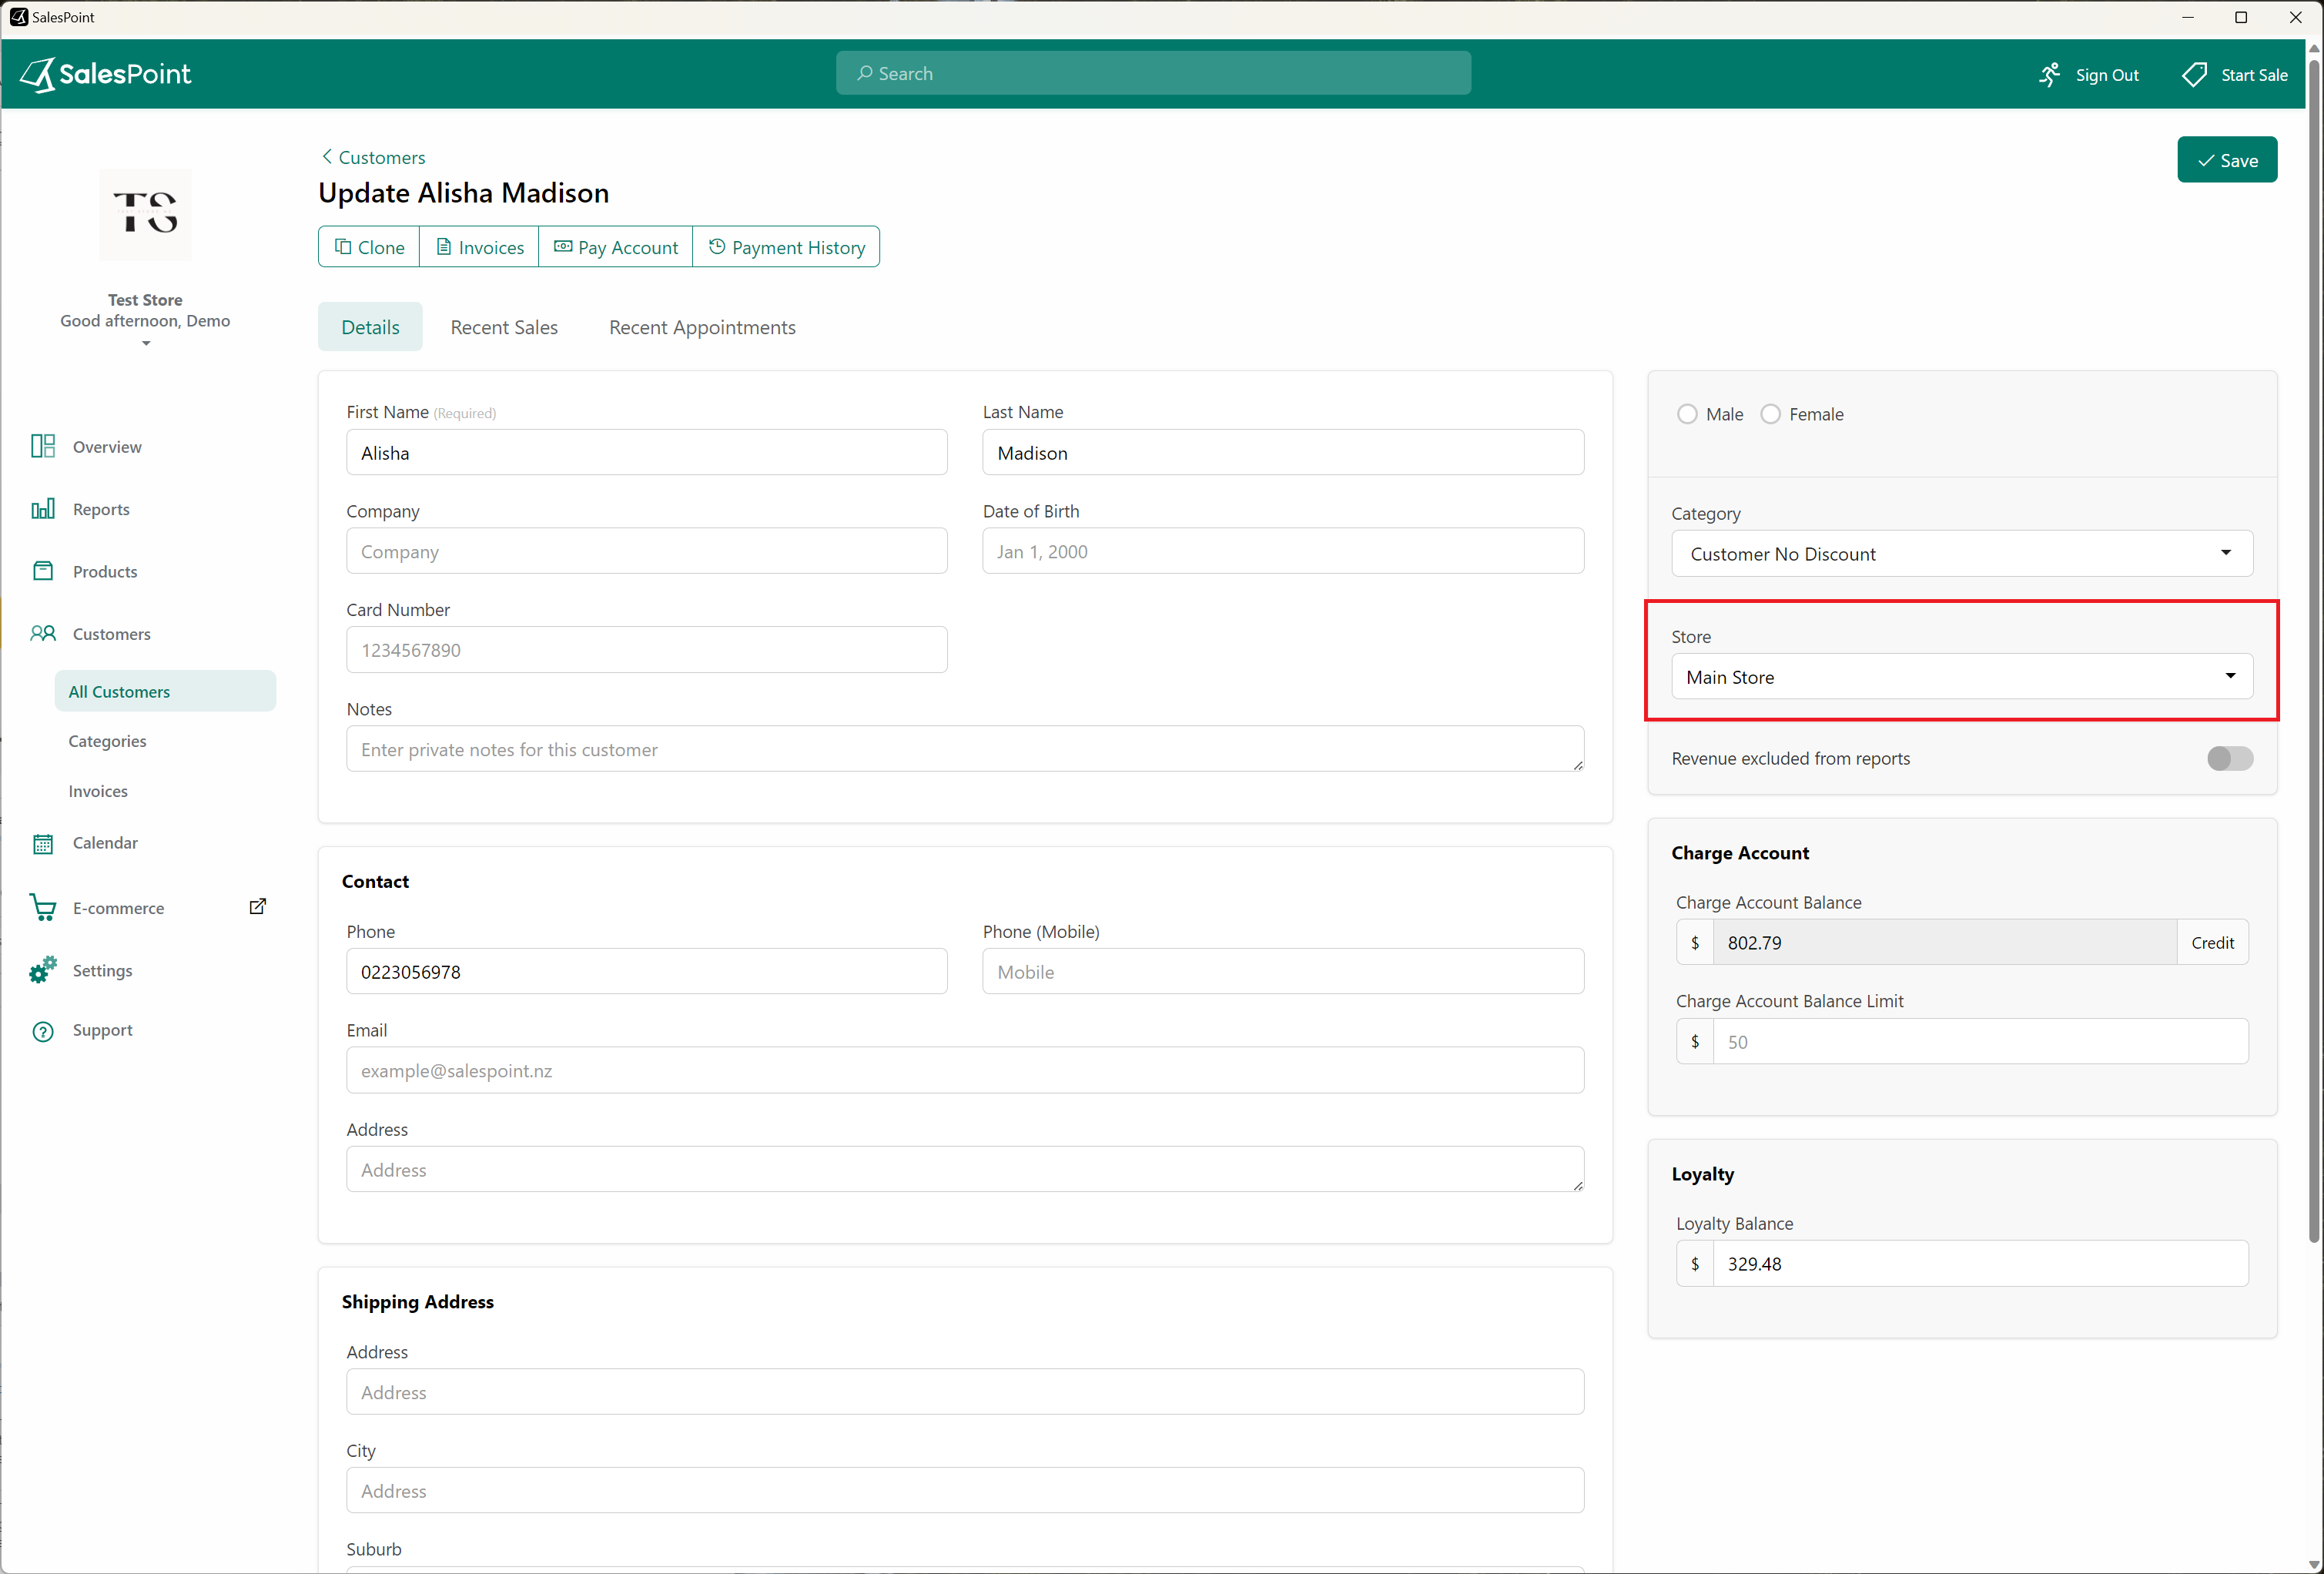
Customers
Assign customers to this store by selecting a customer and changing the associated store in the Customers tab. Alternatively, enable "Share Customers between Stores" in the General subcategory tab under Settings to allow all stores to share customers.
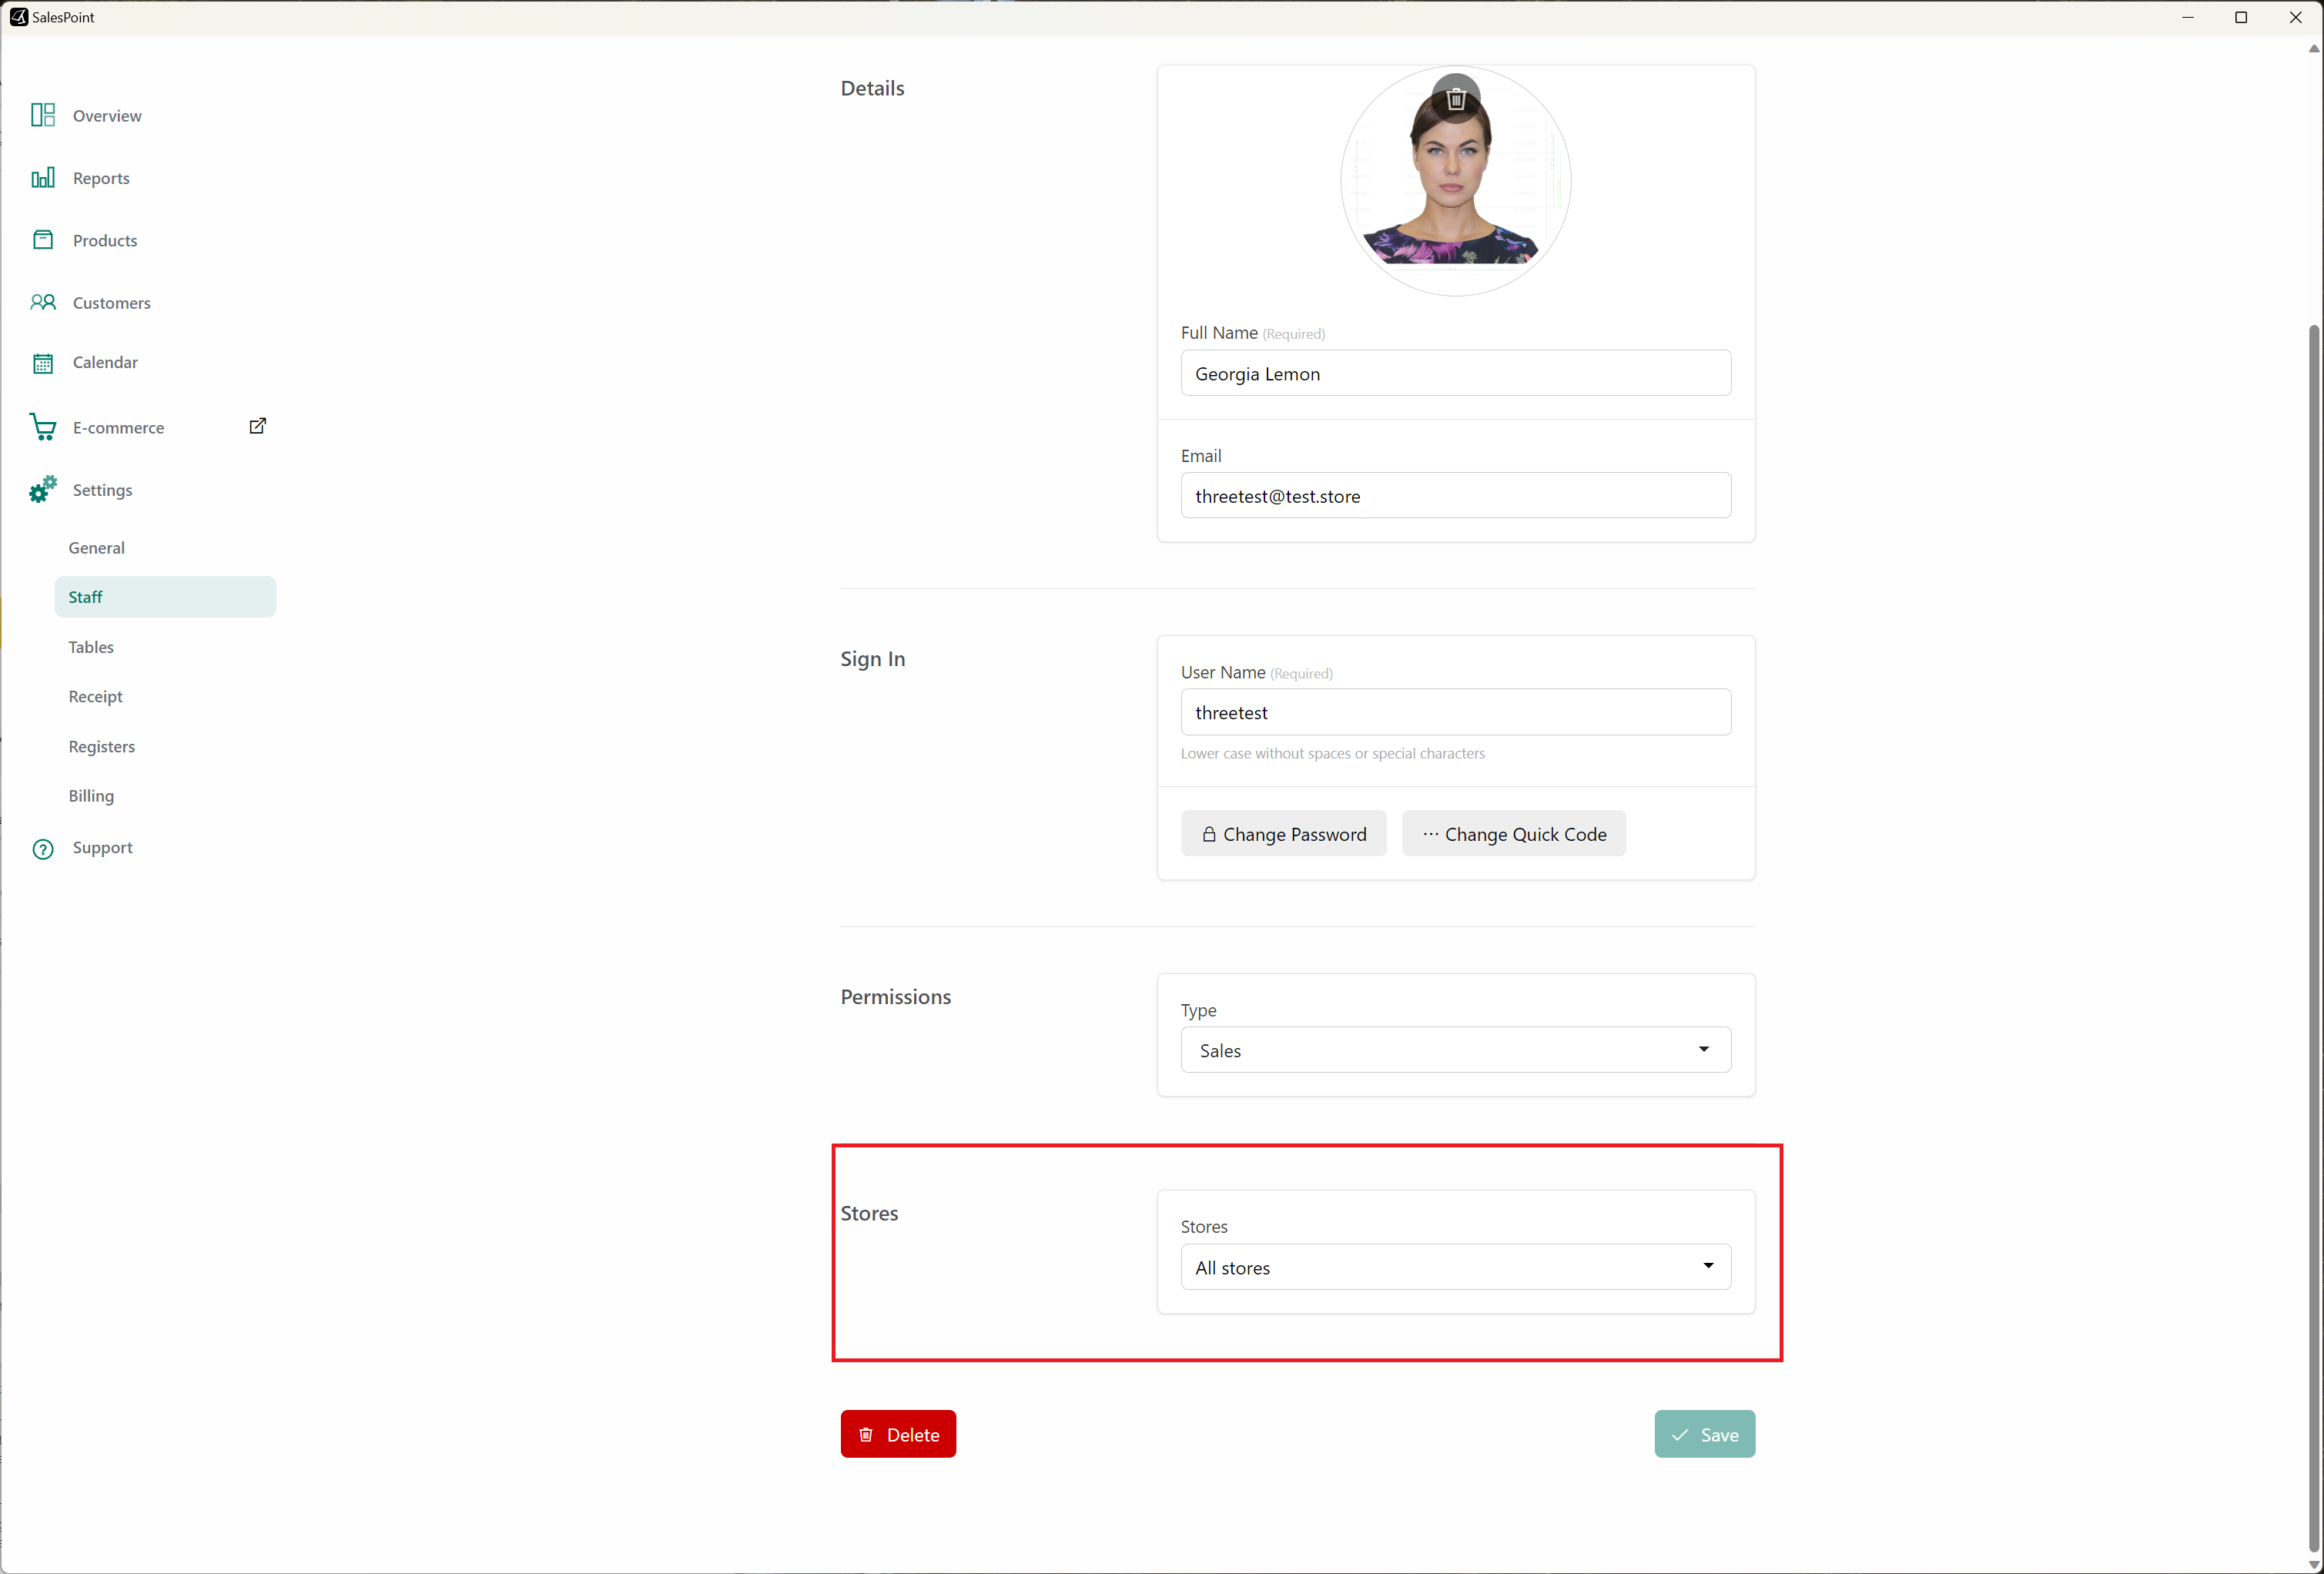
Staff
Grant staff members access to this specific store by navigating to the Staff subcategory tab under Settings. Select or add a staff member, and choose the specific store from the Store Dropdown.
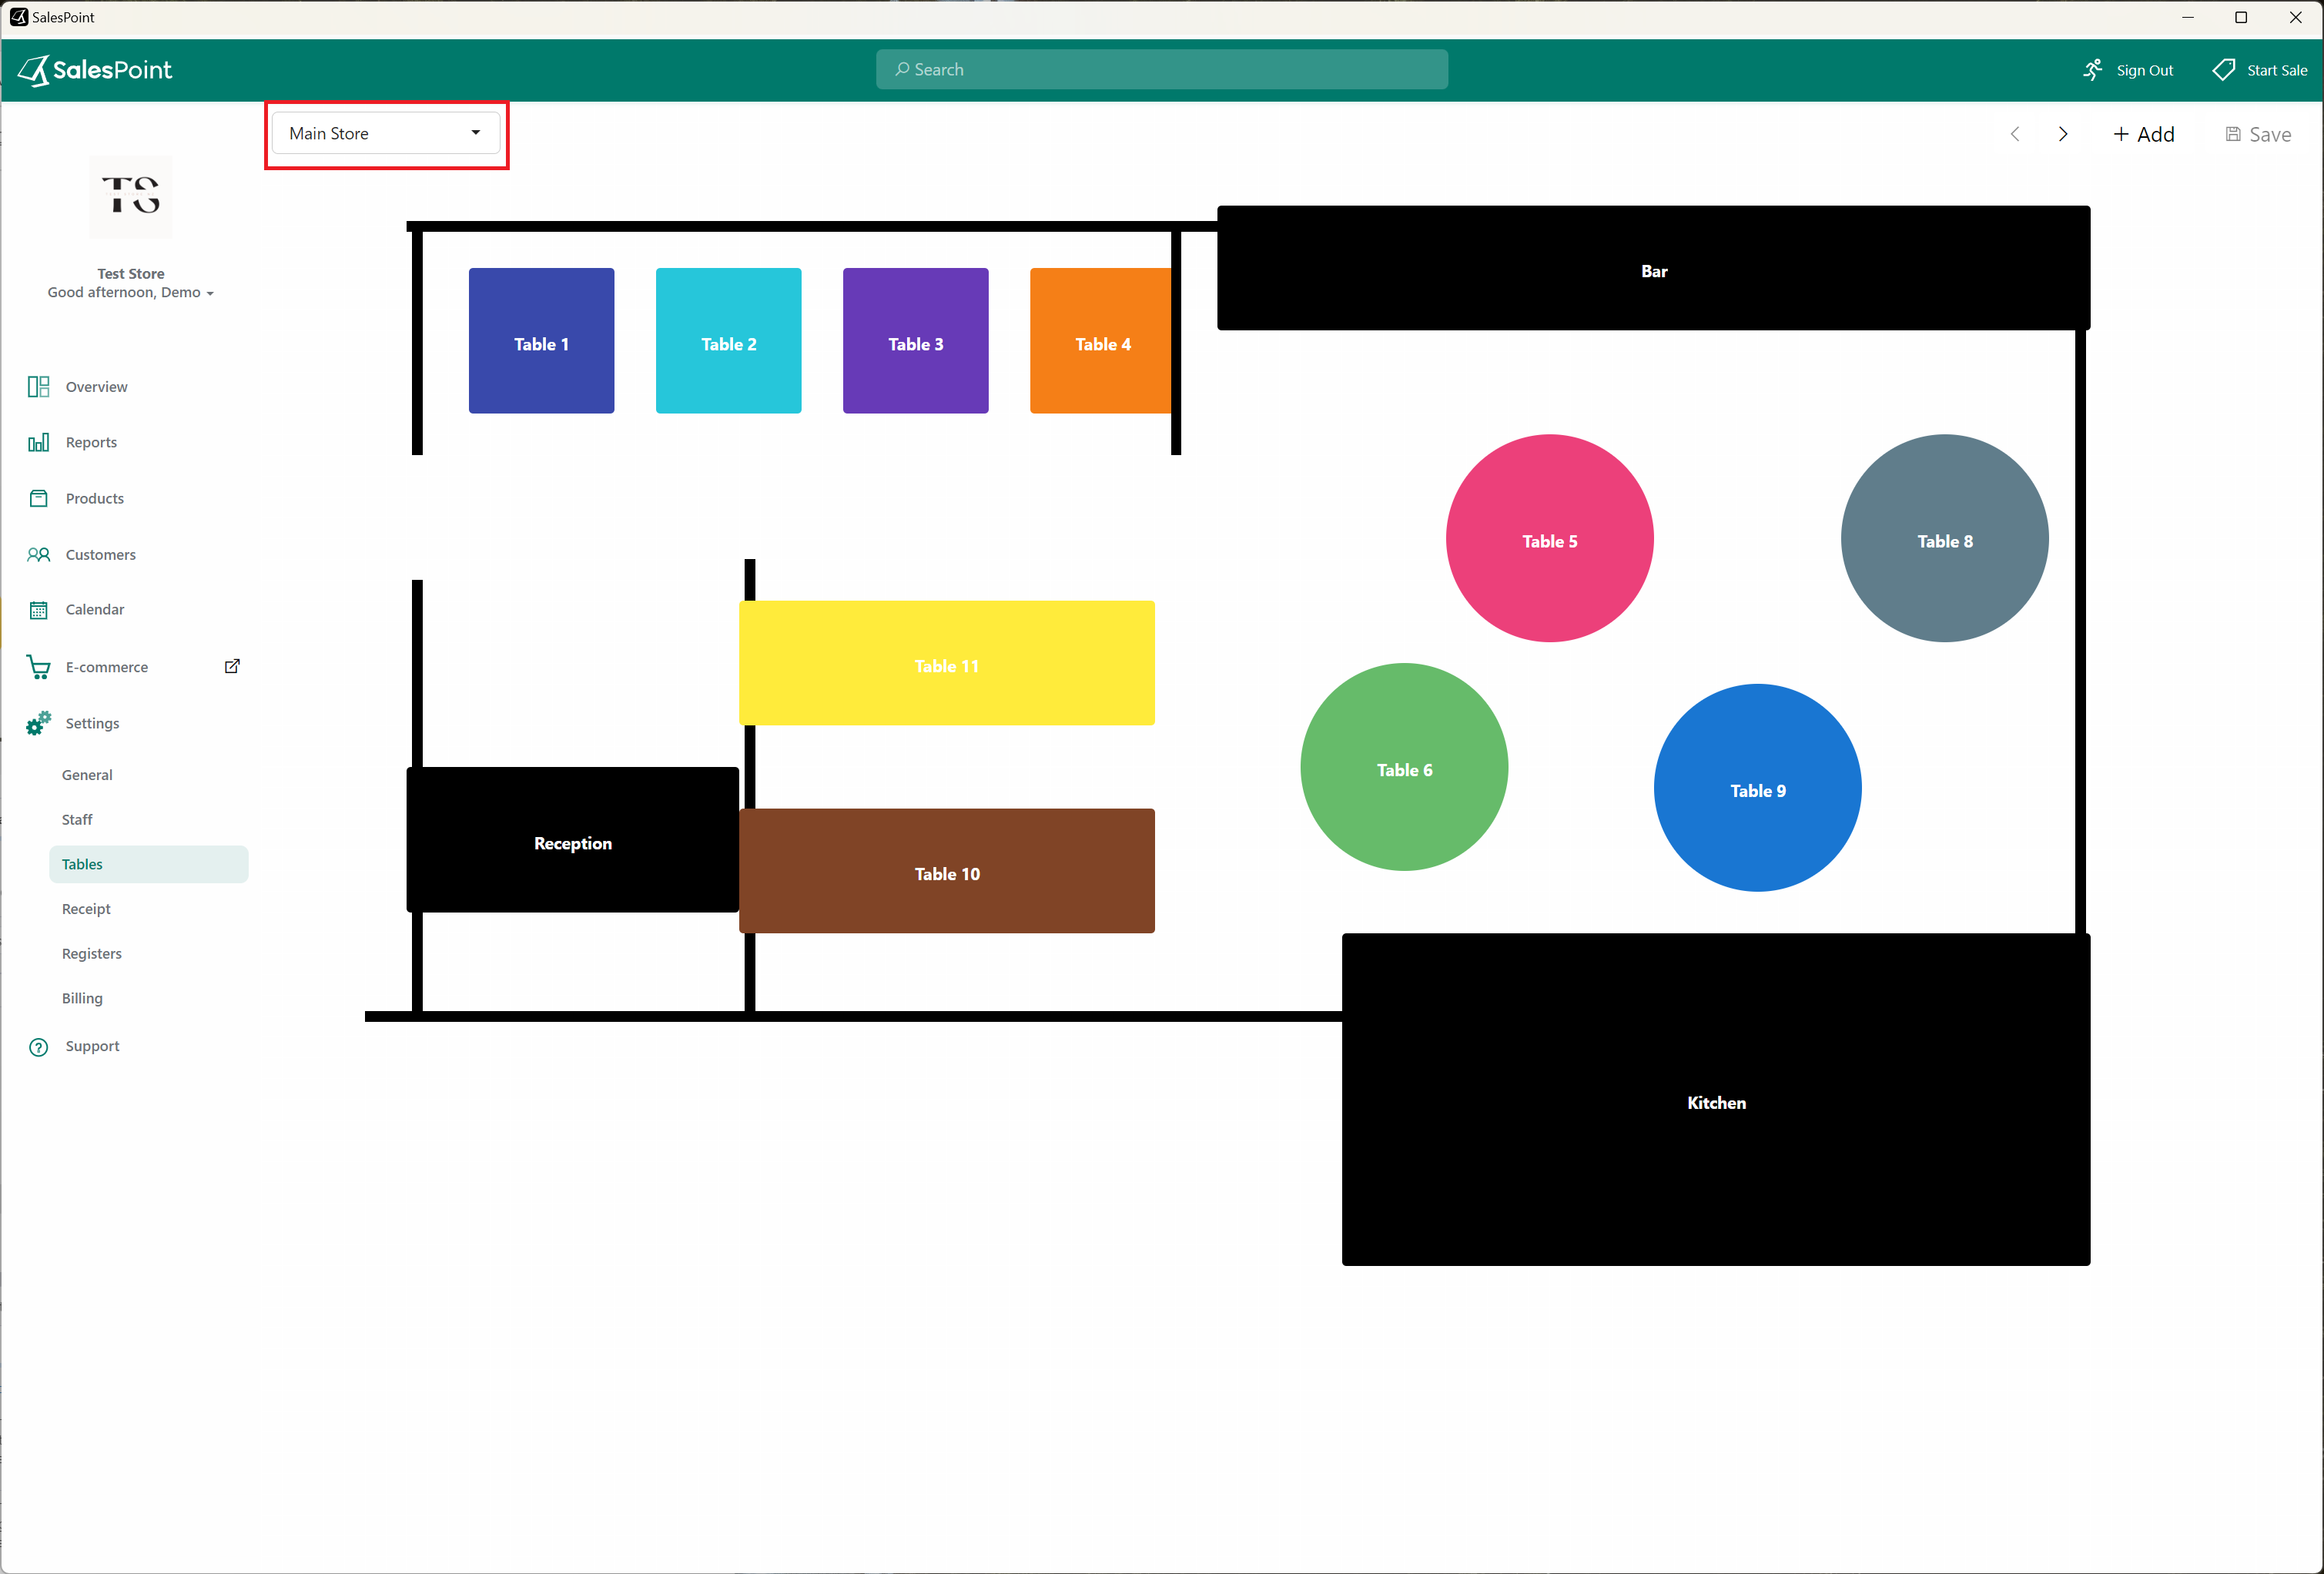
Tables
If your business uses the "Tables" feature, create a new layout for the other store by selecting the store in the Tables subcategory tab under Settings and creating a new layout.
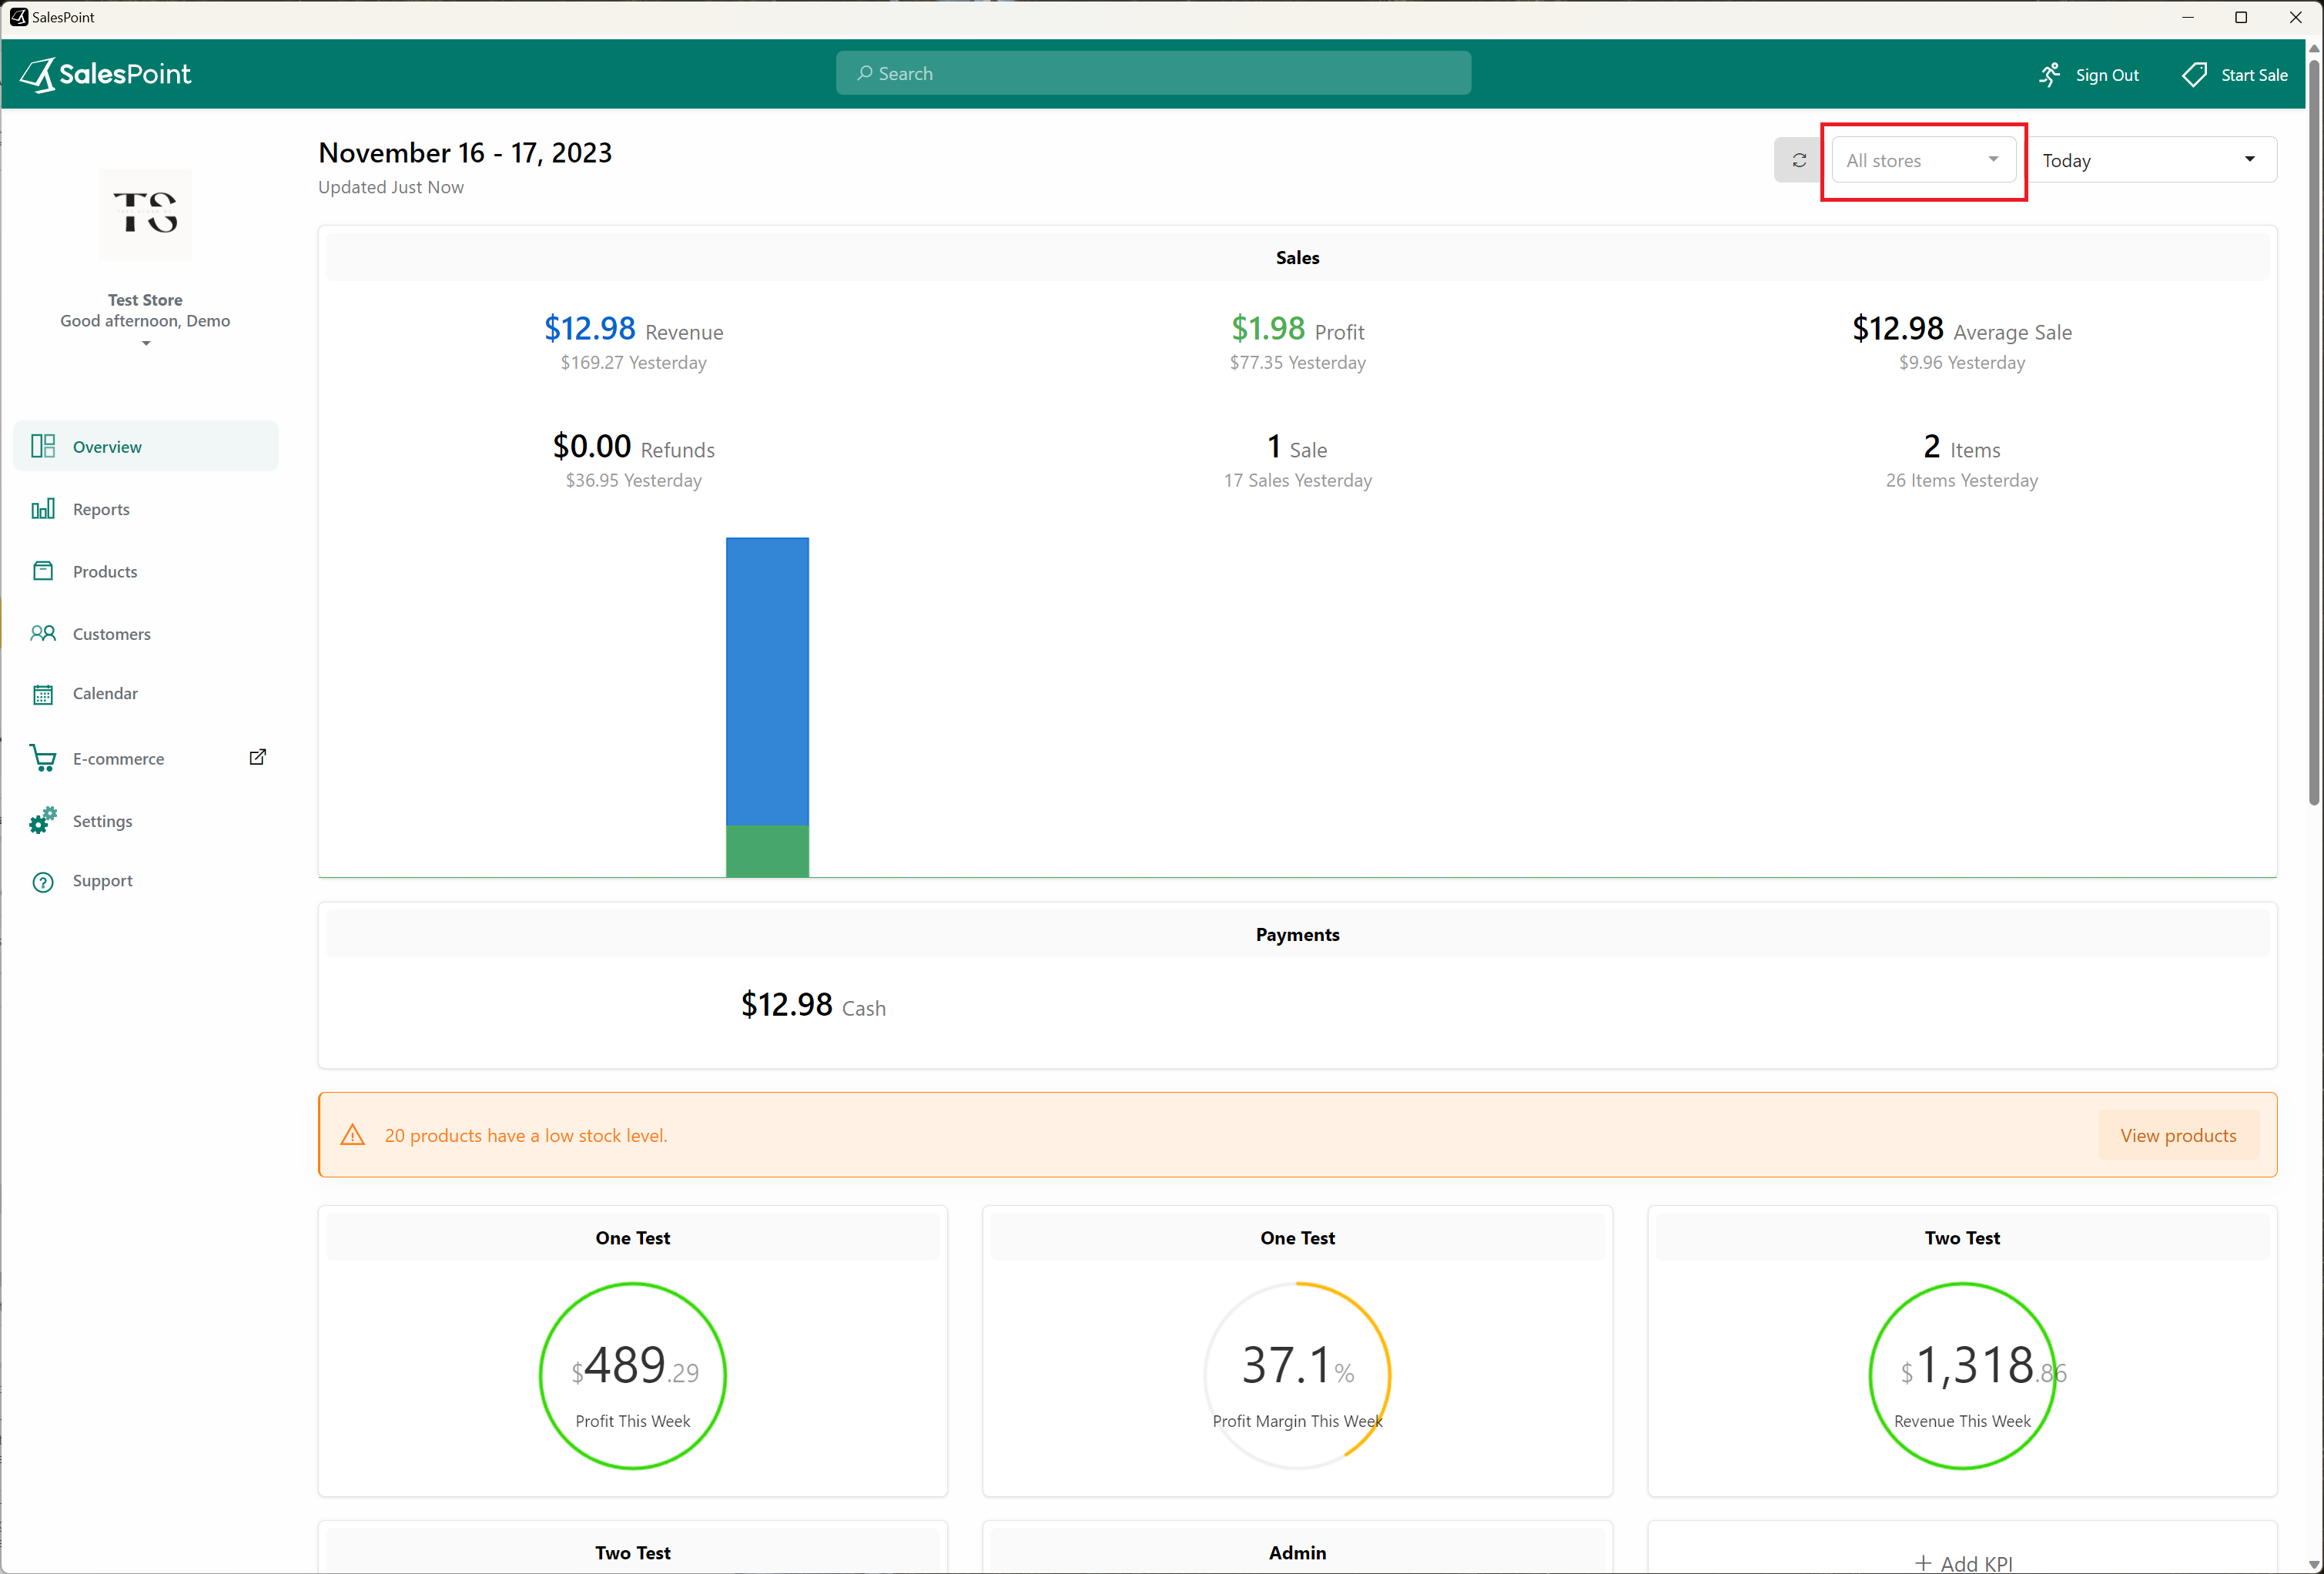
Access Sales Information
For sales details, change the Store dropdown to this store in the Overview section on the dashboard. Similarly, for reporting, ensure the Store dropdown is set to the new store for specific store reports.
Open the New Store
After creating the new store, sign out of Salespoint. If opening the store on the same device, note down EFTPOS integration settings, printer settings, and other configurations. To open the new store, select "Forget Store" from the Menu Button on the sign-in screen and choose the new store when signing back in.
If you plan to frequently change stores within the app, please consult your provider for assistance.