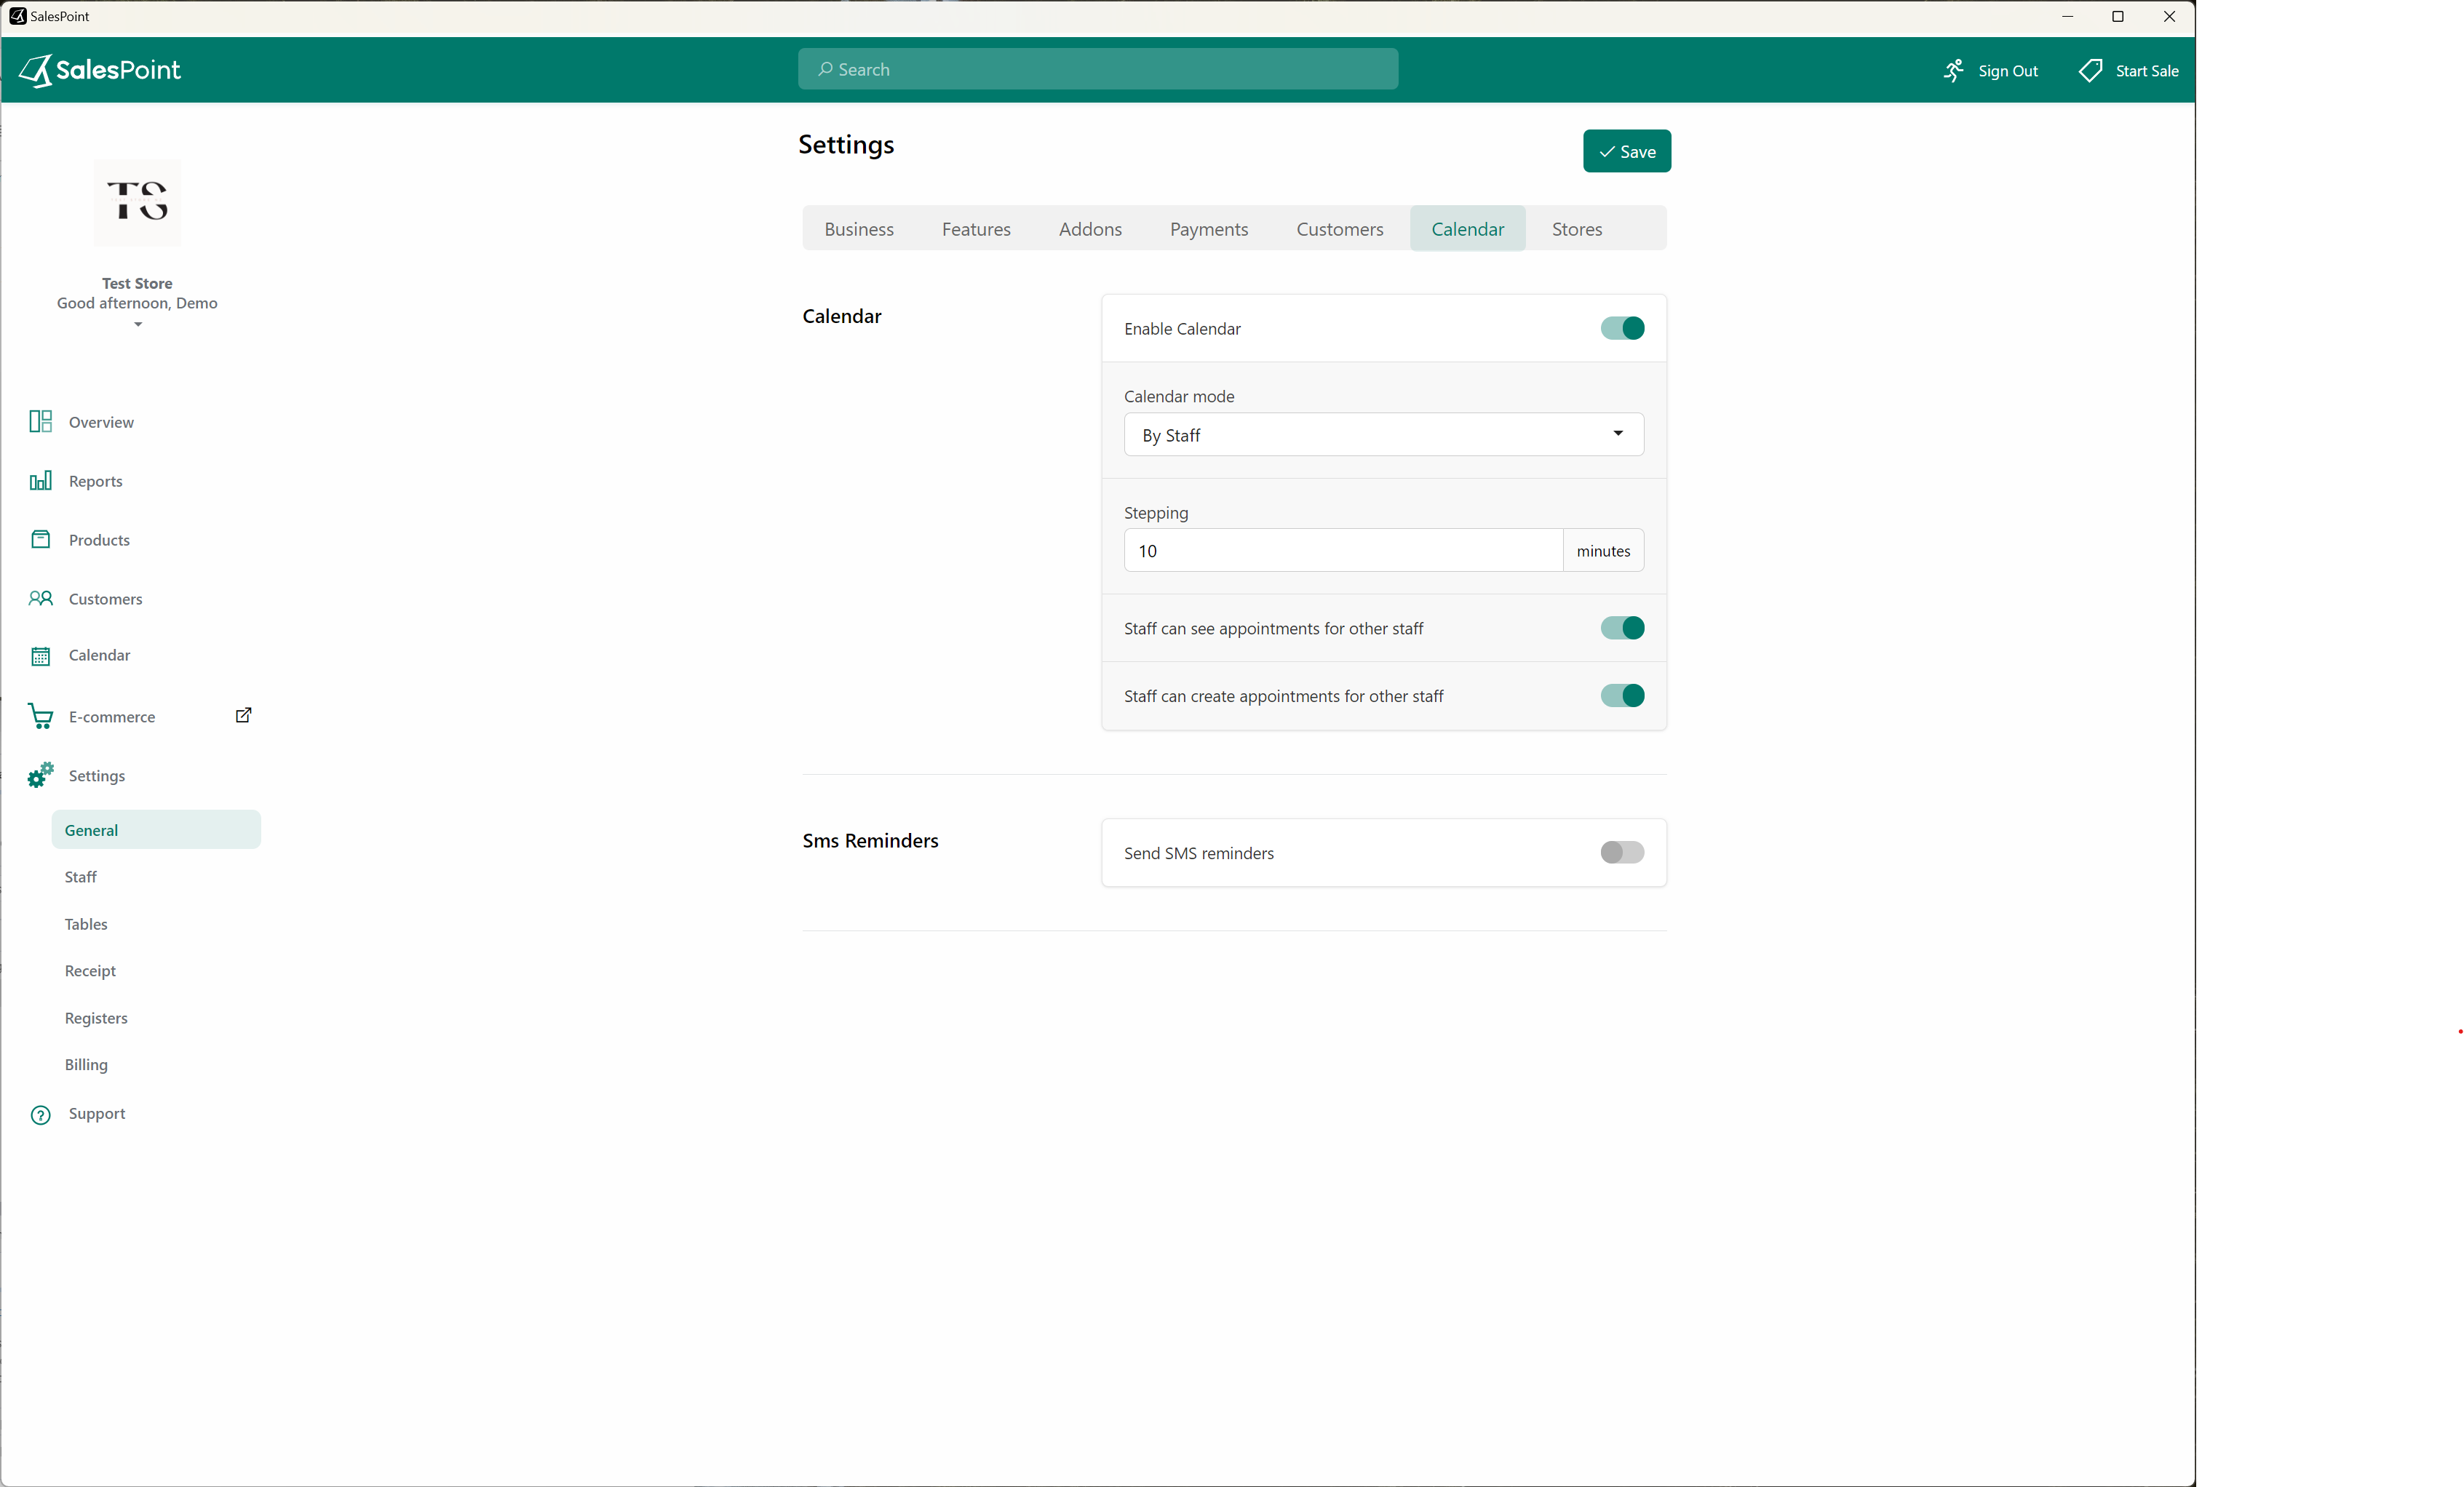
Enable Calendar
Enabling the "Calendar" feature can assist stores in managing important dates, staff schedules, and table reservations. To activate this feature, access the Dashboard, navigate to the "Settings" tab, and select the "Calendar" section. Turn on the "Enable Calendar" option and select your preferred calendar mode. Click the "Save" button to apply your changes.
How to Efficiently Use a Calendar for Bookings as Staff
Setting up a calendar for staff rostering can help in managing staff schedules and shifts more efficiently. By having a visual representation of the schedule, it becomes easier to see who is working on a particular day or time, which can help in avoiding conflicts and double bookings.
1. After enabling the calendar, switch to "By Staff" mode. This will make the "Calendar" tab visible on both the Administration Screen (Dashboard/Back Office). Simply click on the "Calendar" tab to access it.
Additionally, you have the ability to enable toggles that allow staff members to view or create appointments for other staff members.

2. To modify the working hours of a staff member, access the dashboard and click on the "Settings" tab. Then, select the "Staff" subcategory and choose the staff member whose hours you want to change. Open the "Hours" section and adjust their schedule accordingly.
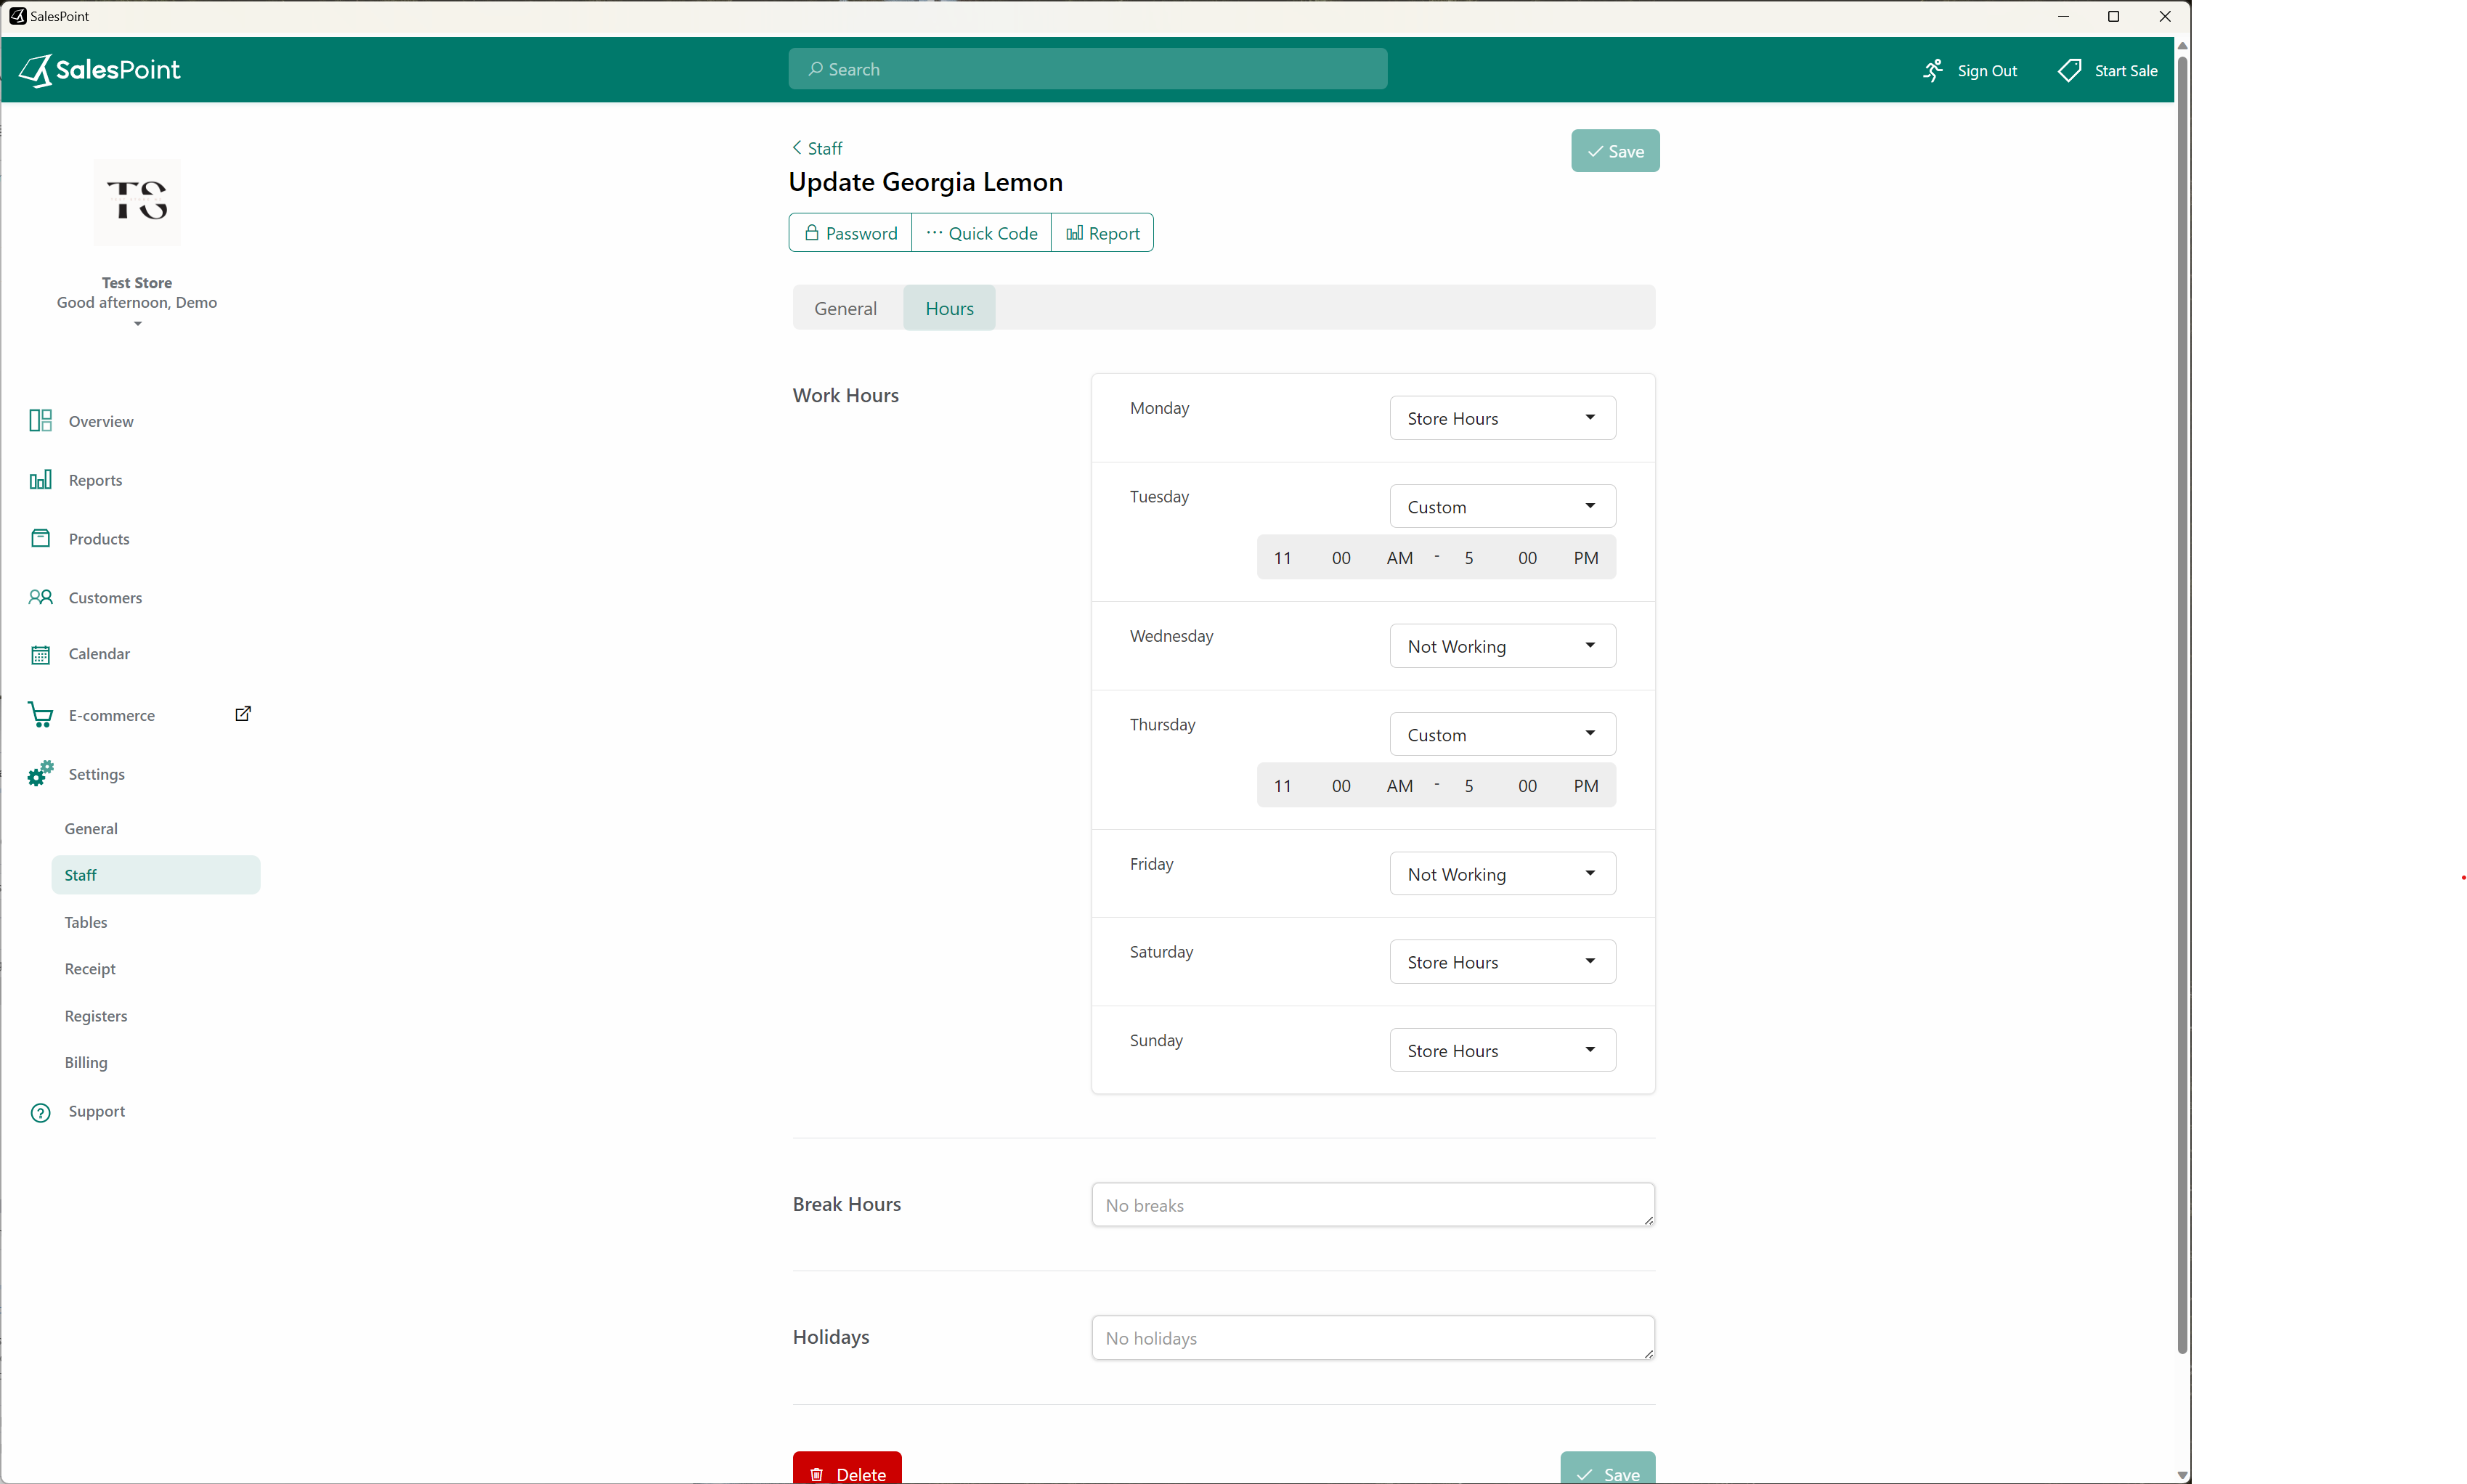
3. To view the updated working hours of a staff member, return to the "Calendar" tab. The calendar displays the work schedule for each staff member for the selected day. The white section of the calendar represents the store's opening hours. If a staff member has a shift for only a portion of the day, their shift will appear as a white section on the column within the calendar.
How to Add Bookings
1. To add a booking, click on any available time slot on the calendar. Then, fill in the required information for the booking such as the customer name, the service required, and the staff member who will be providing the service. You can also set the duration and the date and time of the appointment. Once all the necessary information is filled, save the booking by clicking the "Save" button. The booking will then be added to the staff member's calendar and can be viewed on the sale screen.
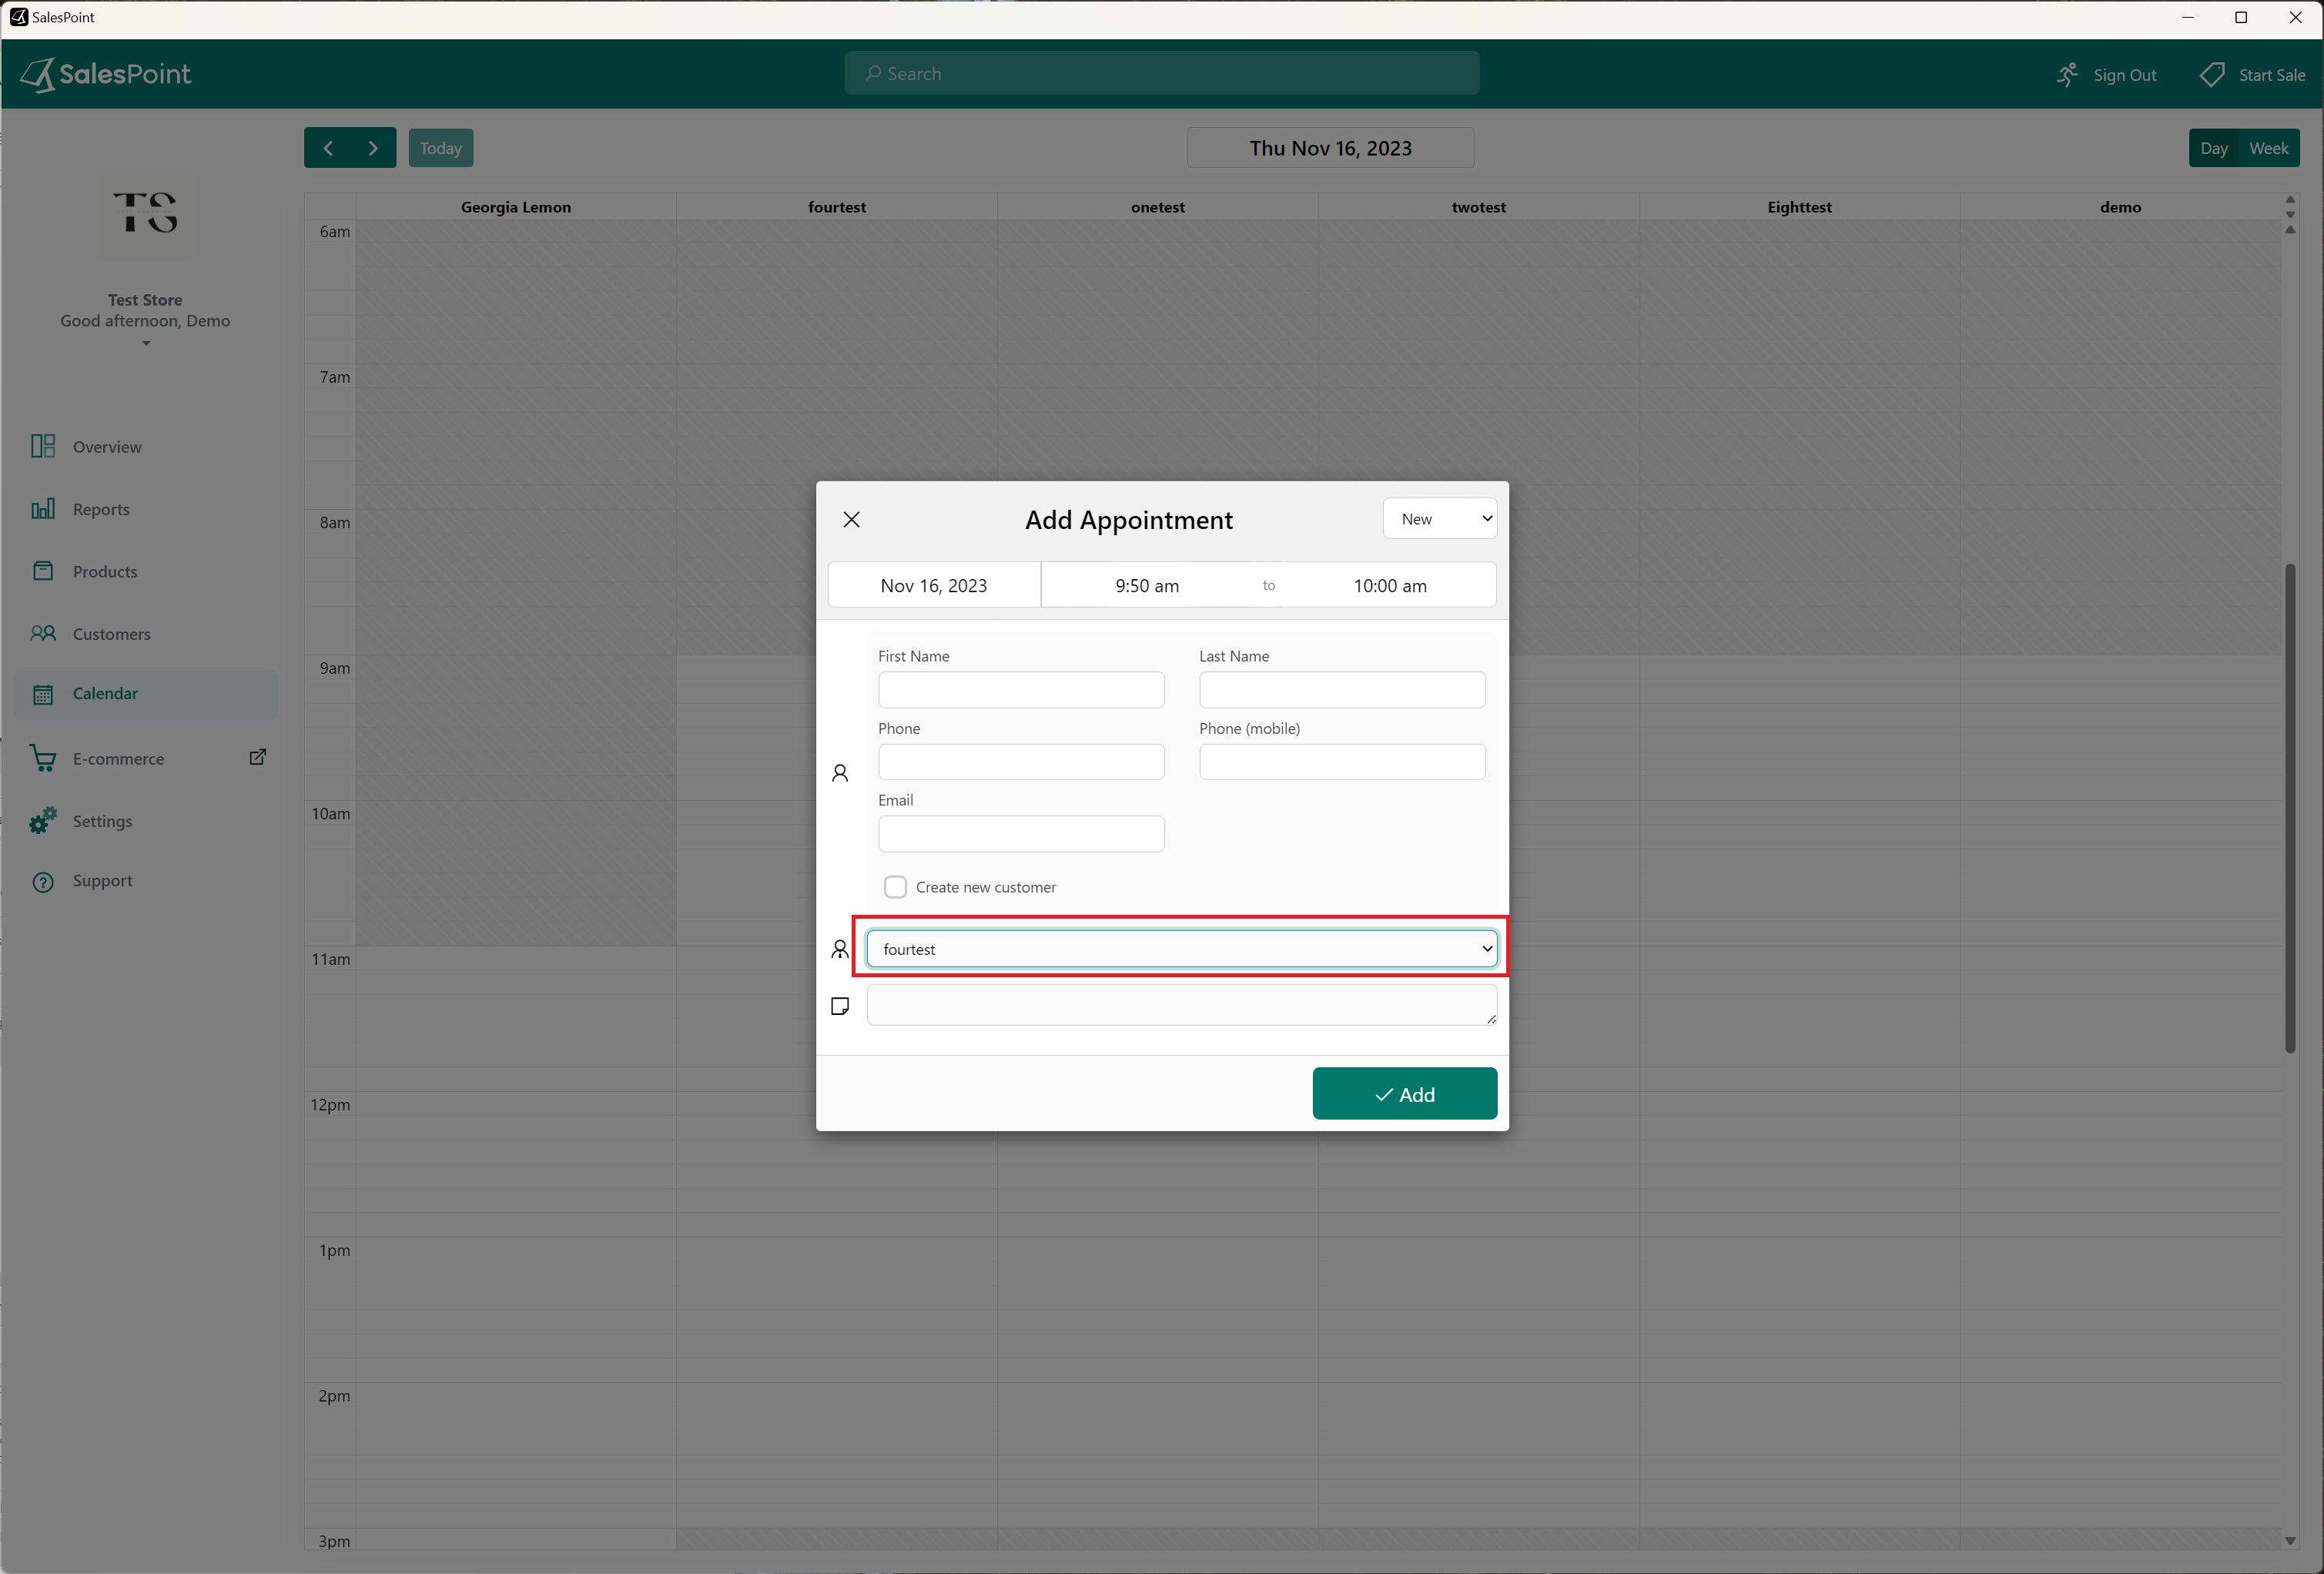
2. There are three types of bookings available in the calendar. Staff members can add a new appointment, reject an appointment if there are any issues with the customer cancel it, or accept an appointment. A light blue appointment indicates a new booking, a dark blue indicates an accepted booking, and red indicates a rejected booking. To change the type of booking, click on the appointment and select the appropriate option from the dropdown menu.
In addition to the dashboard, you can also access the calendar feature and manage appointments directly from the Sale Screen. Simply click on the "Calendar" icon, and you'll be able to add or remove appointments just like in the dashboard.