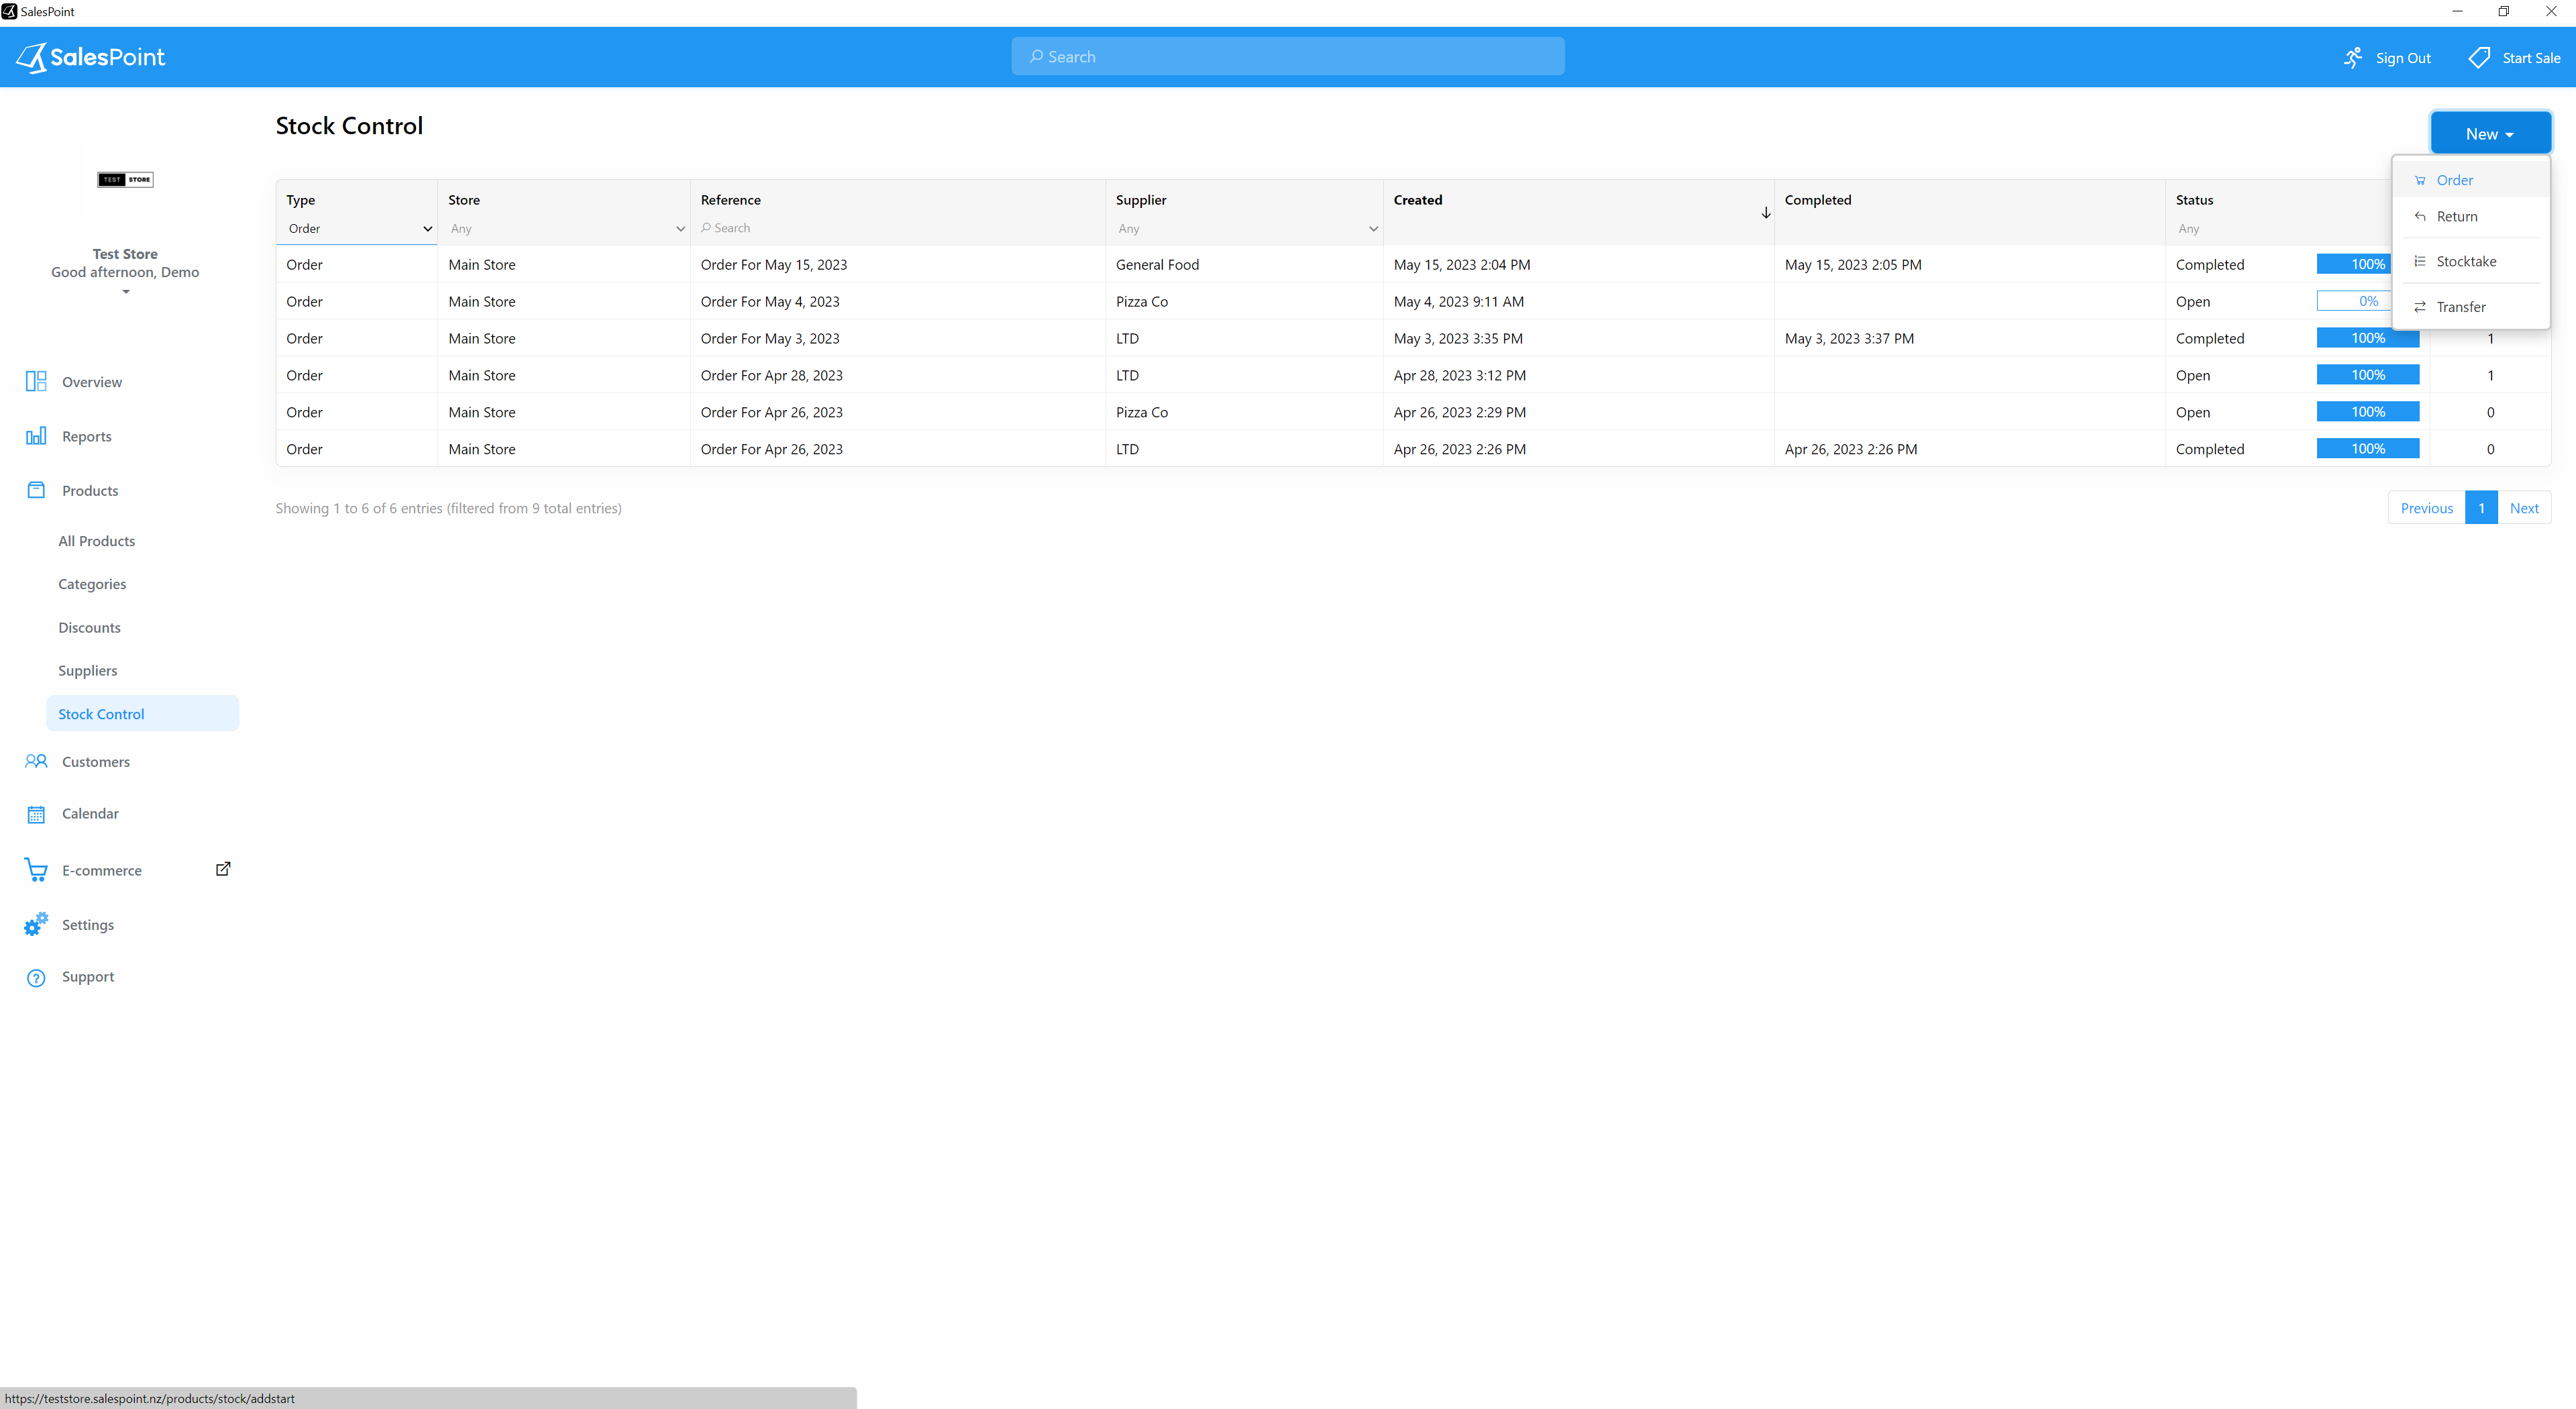
SalesPoint empowers you to easily transfer stock from your store to another branch, enabling seamless inventory management and distribution across multiple locations. To do this, navigate to the Dashboard/Back Office, go to the "Products" tab then the "Stock Control" subcategory tab. Press the "New" button and select "Transfer."
When transferring stocks to another store, make sure to include the following order details:
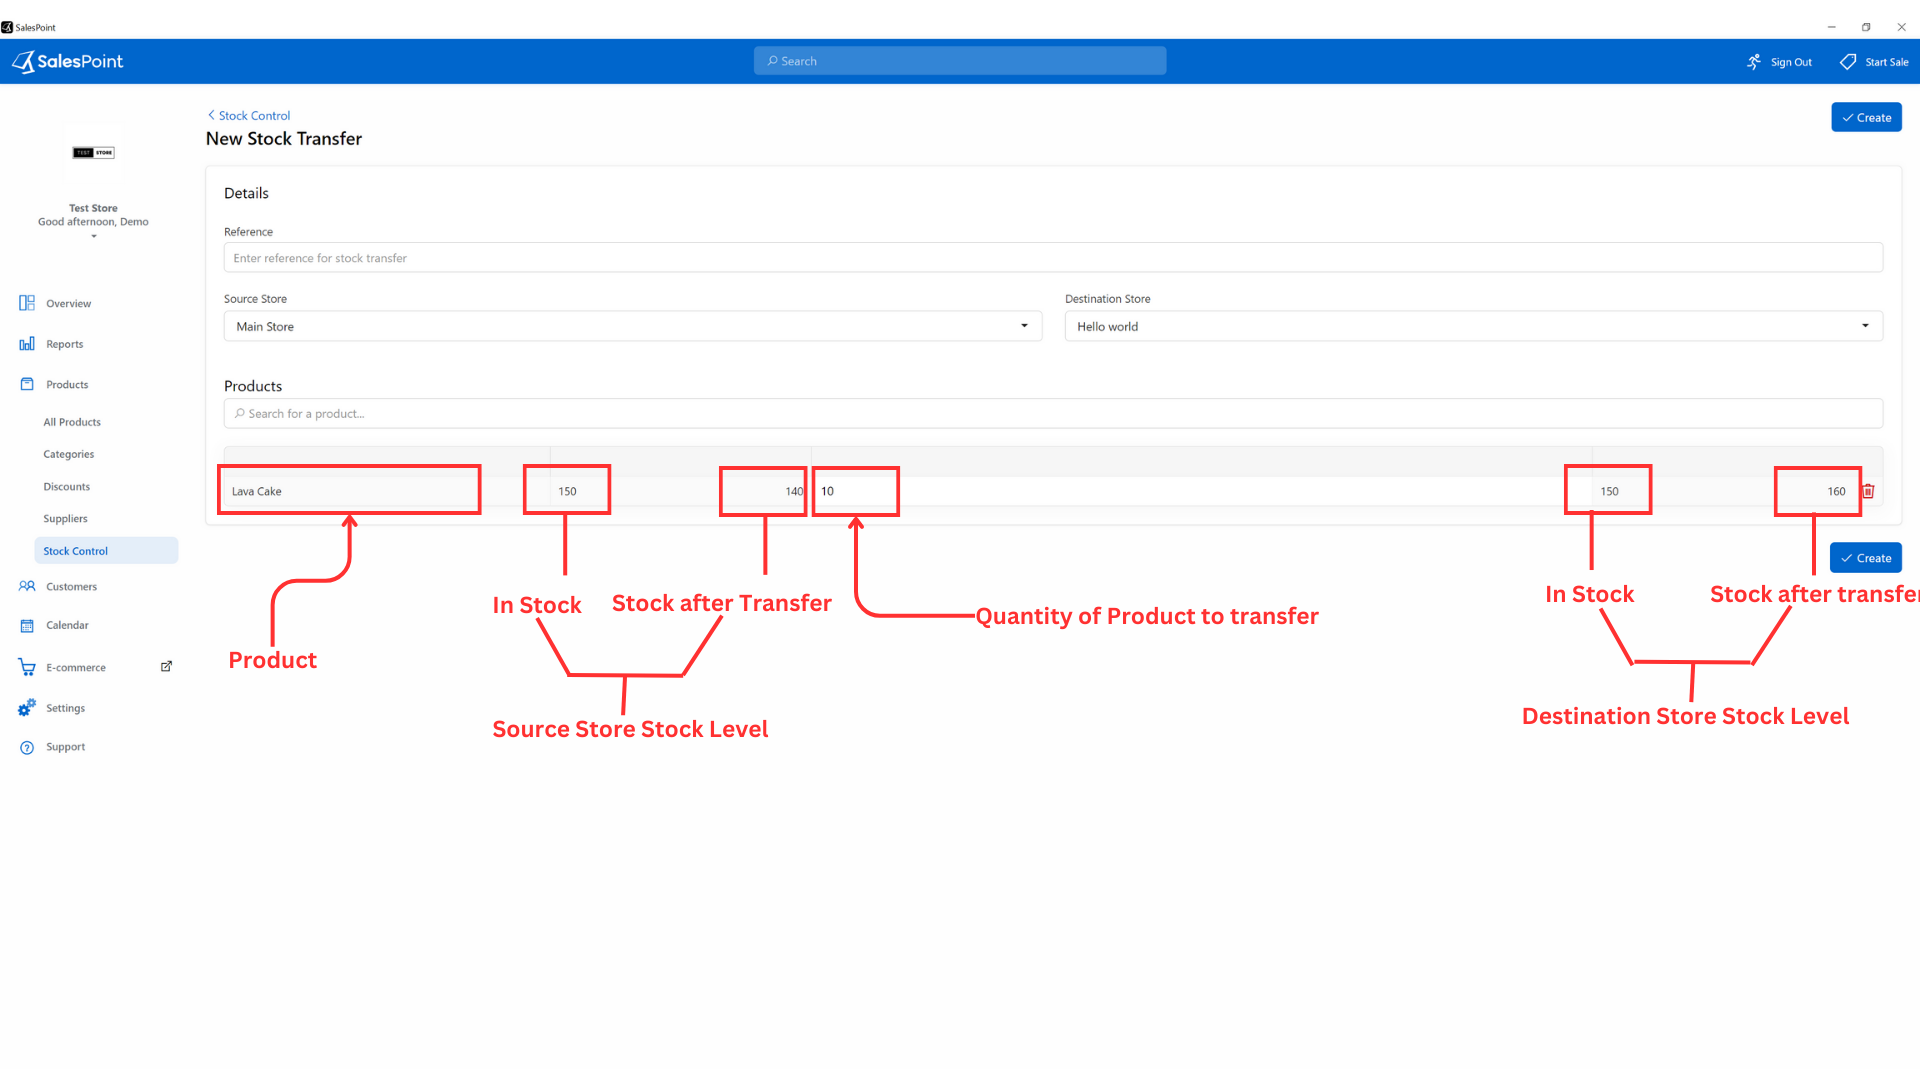
Reference Notes
A reference note for stock transfer is essential for maintaining proper documentation and record-keeping of the transfer process, enabling accurate tracking of inventory between locations.
Source Store
Refers to the store from where the stock or inventory is being transferred.
Destination Store
Refers to the store where the stock or inventory is being transferred to.
Receiving Stock Transfer
After receiving the stock transfer, navigate to the "Products" tab and select the stock process you wish to update from the "Stock Control" subcategory tab. From there, you can proceed to press the "Complete" button to finalize the transfer process.
To verify the updated stock level of a product, navigate to the "All products" subcategory tab and click on the desired product. Access the "Stock" section of the product, where you can view the stock levels for each store and ensure that the transfer has been reflected accurately.