To create a label on the shelf should be easy: please ensure you have the printer connected before going through the next step.
Via Dashboard
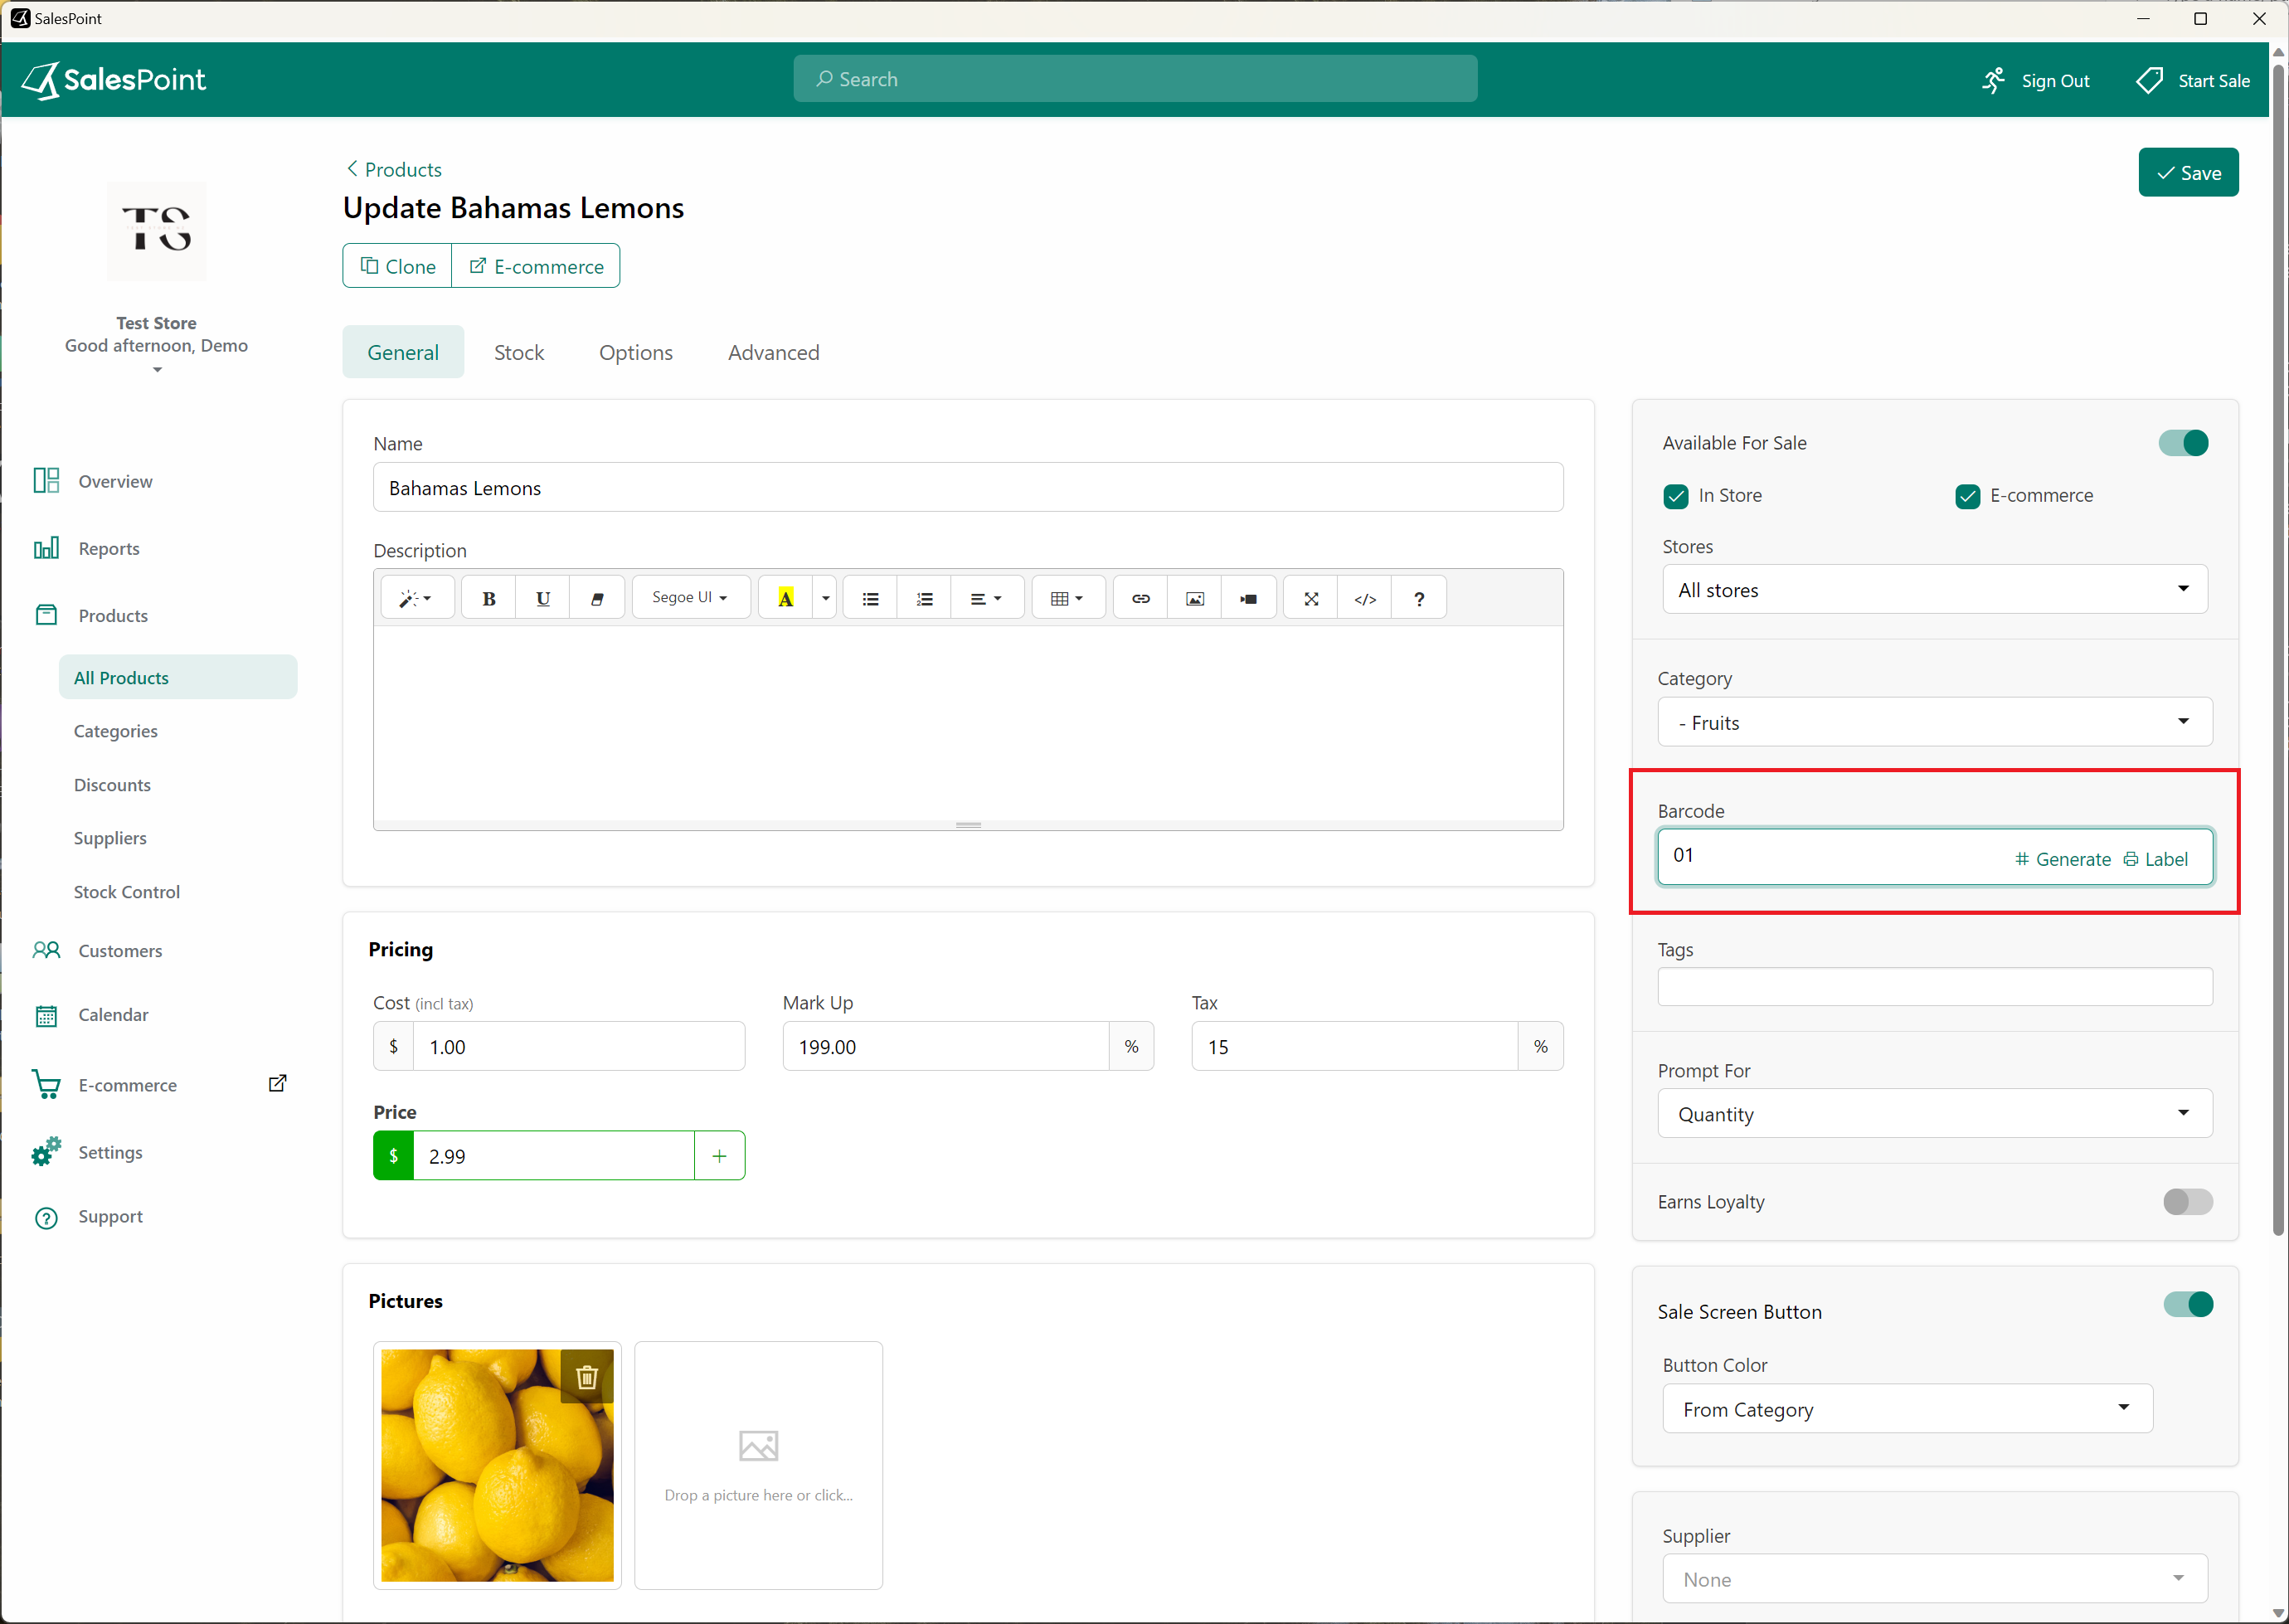
- On the dashboard, select the product and go to the Advanced or General section to find the Barcode field.
- Select the barcode field. Generate and label buttons will appear. To create a barcode, either generate a random barcode or scan/enter a barcode for this product.
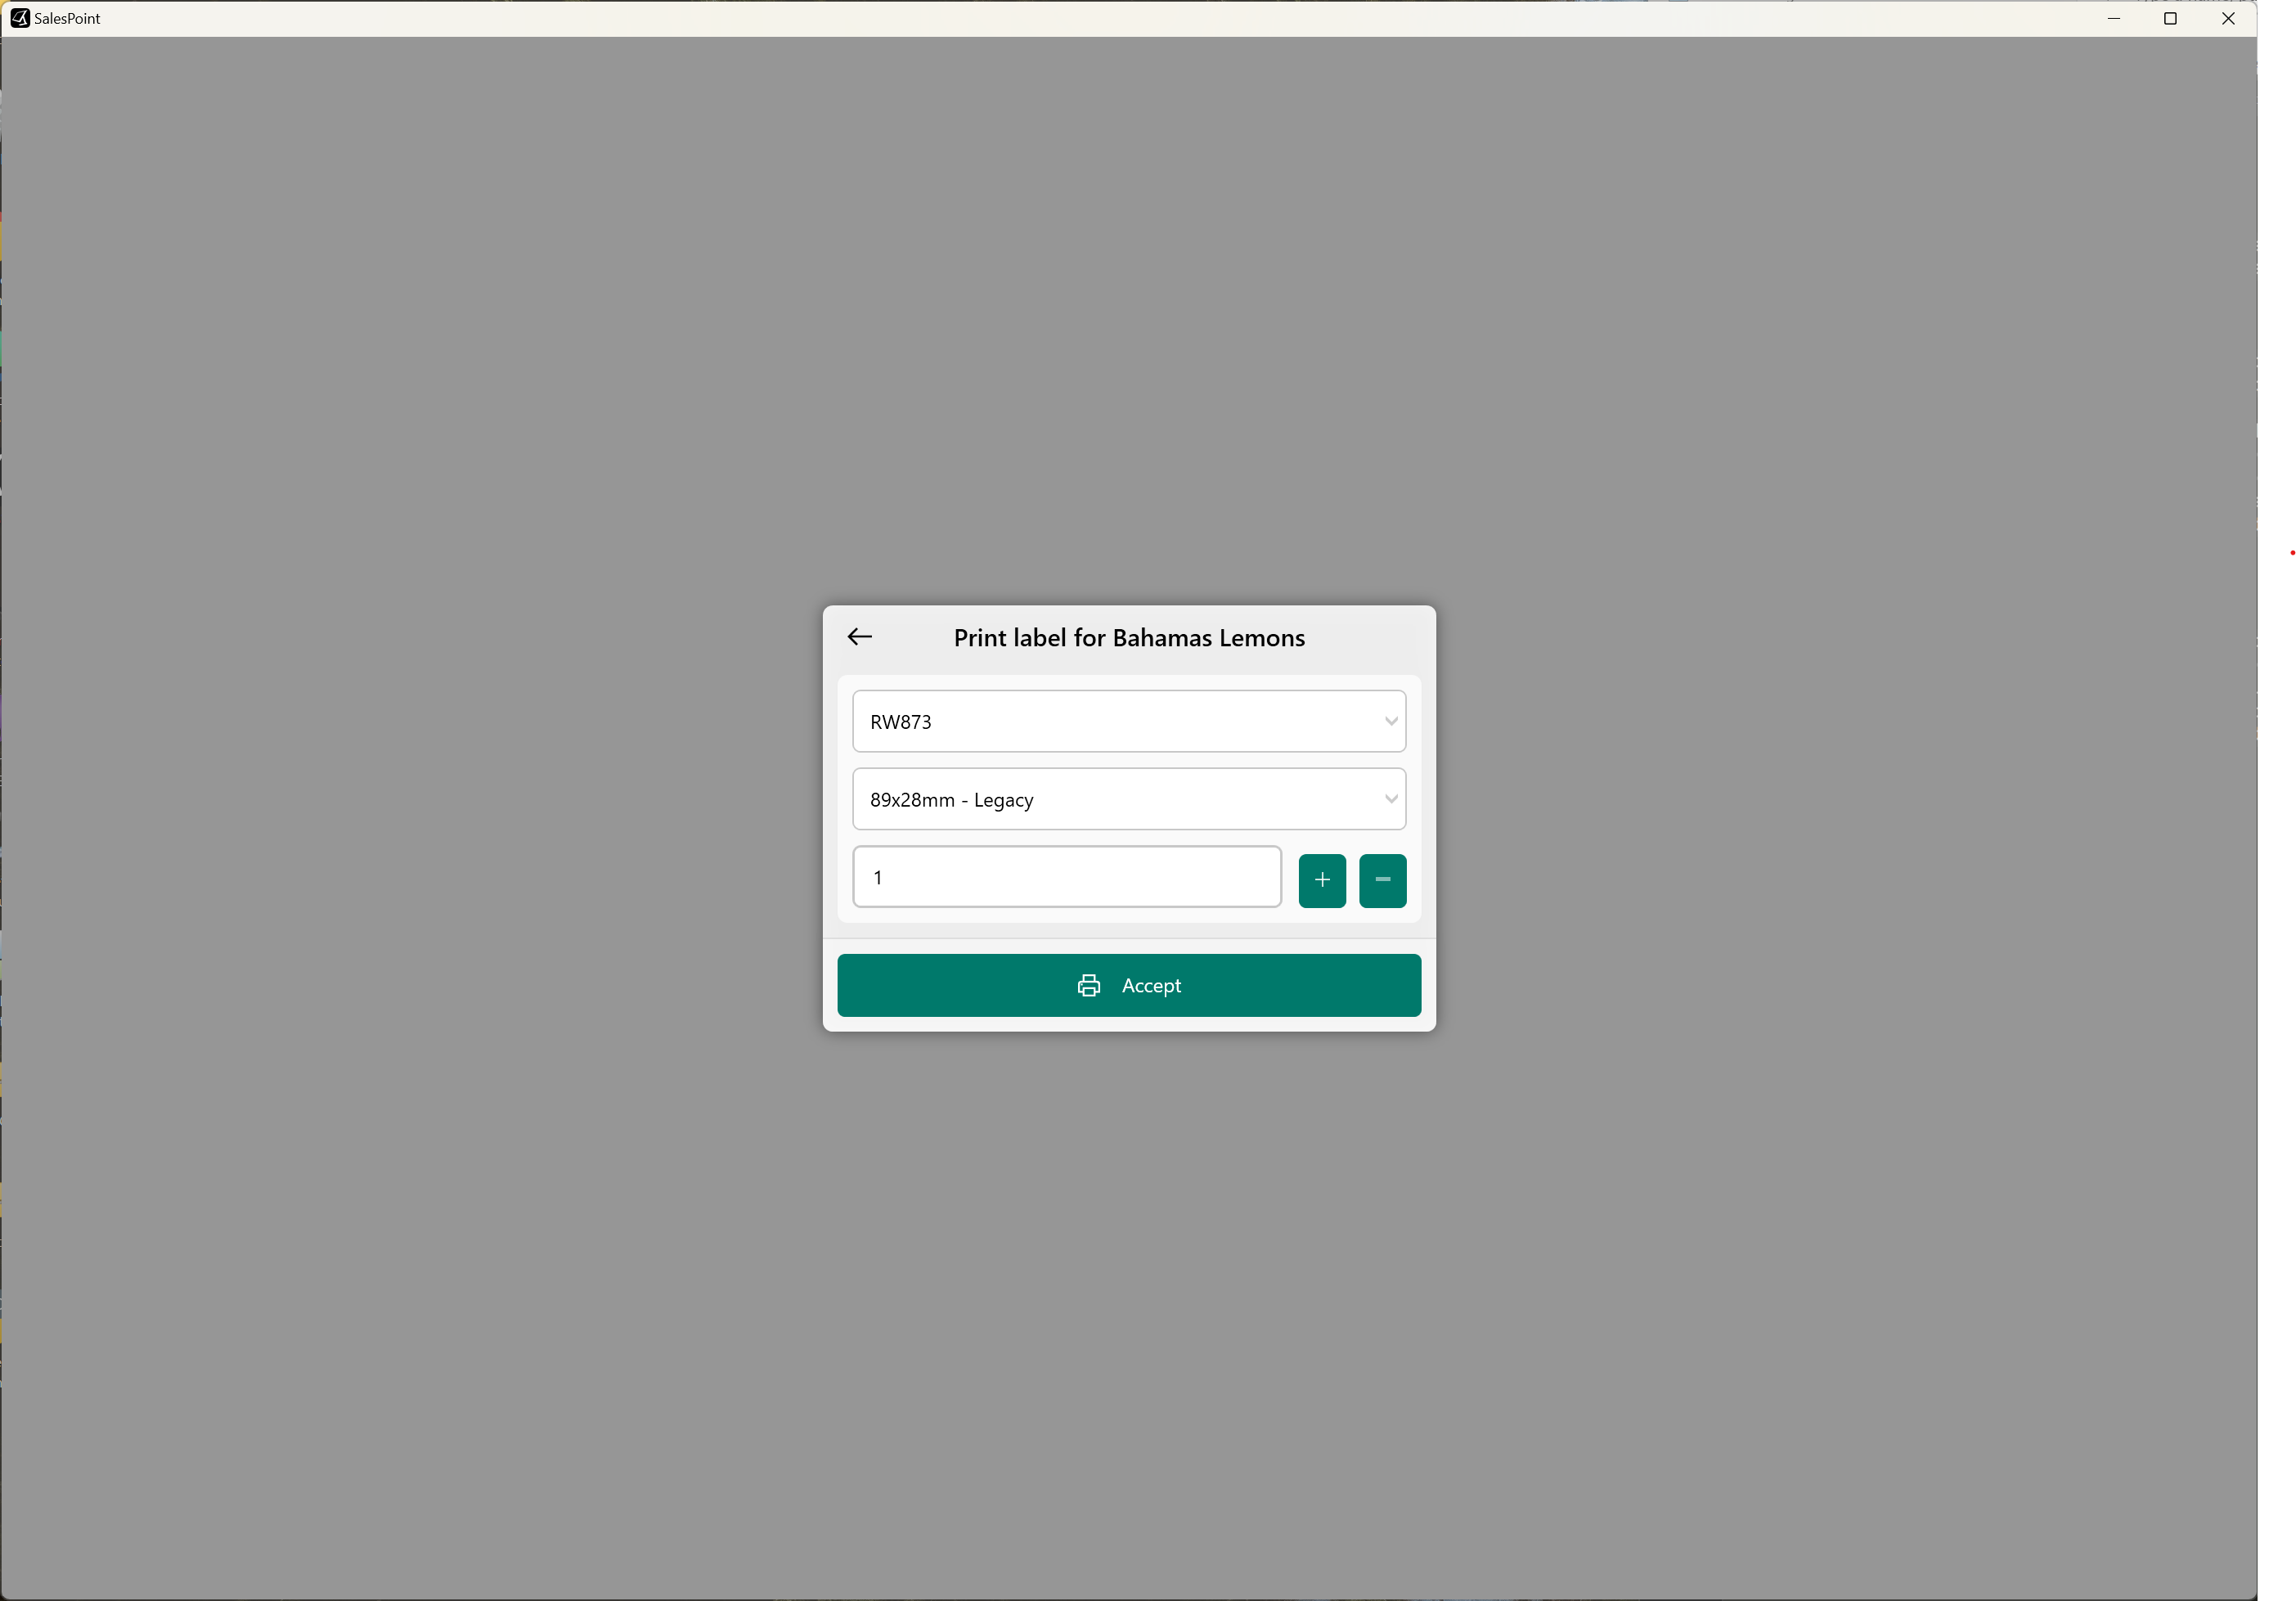
- To print a label for this product, select the Label button and fill in the type of printer for this label, the desired print size, and the printing quantity. Finally, click the Accept button.
Via Sale Screen
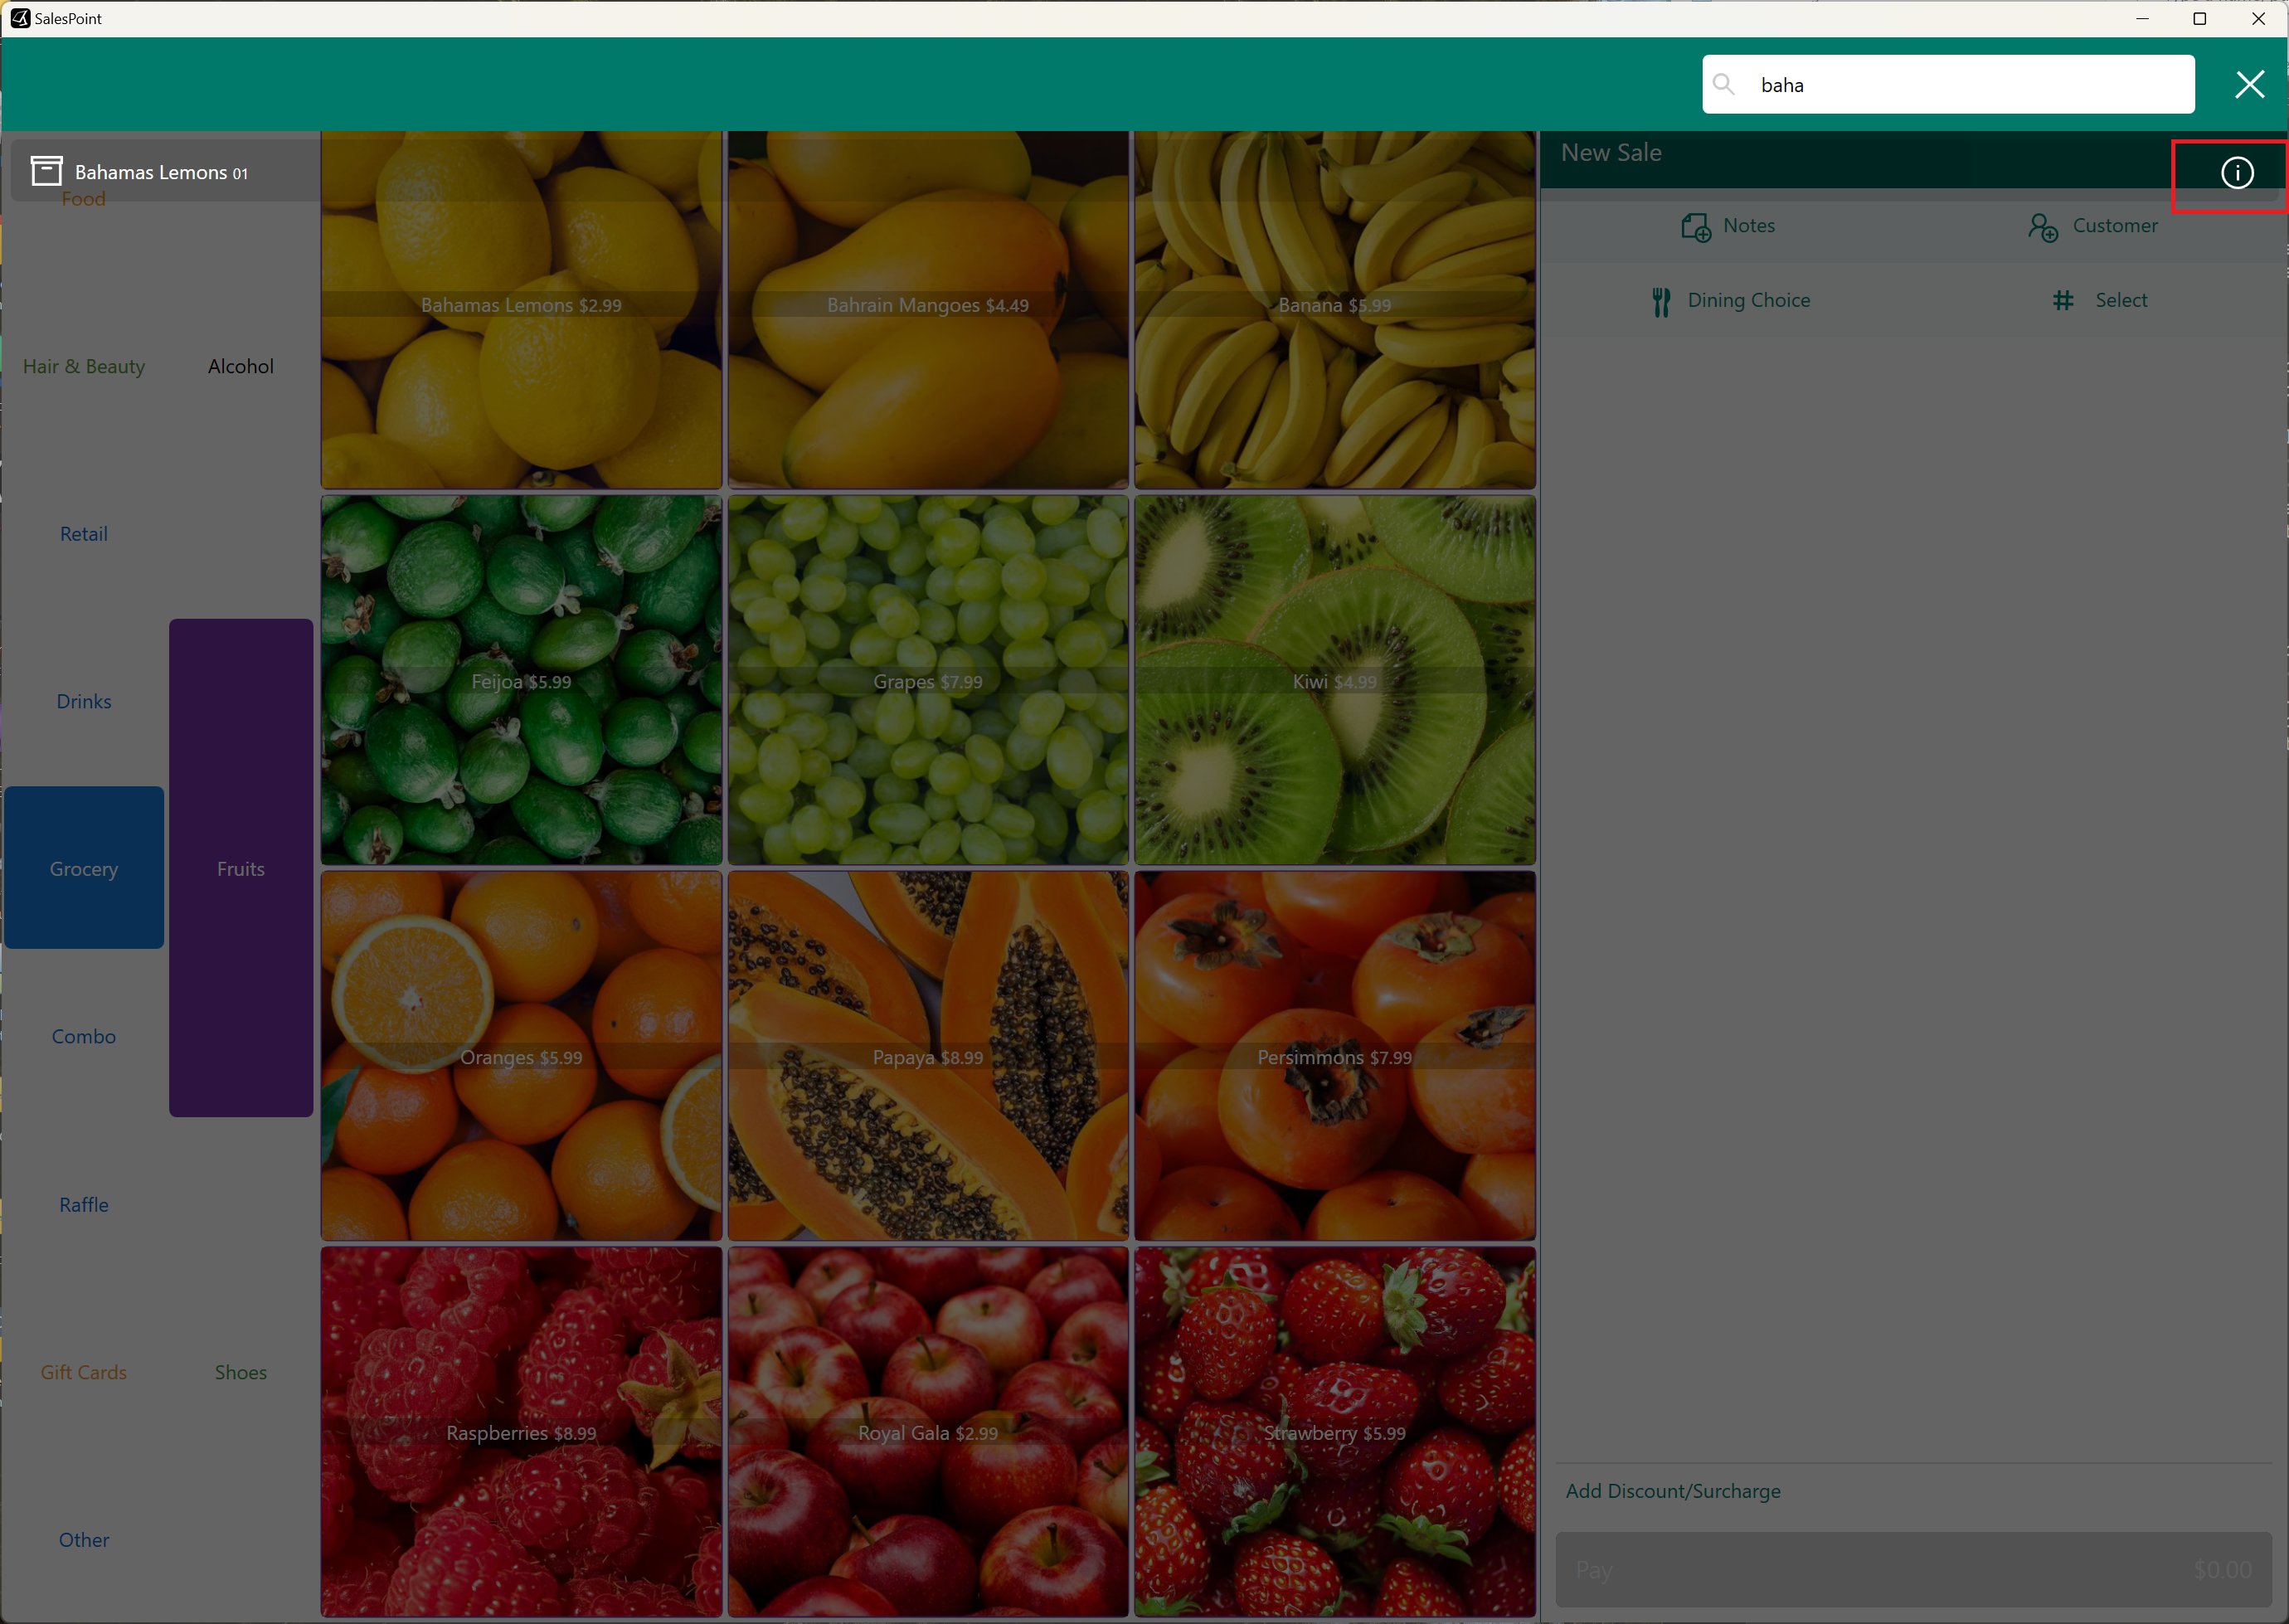
- On the sale screen, search for the product using the search button.
- Select the information icon next to the product's name.
- From here, the product should have the Label button. Click it.
- Select the type of printer, paper size, and the quantity of labels you wish to print. Click the Accept button once done.
Alternatively, you can right-click on the product, select "View Product" then select the "Label" button to print.