Requirement:
- A configured printer via USB
Step 1: Viewing Your Label Design
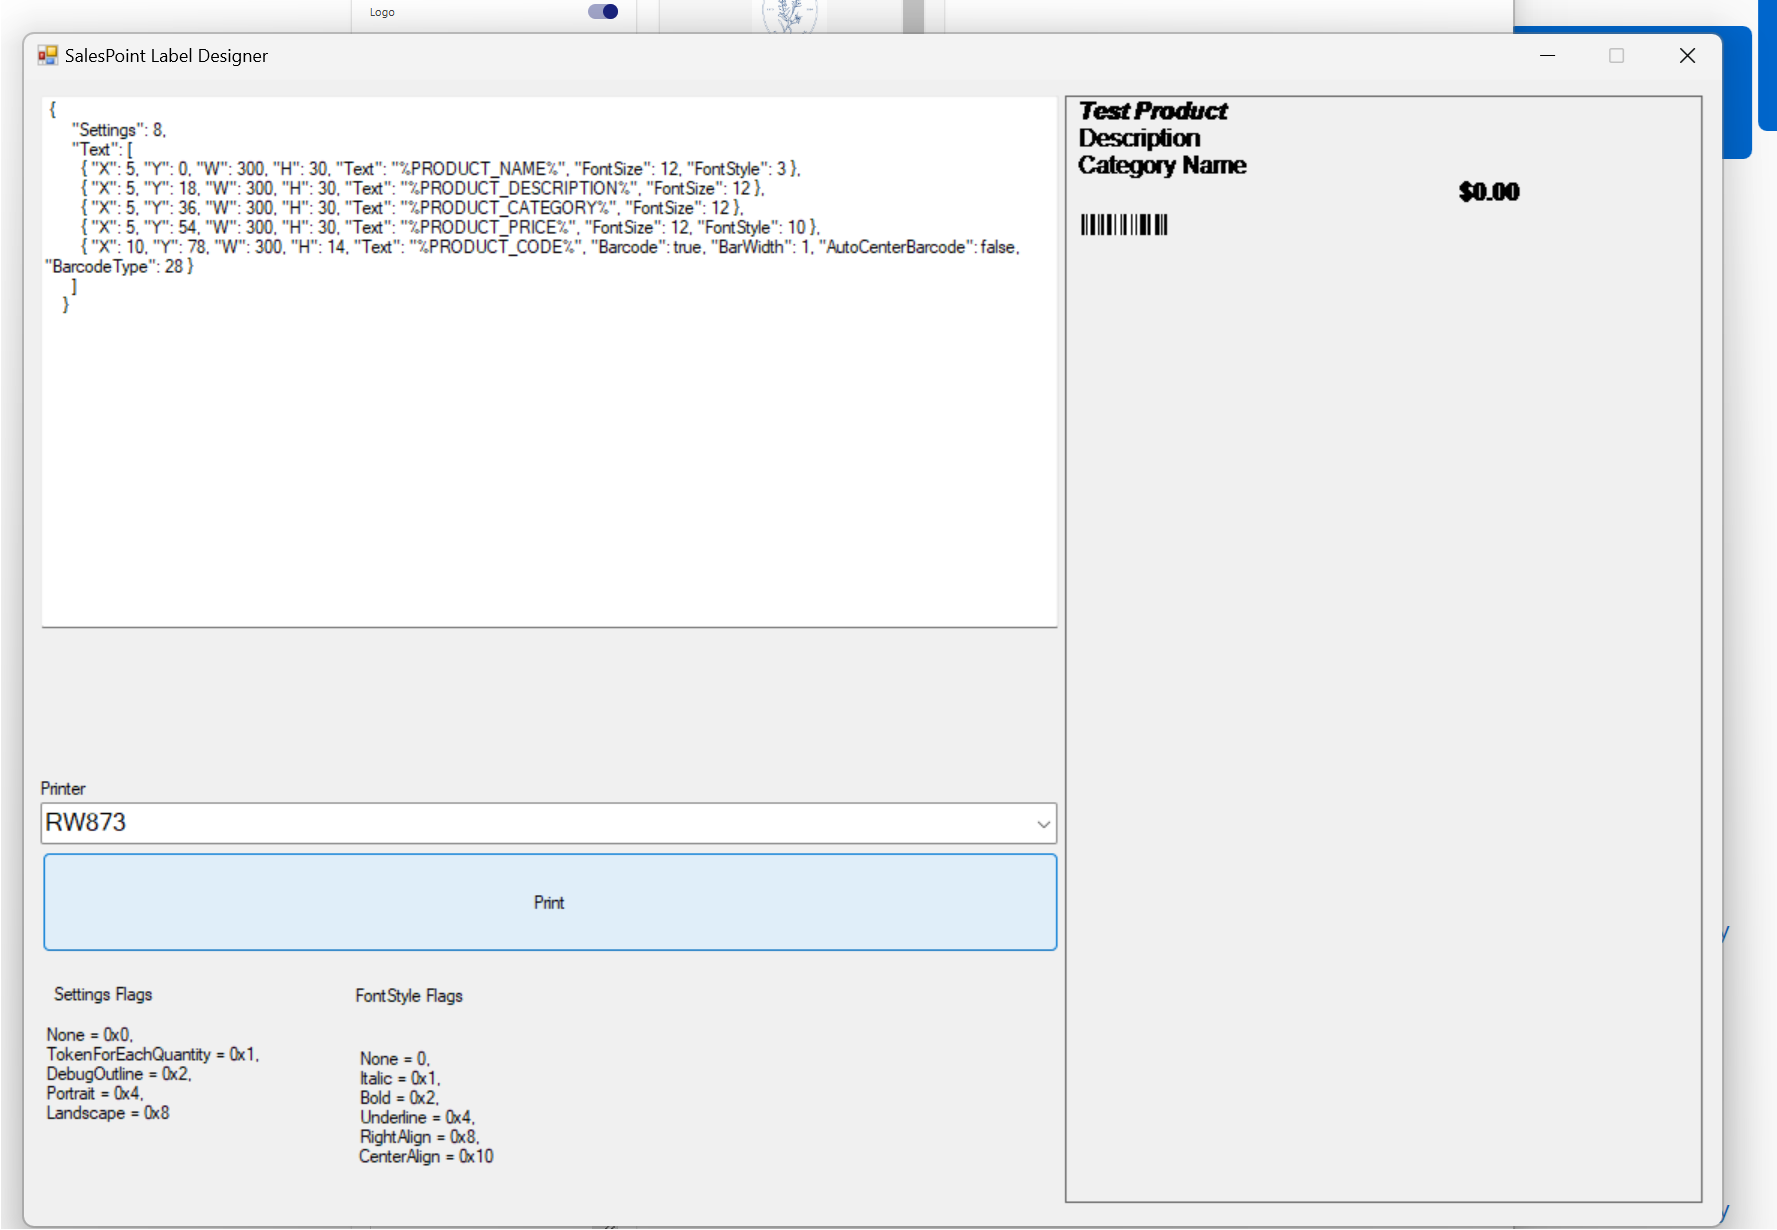
- To preview your label before printing (for Custom Labels), use the Label Designer.
Step 2: Enabling Token Printing/Custom Labels
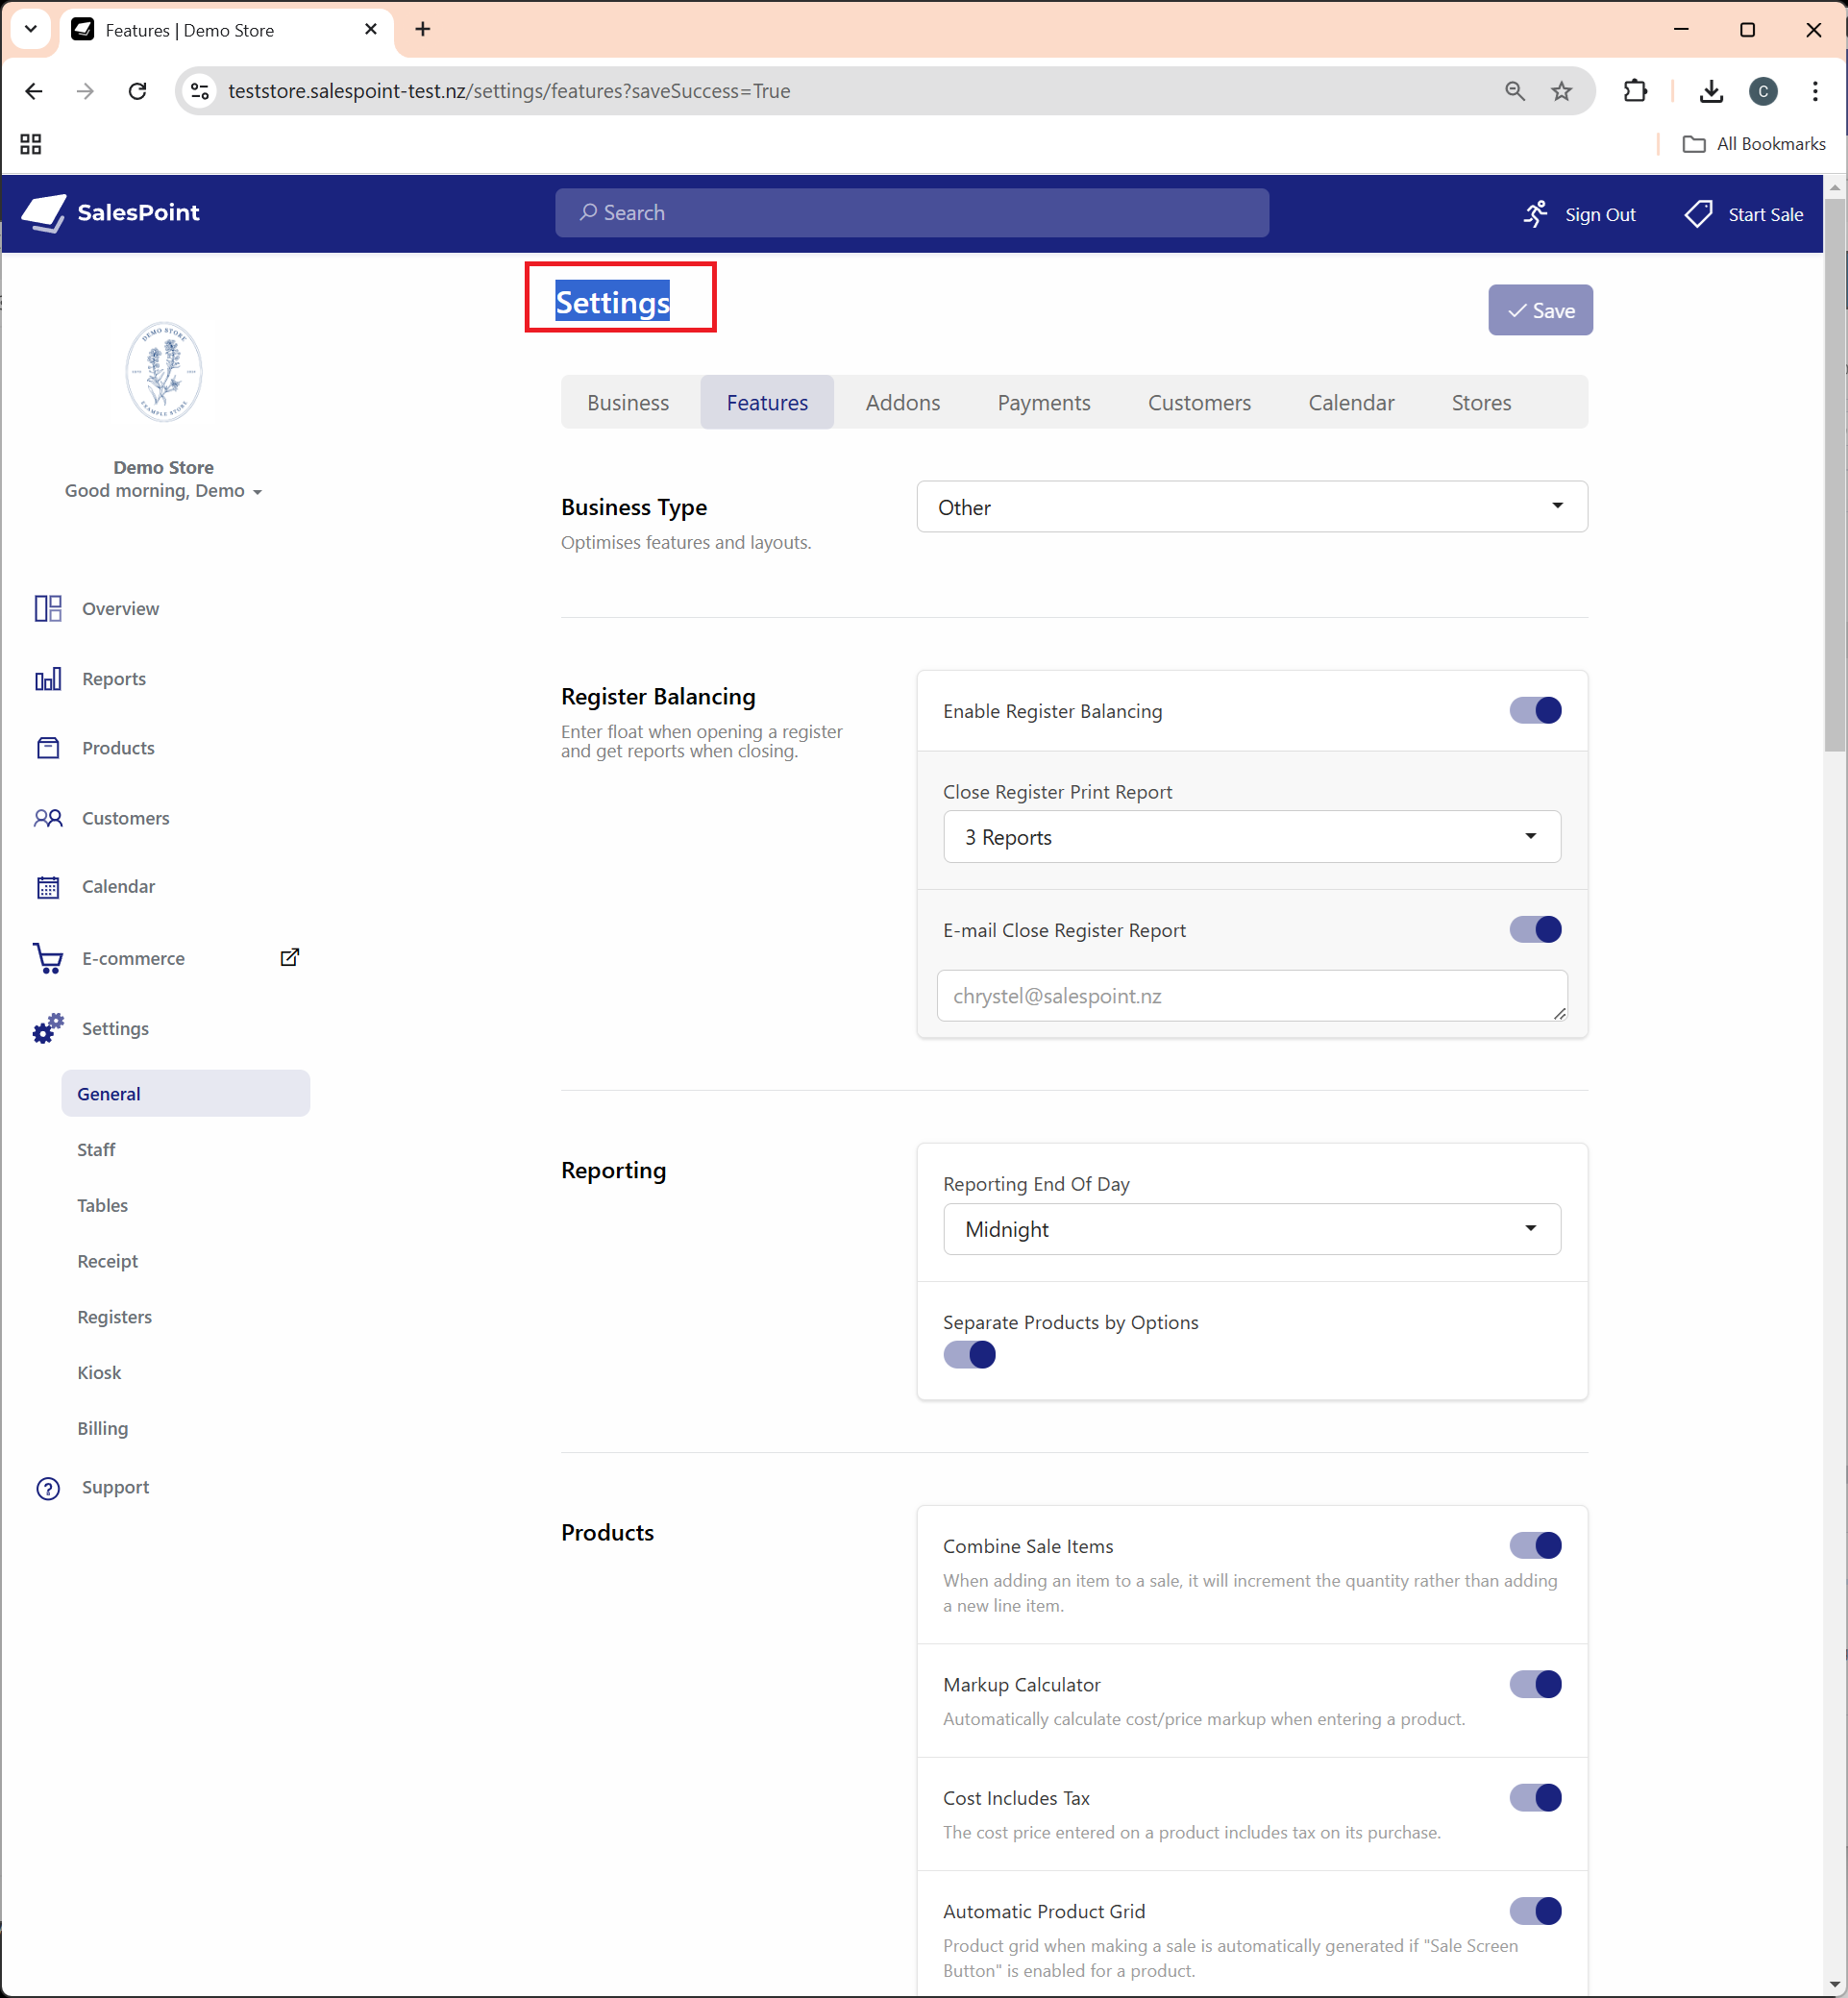
1. Click on the Settings Title five times to enable a text box for entering your JSON configuration.
Step 3: Enter JSON Text
Kitchen Printing/Token Printing
How to Find the Token ID (Product URL ID):
Grab the Product ID from the URL: https://teststore.salespoint-test.nz/products/update/124567 to find the Token ID.
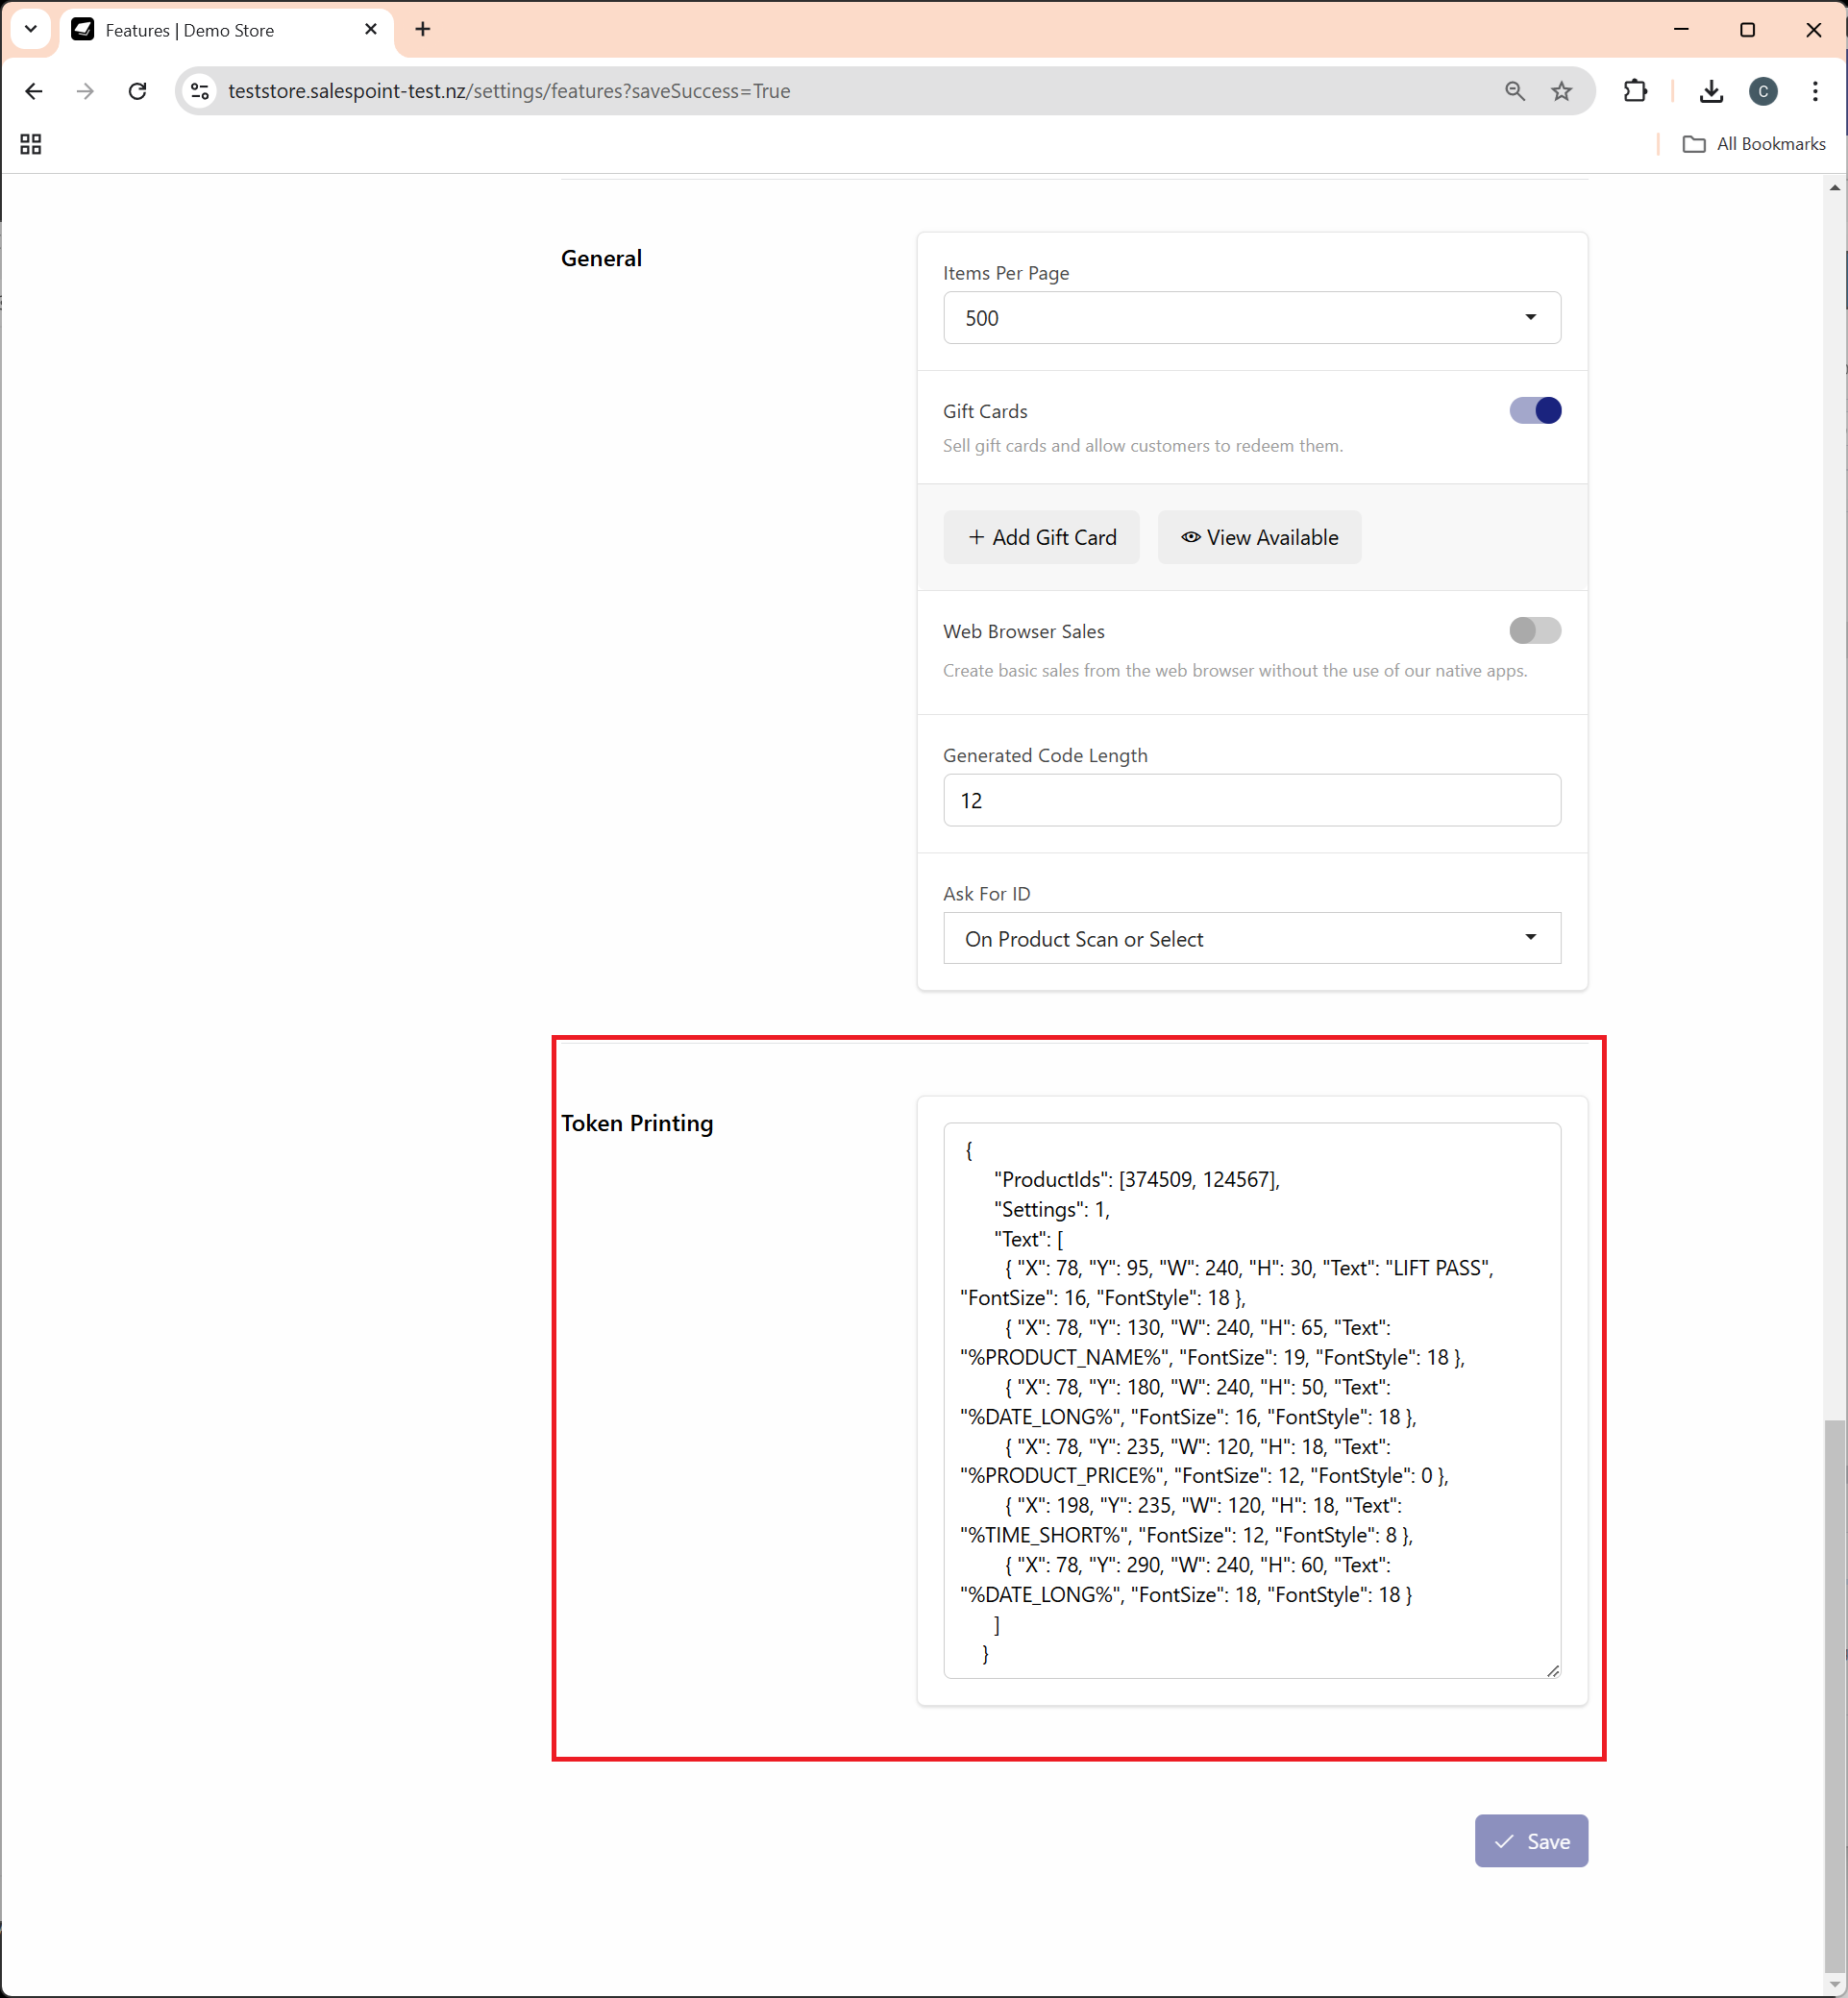
Customize the appearance of your token using the Label Designer. Once you're satisfied with the design, paste the JSON text into the Token Printing field in the Feature settings.
Example of JSON for a Token:
{
  "ProductIds": [374509, 124567],
  "Settings": 1,
  "Text": [
    { "X": 78, "Y": 95, "W": 240, "H": 30, "Text": "LIFT PASS", "FontSize": 16, "FontStyle": 18 },
    { "X": 78, "Y": 130, "W": 240, "H": 65, "Text": "%PRODUCT_NAME%", "FontSize": 19, "FontStyle": 18 },
    { "X": 78, "Y": 180, "W": 240, "H": 50, "Text": "%DATE_LONG%", "FontSize": 16, "FontStyle": 18 },
    { "X": 78, "Y": 235, "W": 120, "H": 18, "Text": "%PRODUCT_PRICE%", "FontSize": 12, "FontStyle": 0 },
    { "X": 198, "Y": 235, "W": 120, "H": 18, "Text": "%TIME_SHORT%", "FontSize": 12, "FontStyle": 8 },
    { "X": 78, "Y": 290, "W": 240, "H": 60, "Text": "%DATE_LONG%", "FontSize": 18, "FontStyle": 18 }
  ]
}
Custom Label
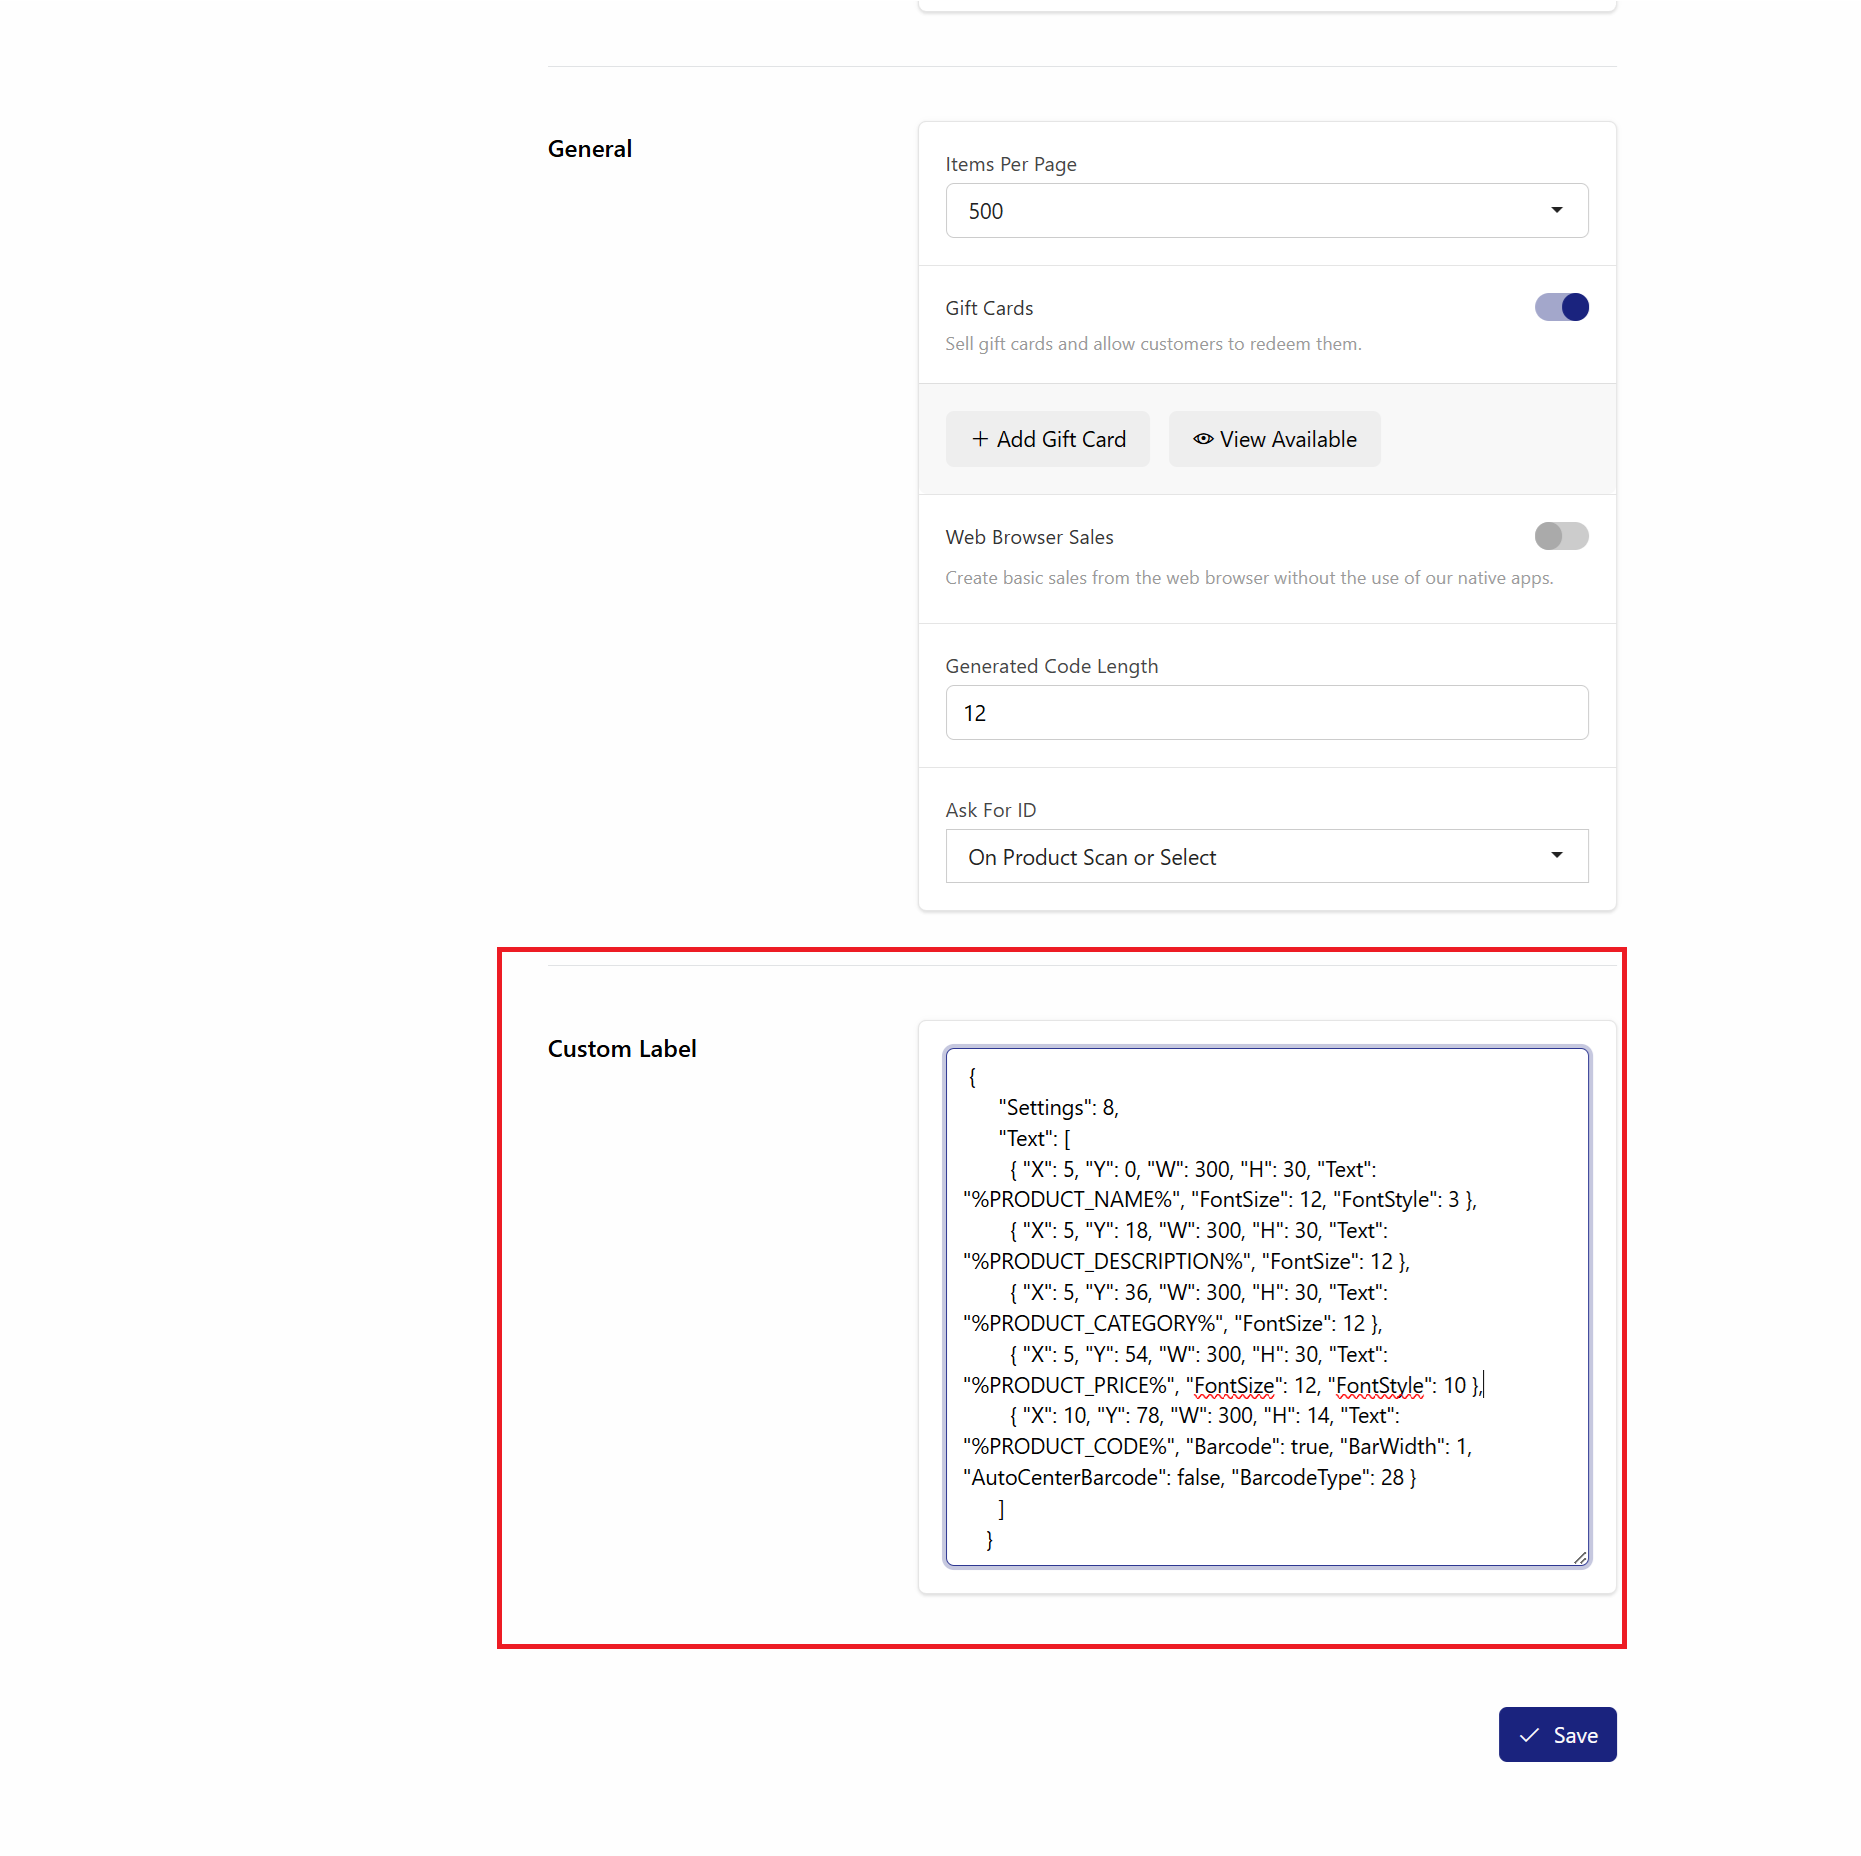
This is for printing barcode labels. Customize the JSON text in the Label Designer. Once you're satisfied with the design, paste the JSON text into the Feature settings.
Example of JSON for a Custom Label:
{
  "Settings": 8,
  "Text": [
    { "X": 5, "Y": 0, "W": 300, "H": 30, "Text": "%PRODUCT_NAME%", "FontSize": 12, "FontStyle": 3 },
    { "X": 5, "Y": 18, "W": 300, "H": 30, "Text": "%PRODUCT_DESCRIPTION%", "FontSize": 12 },
    { "X": 5, "Y": 36, "W": 300, "H": 30, "Text": "%PRODUCT_CATEGORY%", "FontSize": 12 },
    { "X": 5, "Y": 54, "W": 300, "H": 30, "Text": "%PRODUCT_PRICE%", "FontSize": 12, "FontStyle": 10 },
    { "X": 10, "Y": 78, "W": 300, "H": 14, "Text": "%PRODUCT_CODE%", "Barcode": true, "BarWidth": 1, "AutoCenterBarcode": false, "BarcodeType": 28 }
  ]
}
Step 4: Configure Settings for Token Printing
You will need to set the Printing for the Token Printing. To do this, Go to the Register Hardware Settings. Go to the Printing and set a printer for Token Printing. Press save after.
Step 3: How to Use
- Token Printing: When a customer pays for their purchase, the token is printed automatically, similar to a kitchen ticket.
Custom Label
There are two ways to print:
Print the Barcode in the Dashboard
- On the Dashboard, go to Products and select the same product.
- Select the barcode field, then select the Label button. The receipt printer set up in the register settings should automatically be selected.
- Change the Label size to Custom.
- Click the Print button after selecting the Label size and printer.
How to Print the Barcode in Sales
- If you are signed in as an admin, you can right-click a product button to view the product's information. If you are using a touchscreen device, press and hold the button for a few seconds. Click the View Information button to print the label.
- Alternatively, to print the product label during a sale, search for the product and select the information icon next to the name. This will open the product details. Click the "Label" button to print.
- Configure your label settings, including Label Size and Printer.
- Click the Print button after selecting the Label size and printer.