Dashboard - Customers
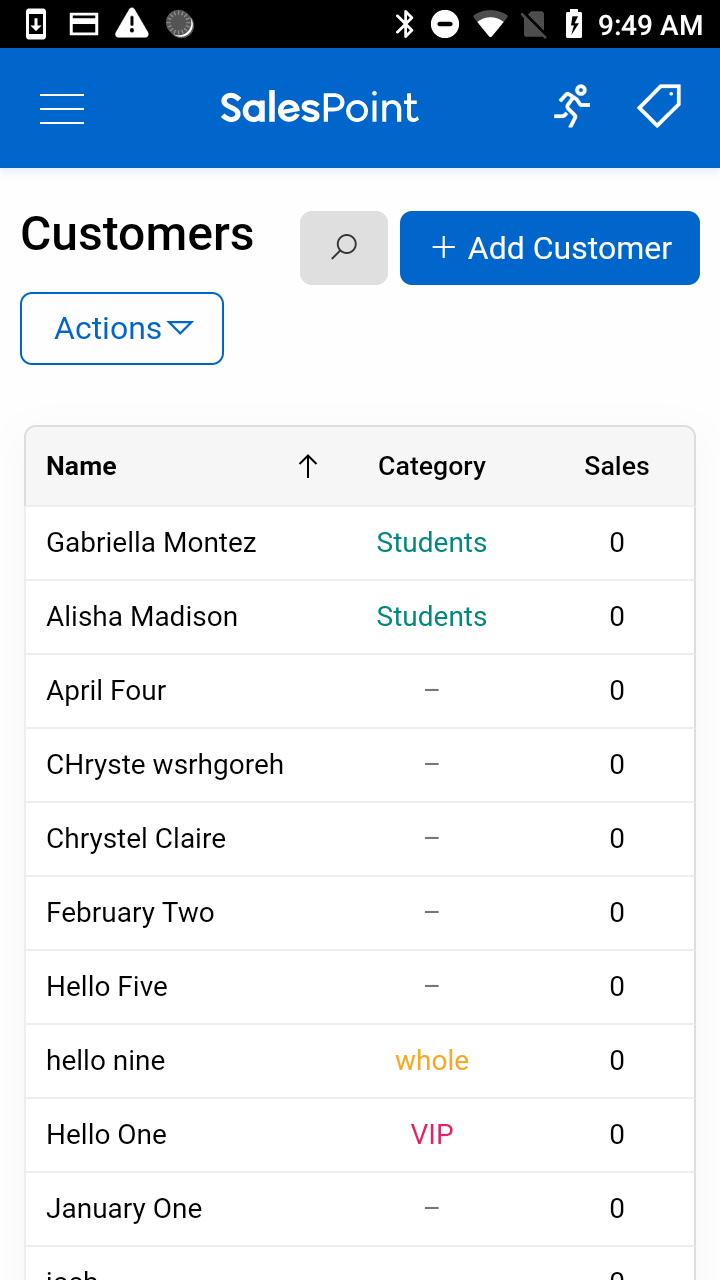
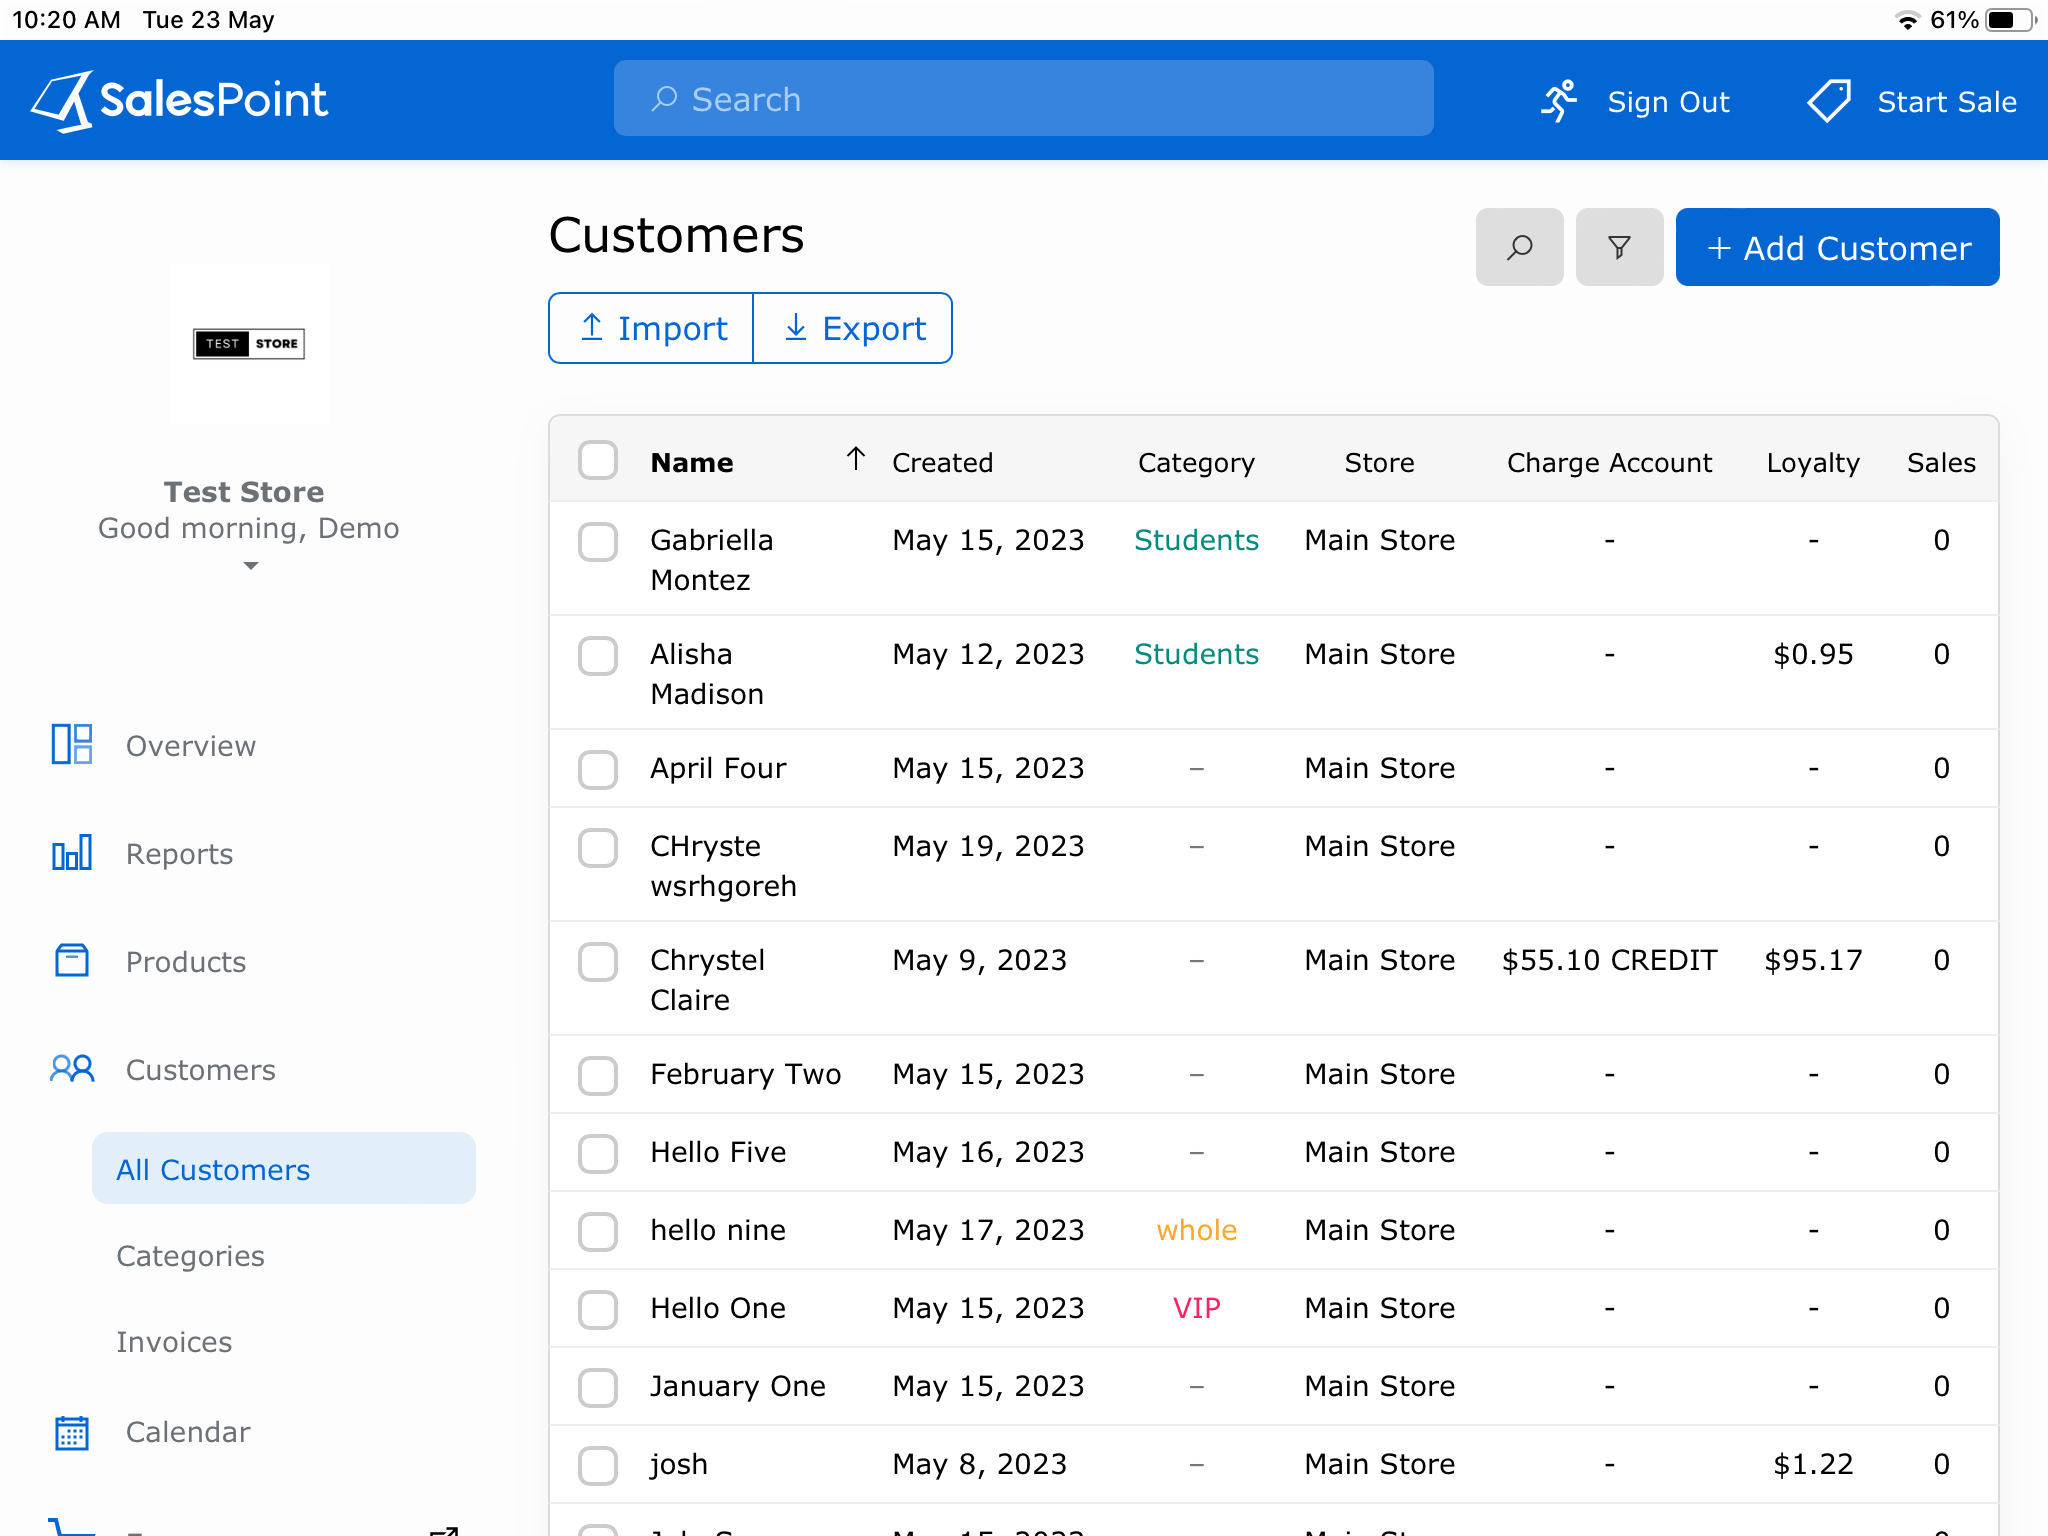
To add or update customer information, access the tab on the Dashboard. From there, you can choose to create a new customer or select an existing customer to make modifications.
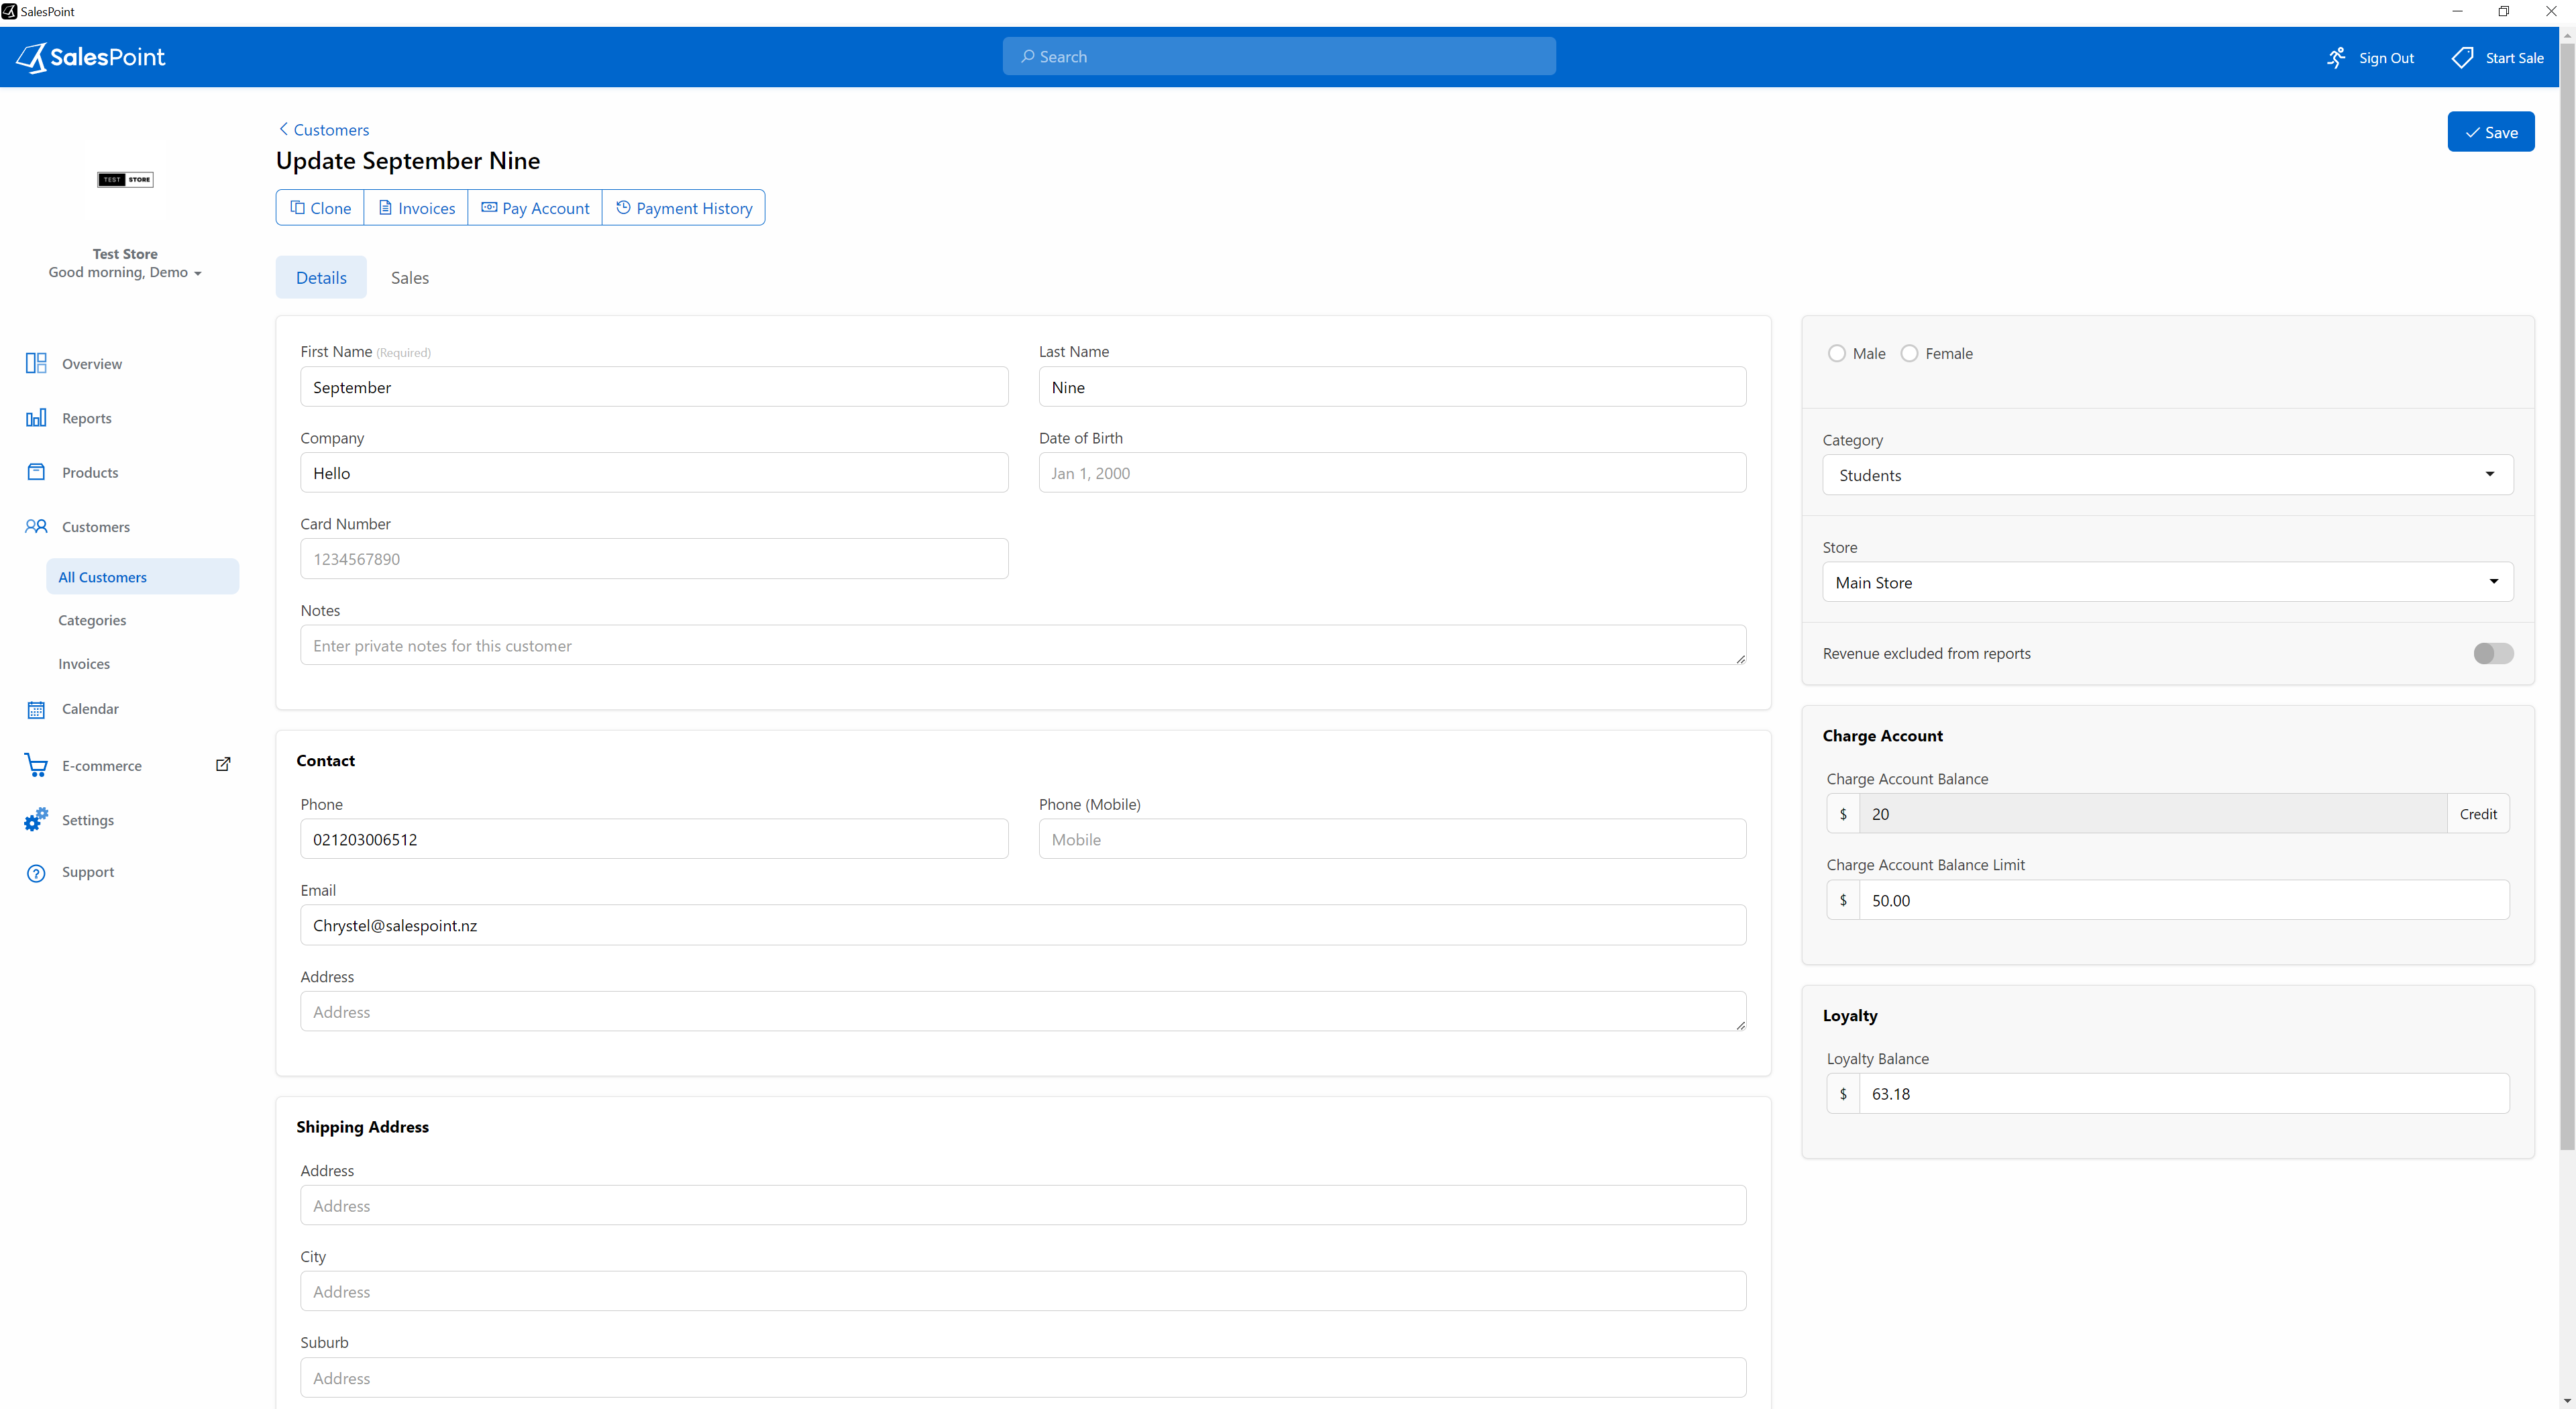
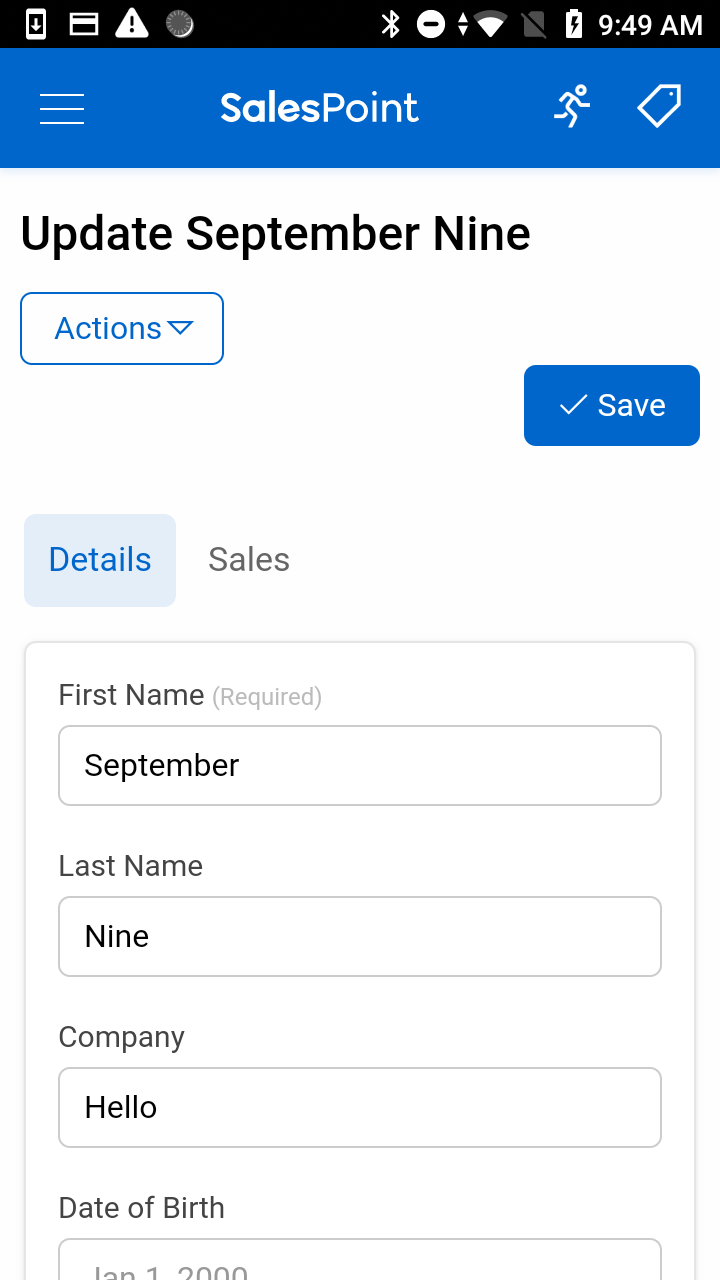
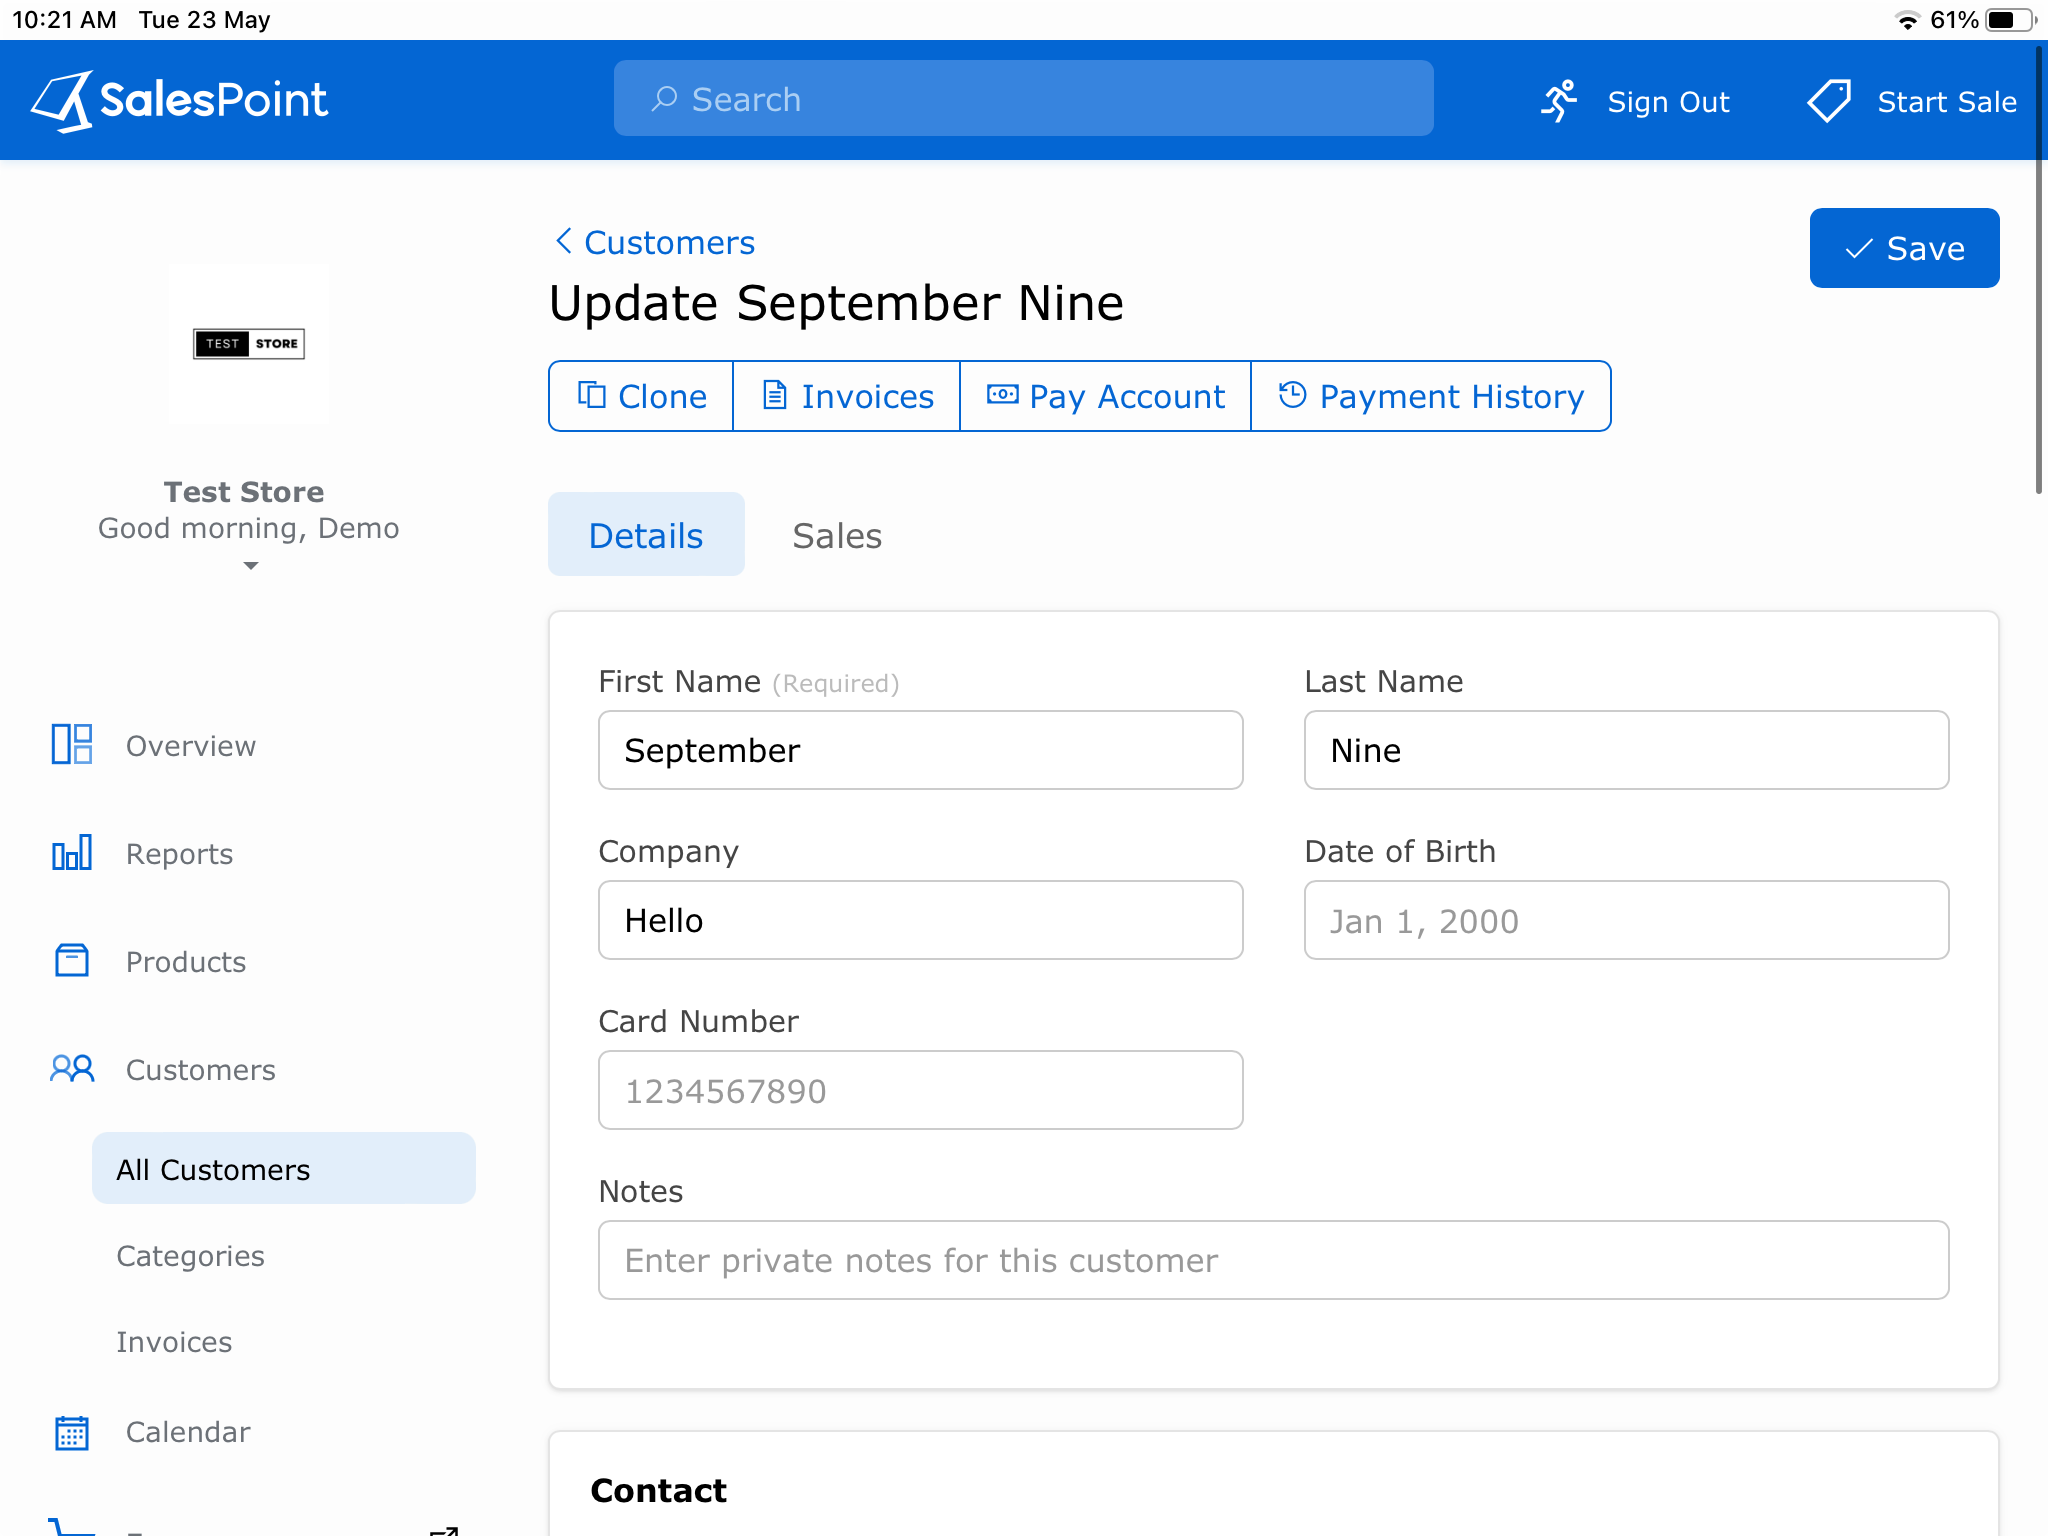
First Name (Required)
The first name of the customer is a required field when adding or updating customer information.
Last Name
The last name of the customer.
Company(Optional)
The organization or business that the customer is associated with.
Date of Birth
The customer’s birth date.
Card Number
The type of account that allows a customer to make purchases on credit or account.
Notes
The additional information or comments about a customer are recorded for reference or internal purposes.
Phone
The contact phone number of the customer for communication purposes such as order confirmation and customer service inquiries.
Email
The email address of the customer.
Address
Customer's primary address.
Shipping Address
The specific address where a customer wants their purchased goods or products to be delivered.
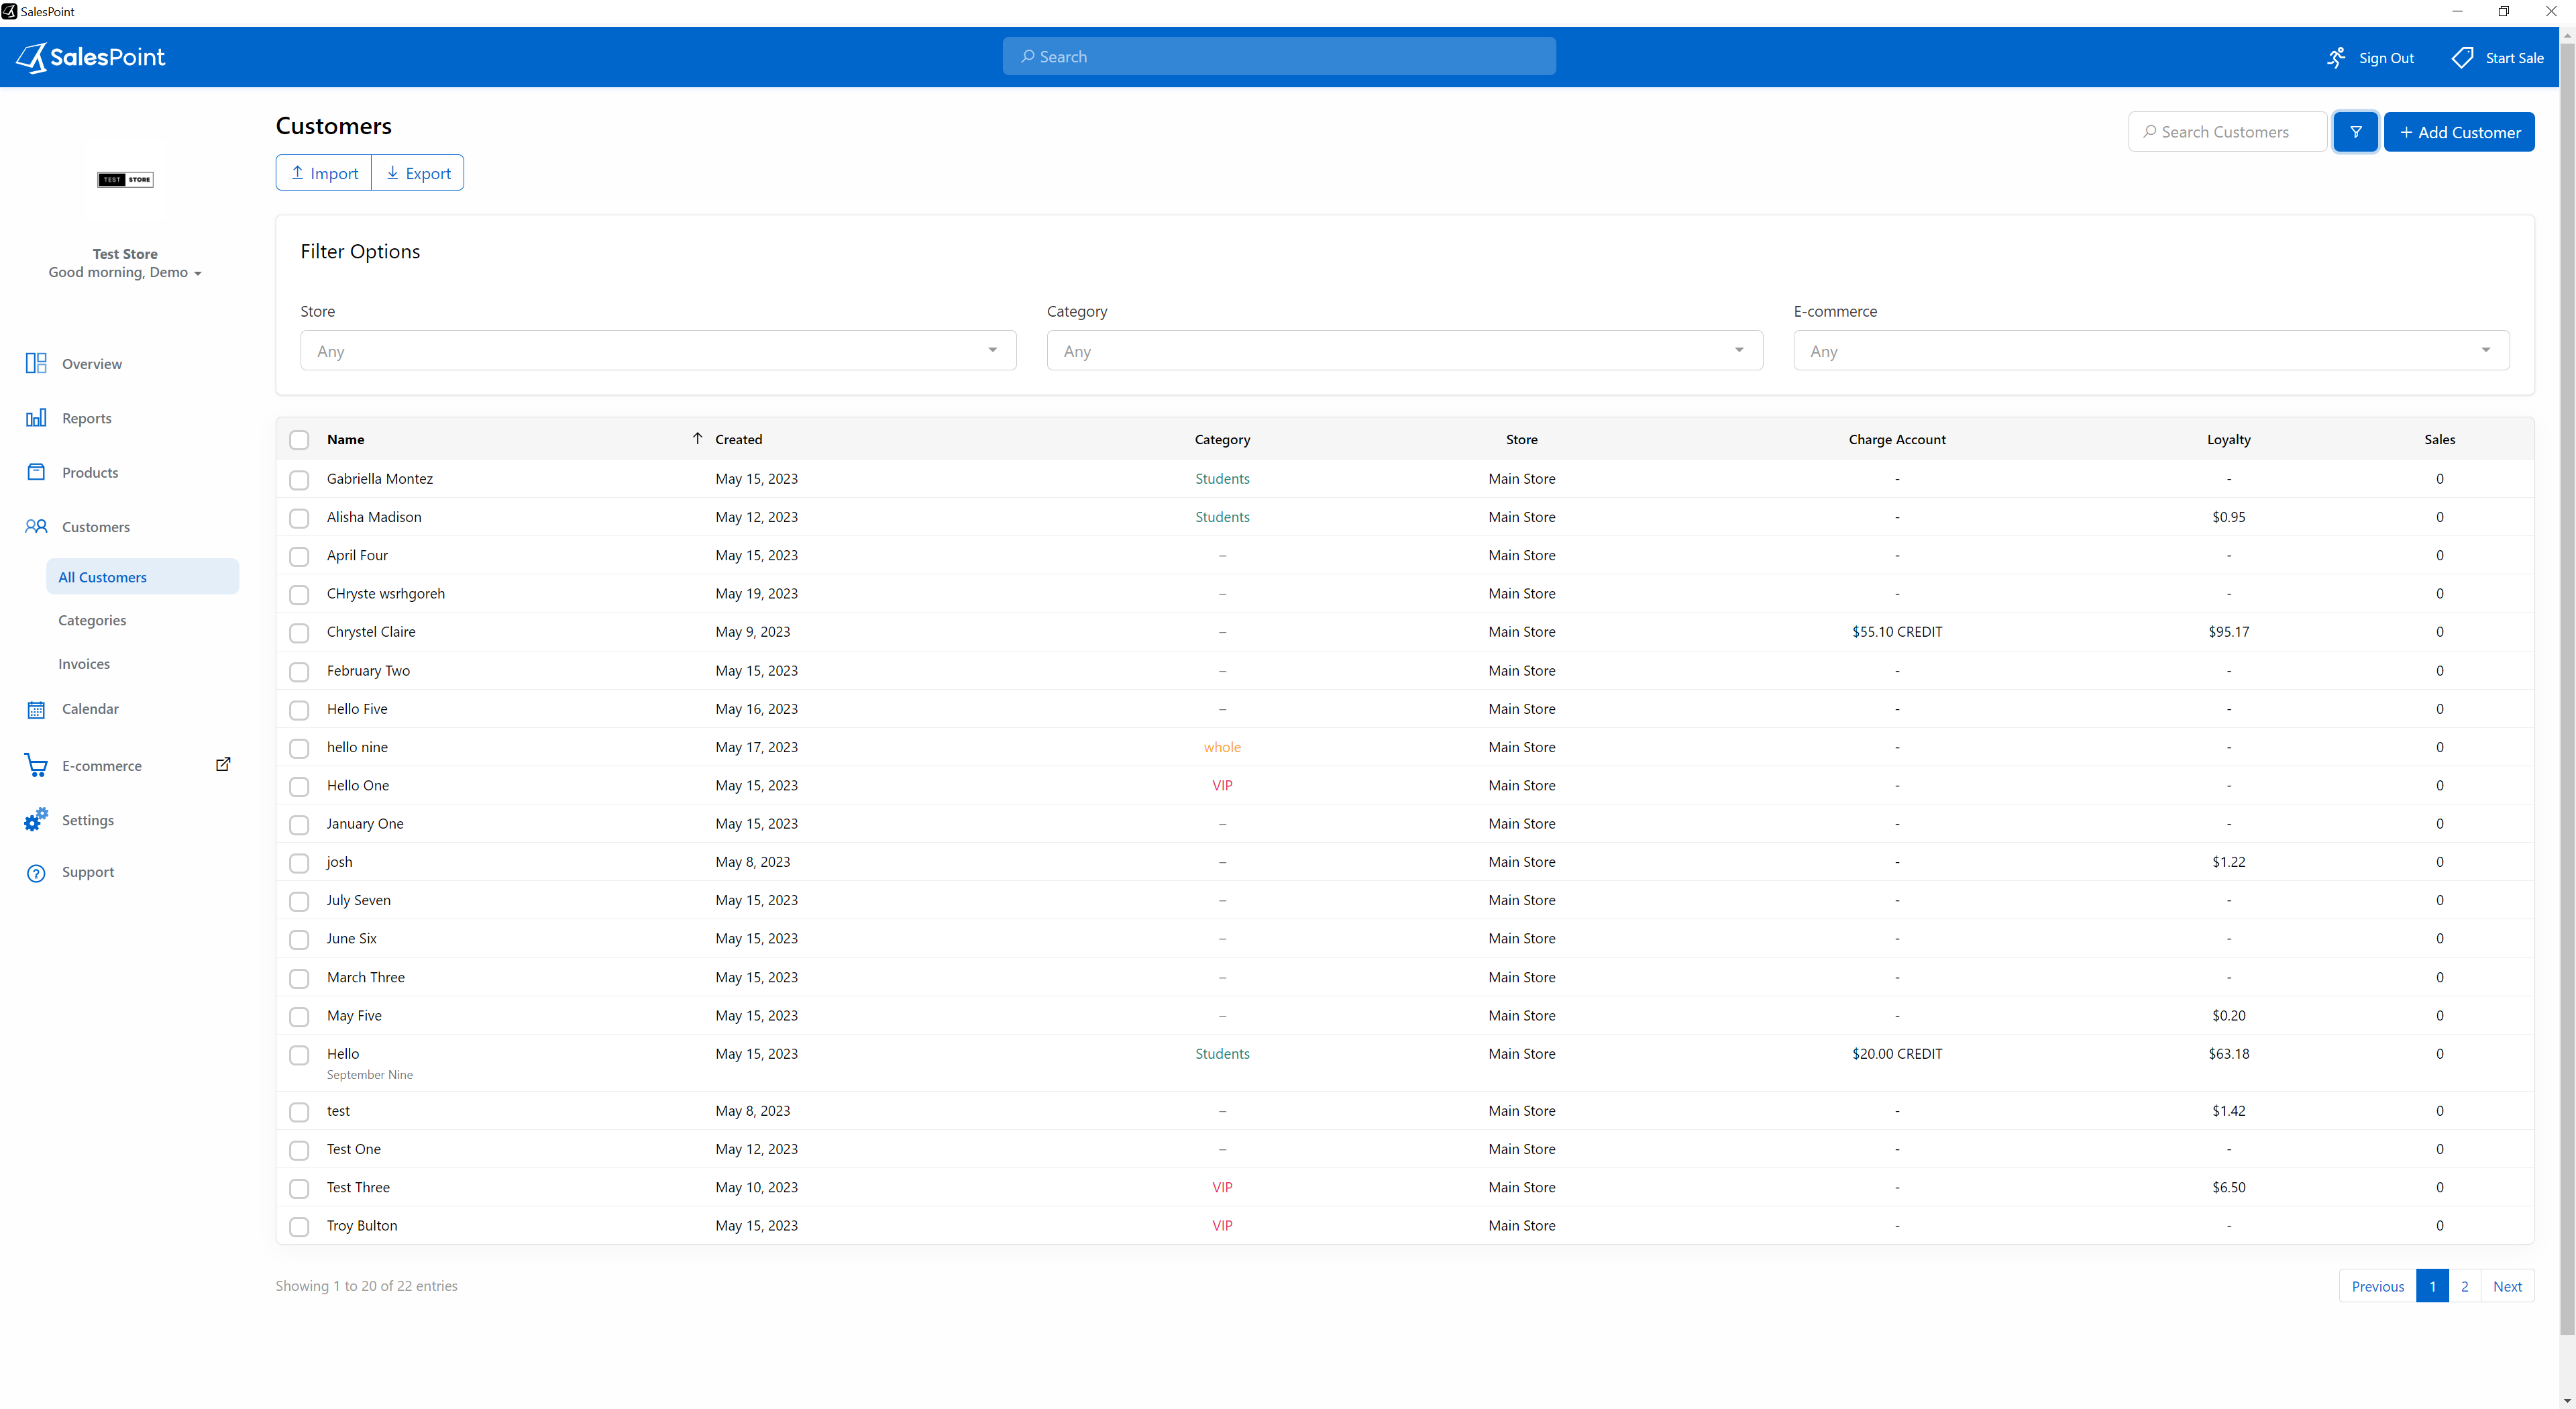
Category
This refers to a special classification assigned to the customer that entitles them to receive discounts or benefits from a store.
Store
The specific store where the customer has registered or signed up for an account.
Charge Account
Refers to the arrangement where a customer can make purchases on credit or charge through an account.
Loyalty
Customers accumulated points based on their spending behaviour at the store.
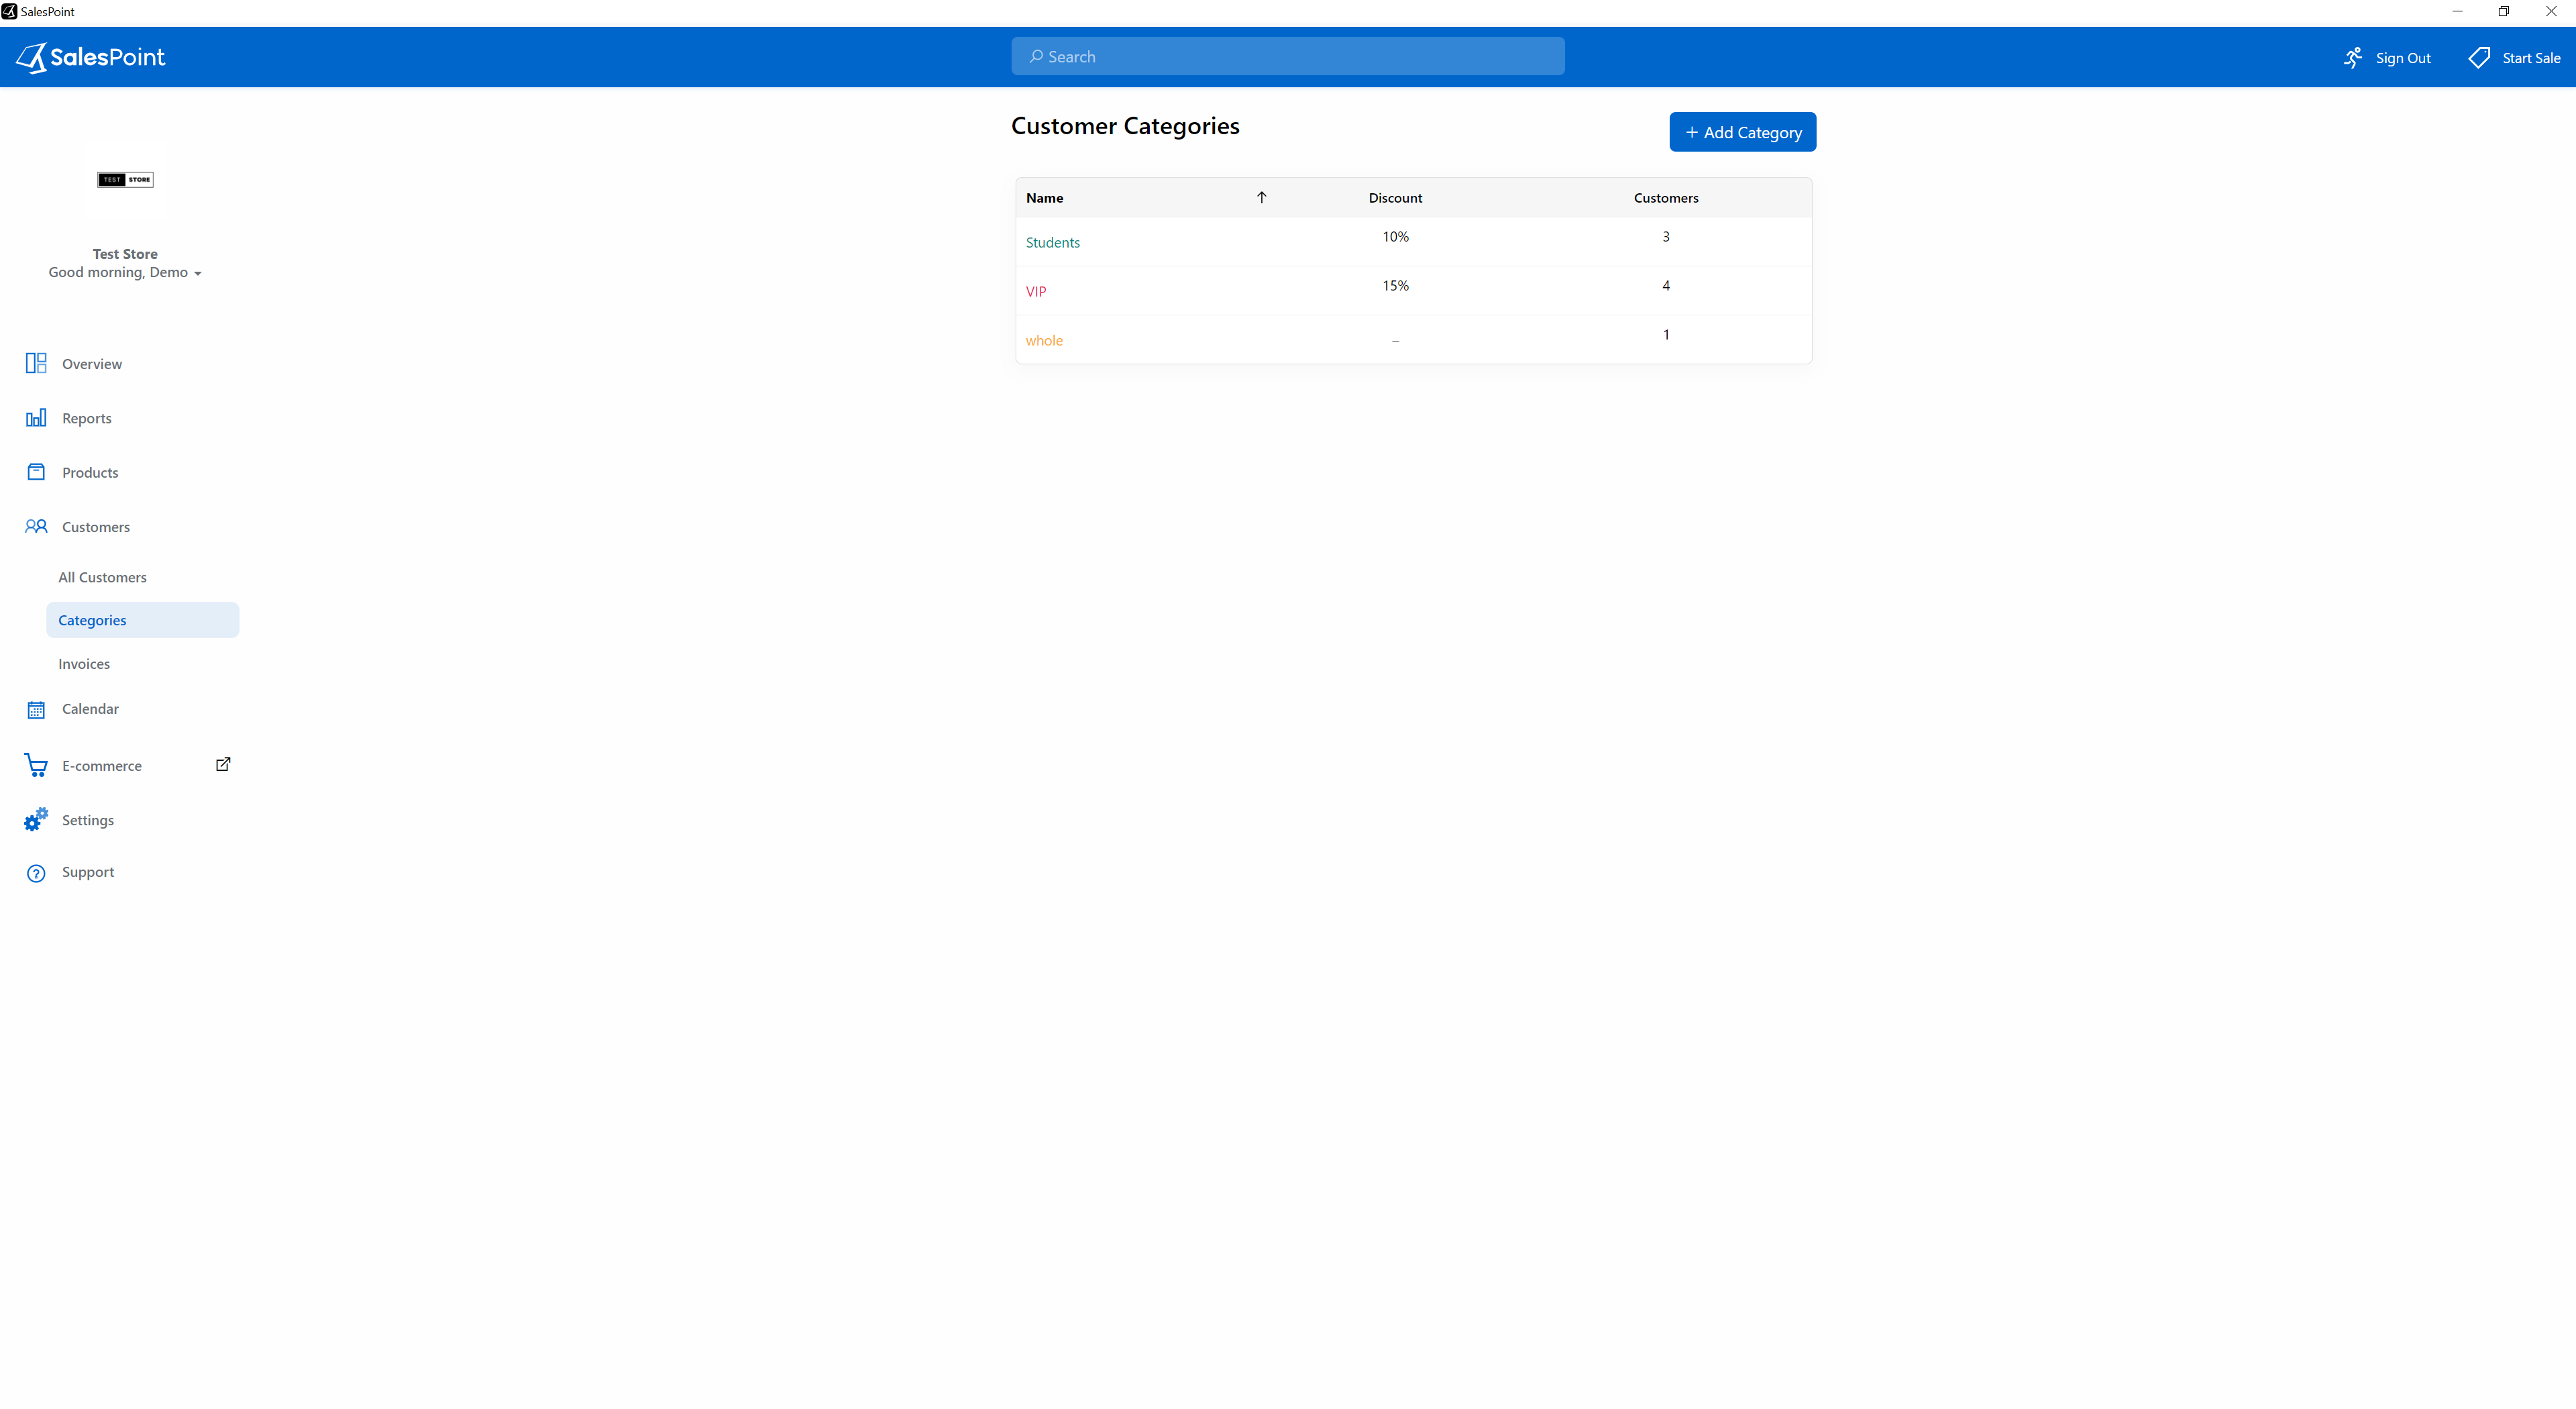
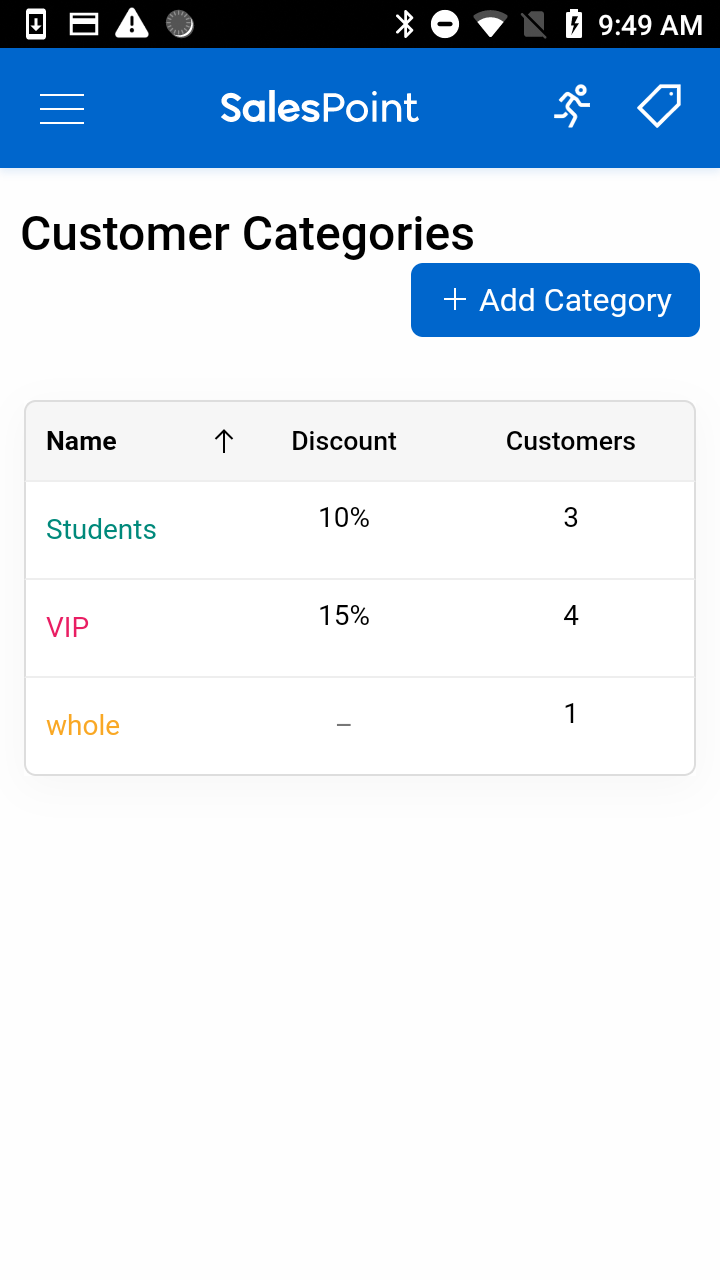
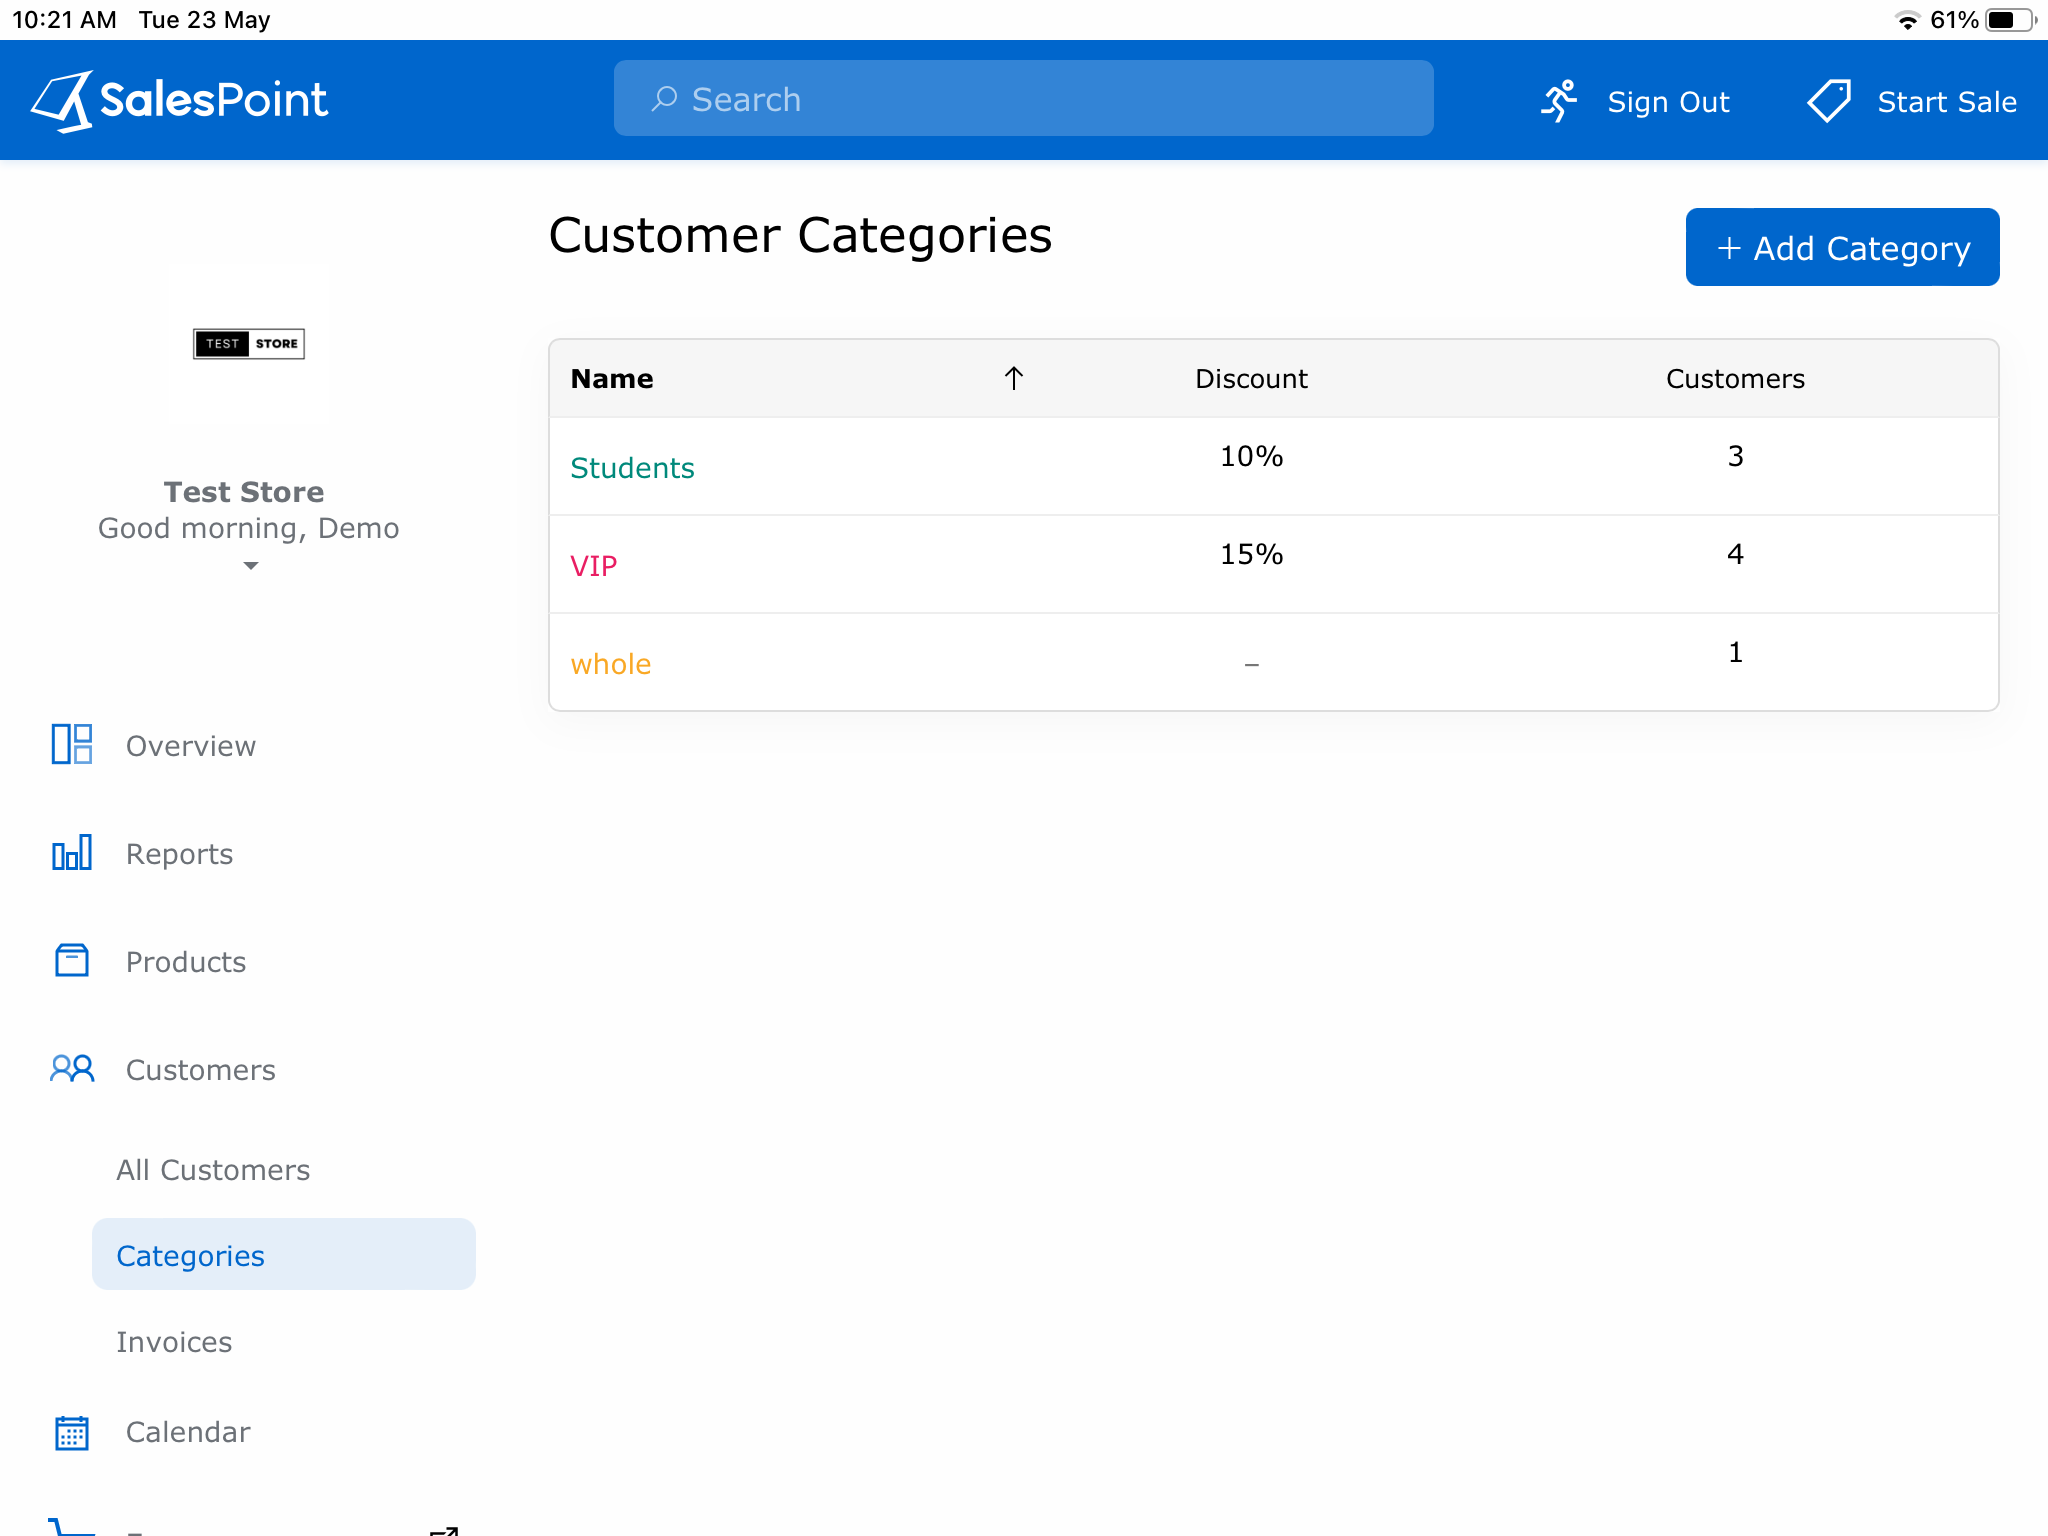
To access a comprehensive list of all your customer categories, navigate to the “Categories” sub-category tab within the tab of your dashboard. From there you can choose
Name
The name of the customer category or benefit.
Category Colour
Select a color that corresponds to the category, and it will be utilized to emphasize the number of customers receiving the associated benefit seen on the Dashboard.
To learn more, please visit: Create a Customer Discount
Category Benefits
Discount
Upon signing up with this category, customers will be entitled to receive a percentage off on the products or services offered.
Products at Cost Price
When the Cost Price feature is enabled, the products will be priced based on the actual cost expended by the business to produce or acquire them.
Tax can be configured by enabling the on the and navigate to the sections. Enable the toggle from the section.
Products at Wholesale Prices
When enabled, this feature allows for bulk pricing of products, which is typically offered at a lower rate than the retail price. It is specifically designed for wholesalers, distributors, or retailers who purchase products in large quantities.
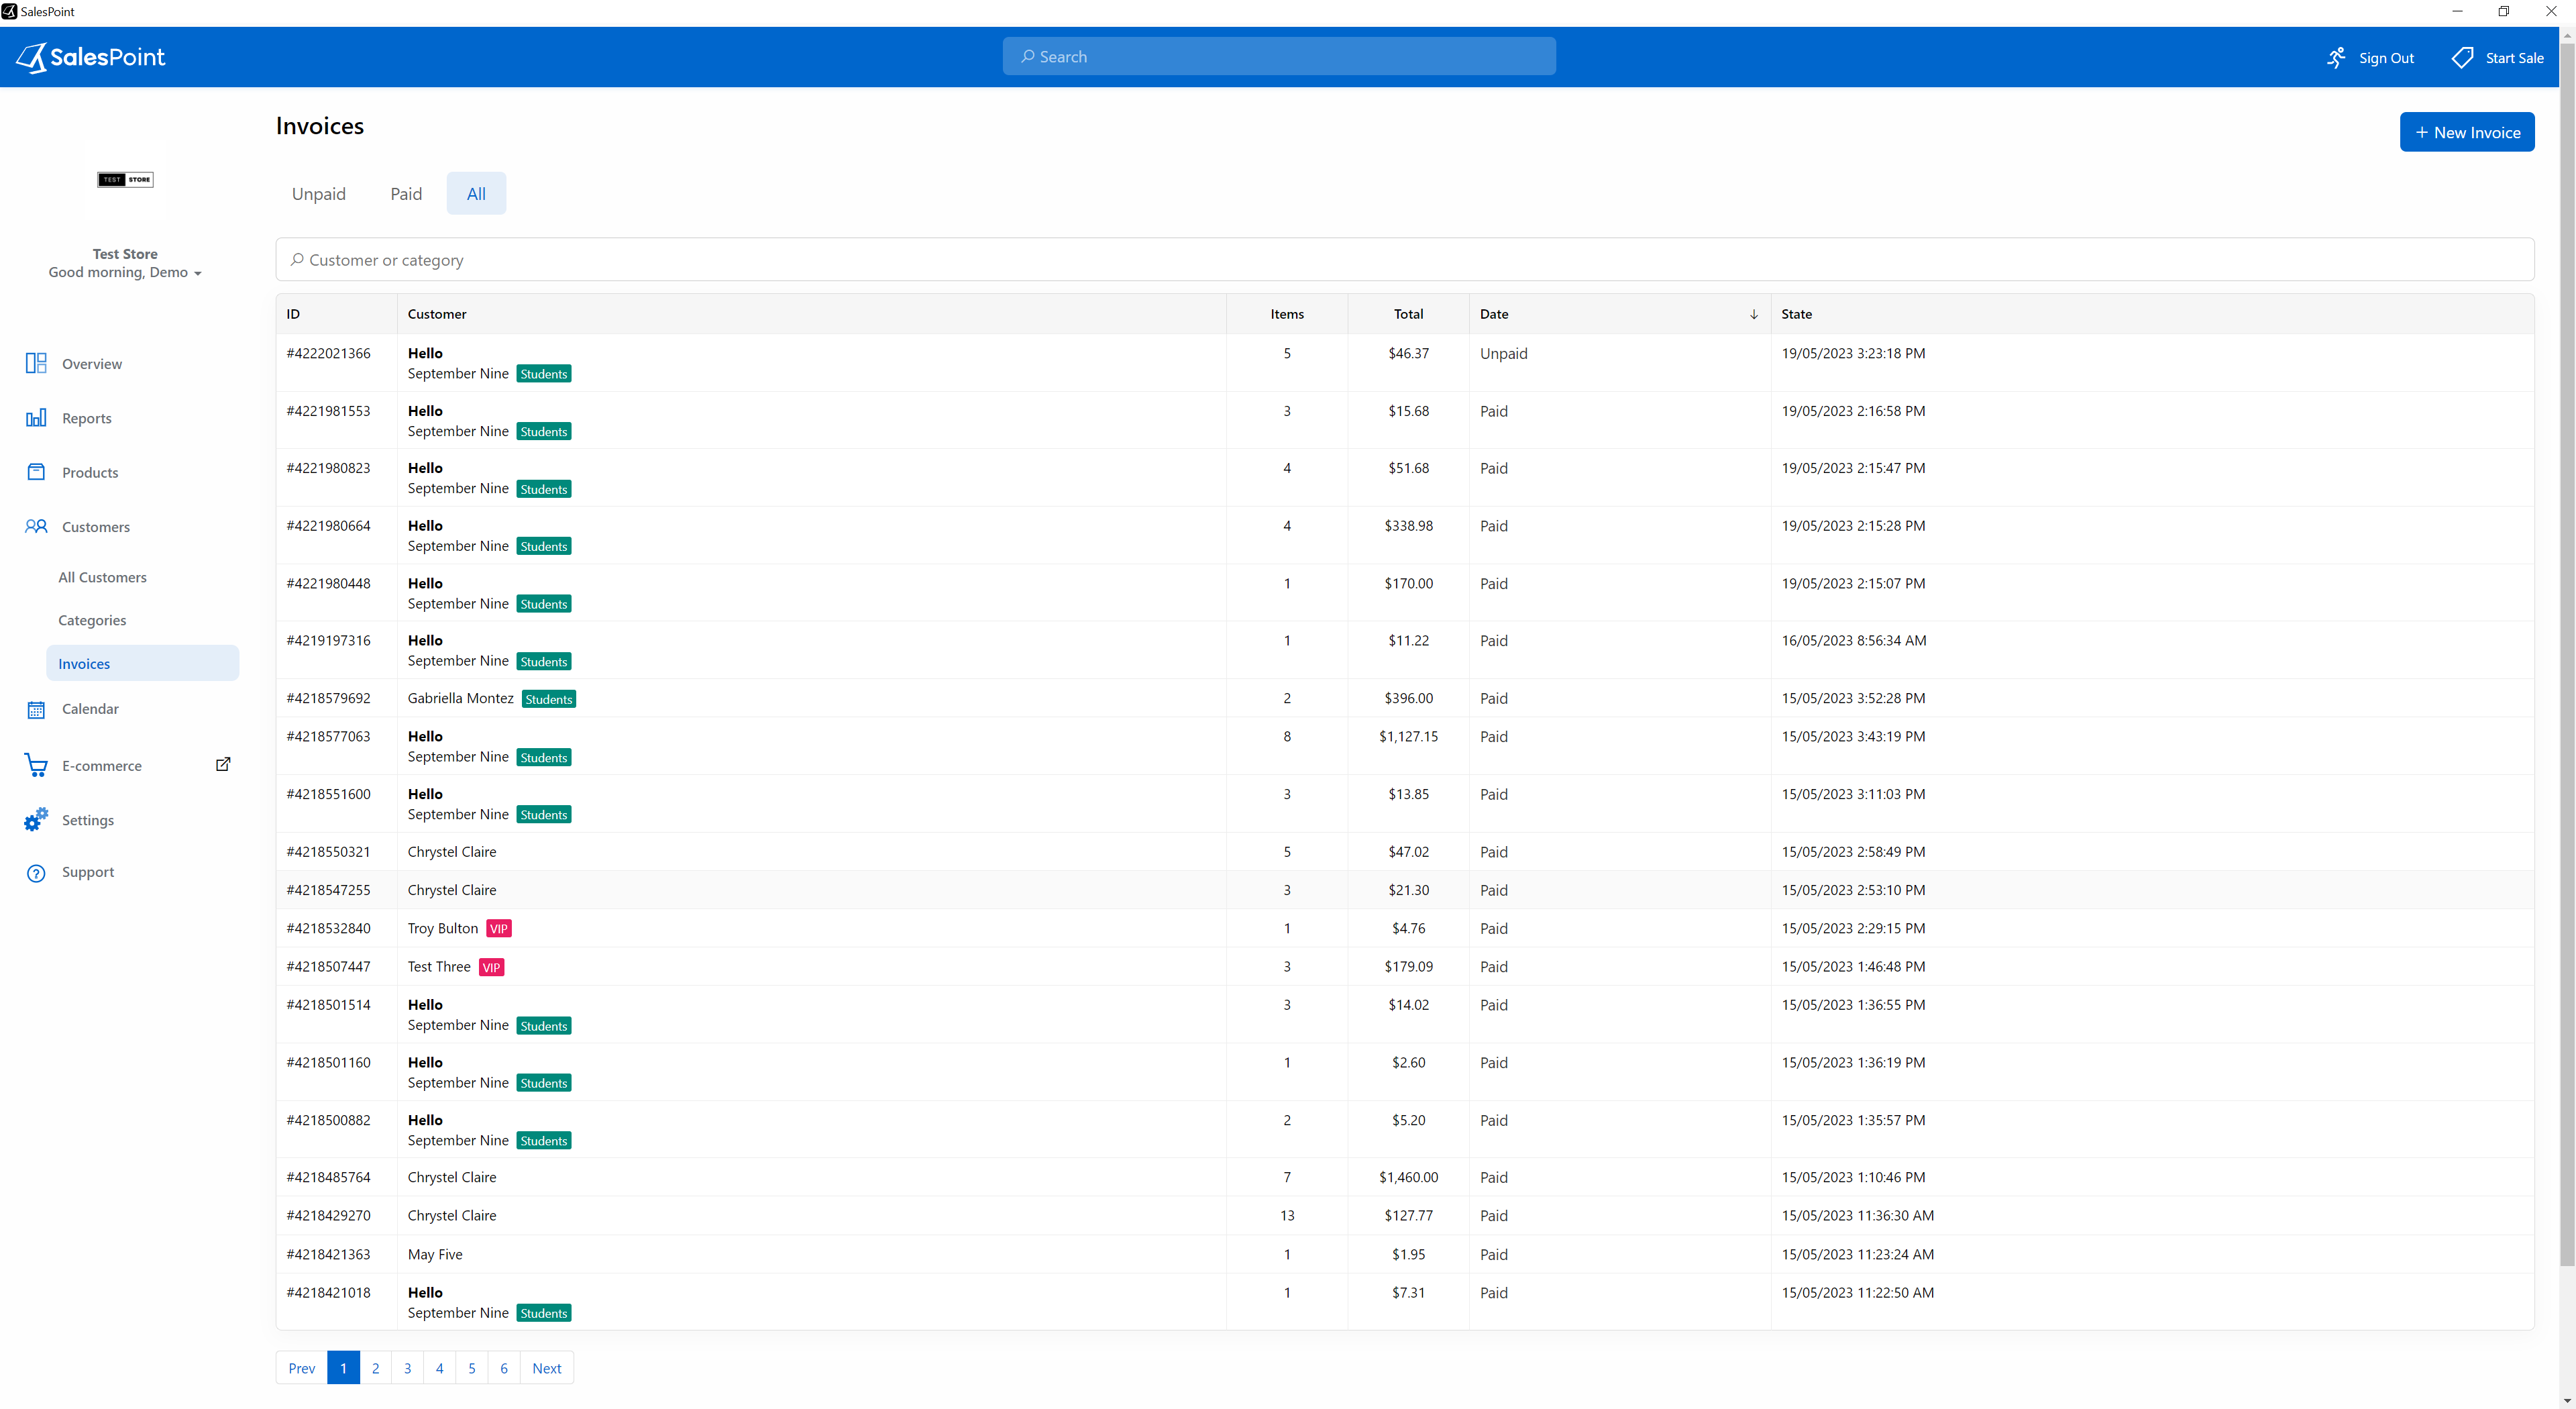
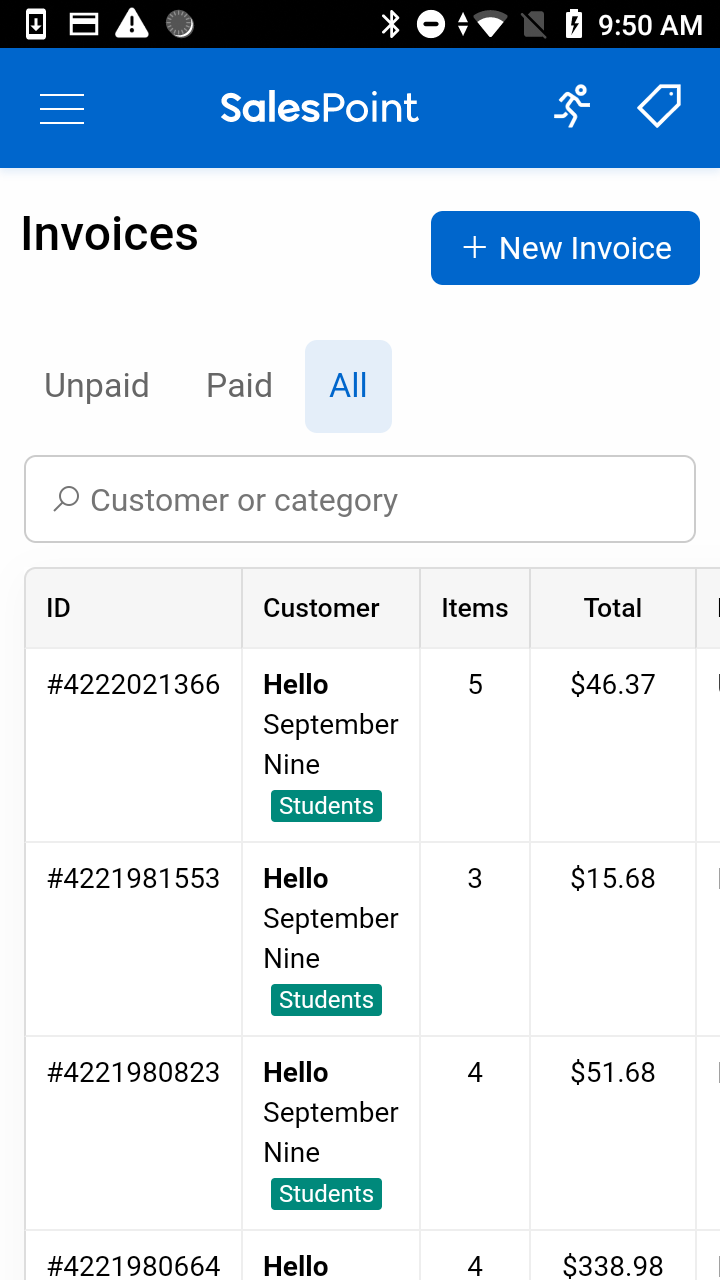
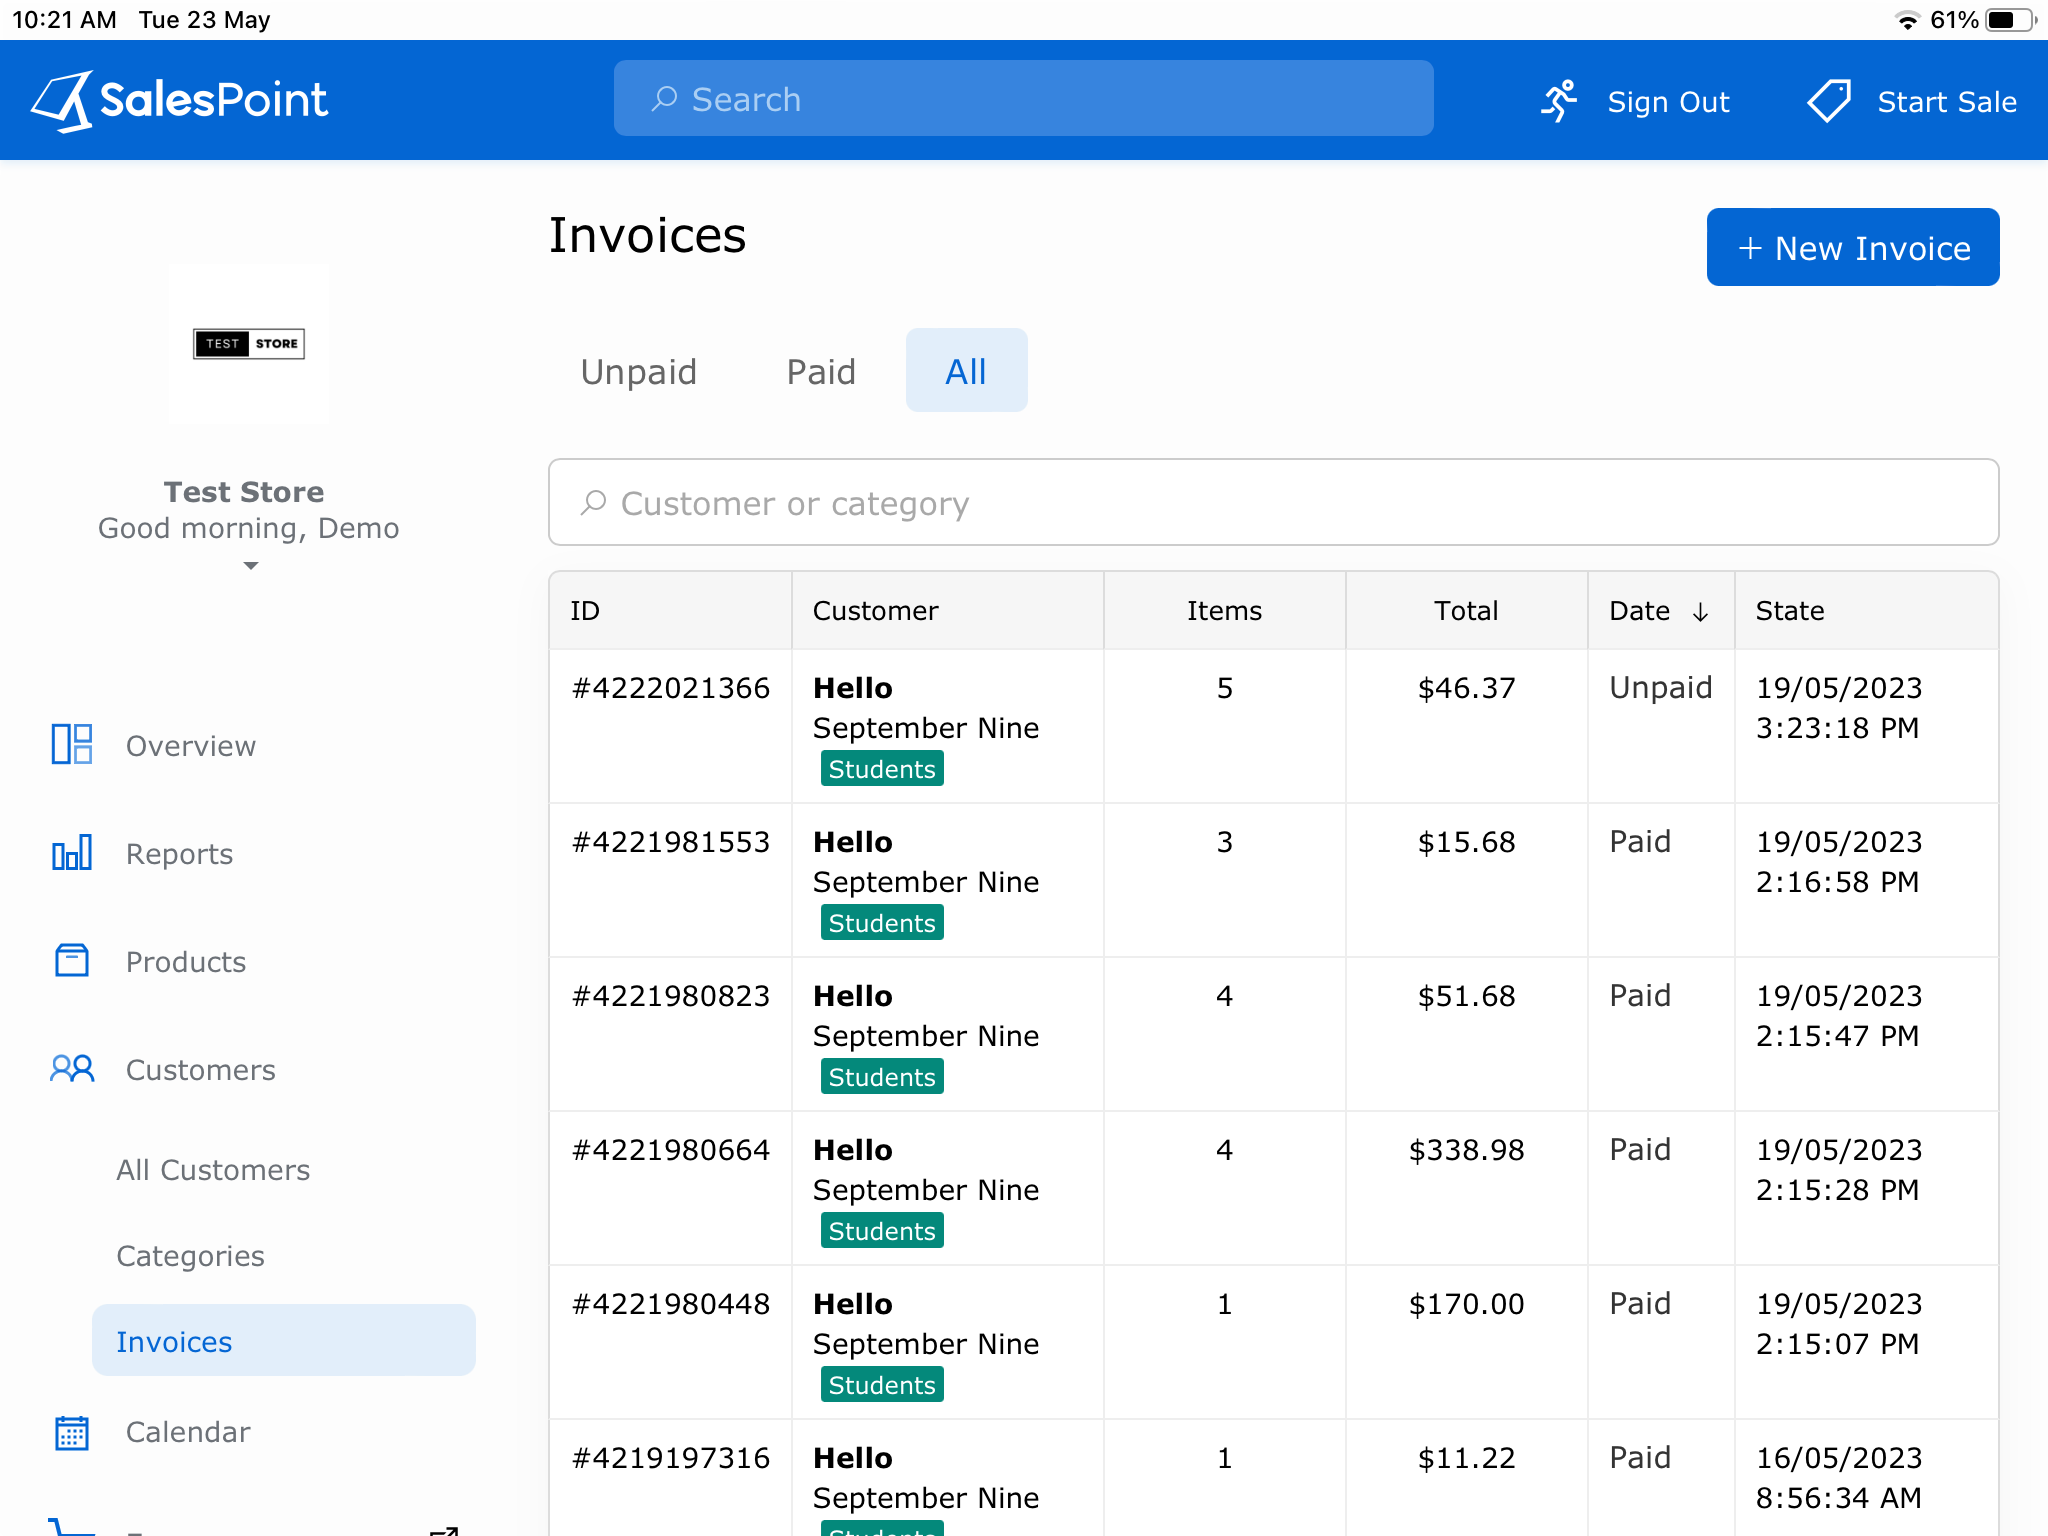
In the subcategory tab of the customer invoice section, you can find three types of invoices: Paid, Unpaid, and Both. This tab provides an overview of each invoice related to a sale along with its respective details. Navigate to the ‘Customers’ tab from the Dashboard and select the “Invoice” subcategory tab.
To generate a new invoice, simply locate and click the button.
Customer
The customer is associated with an invoice.
Items
A comprehensive breakdown of the items that the customer has purchased from the store. This section of the invoice includes specific details and information about each product, such as the quantity purchased, unit price, any applicable discounts, and additional relevant information.
Notes
Create additional information or comments relevant to the transaction.
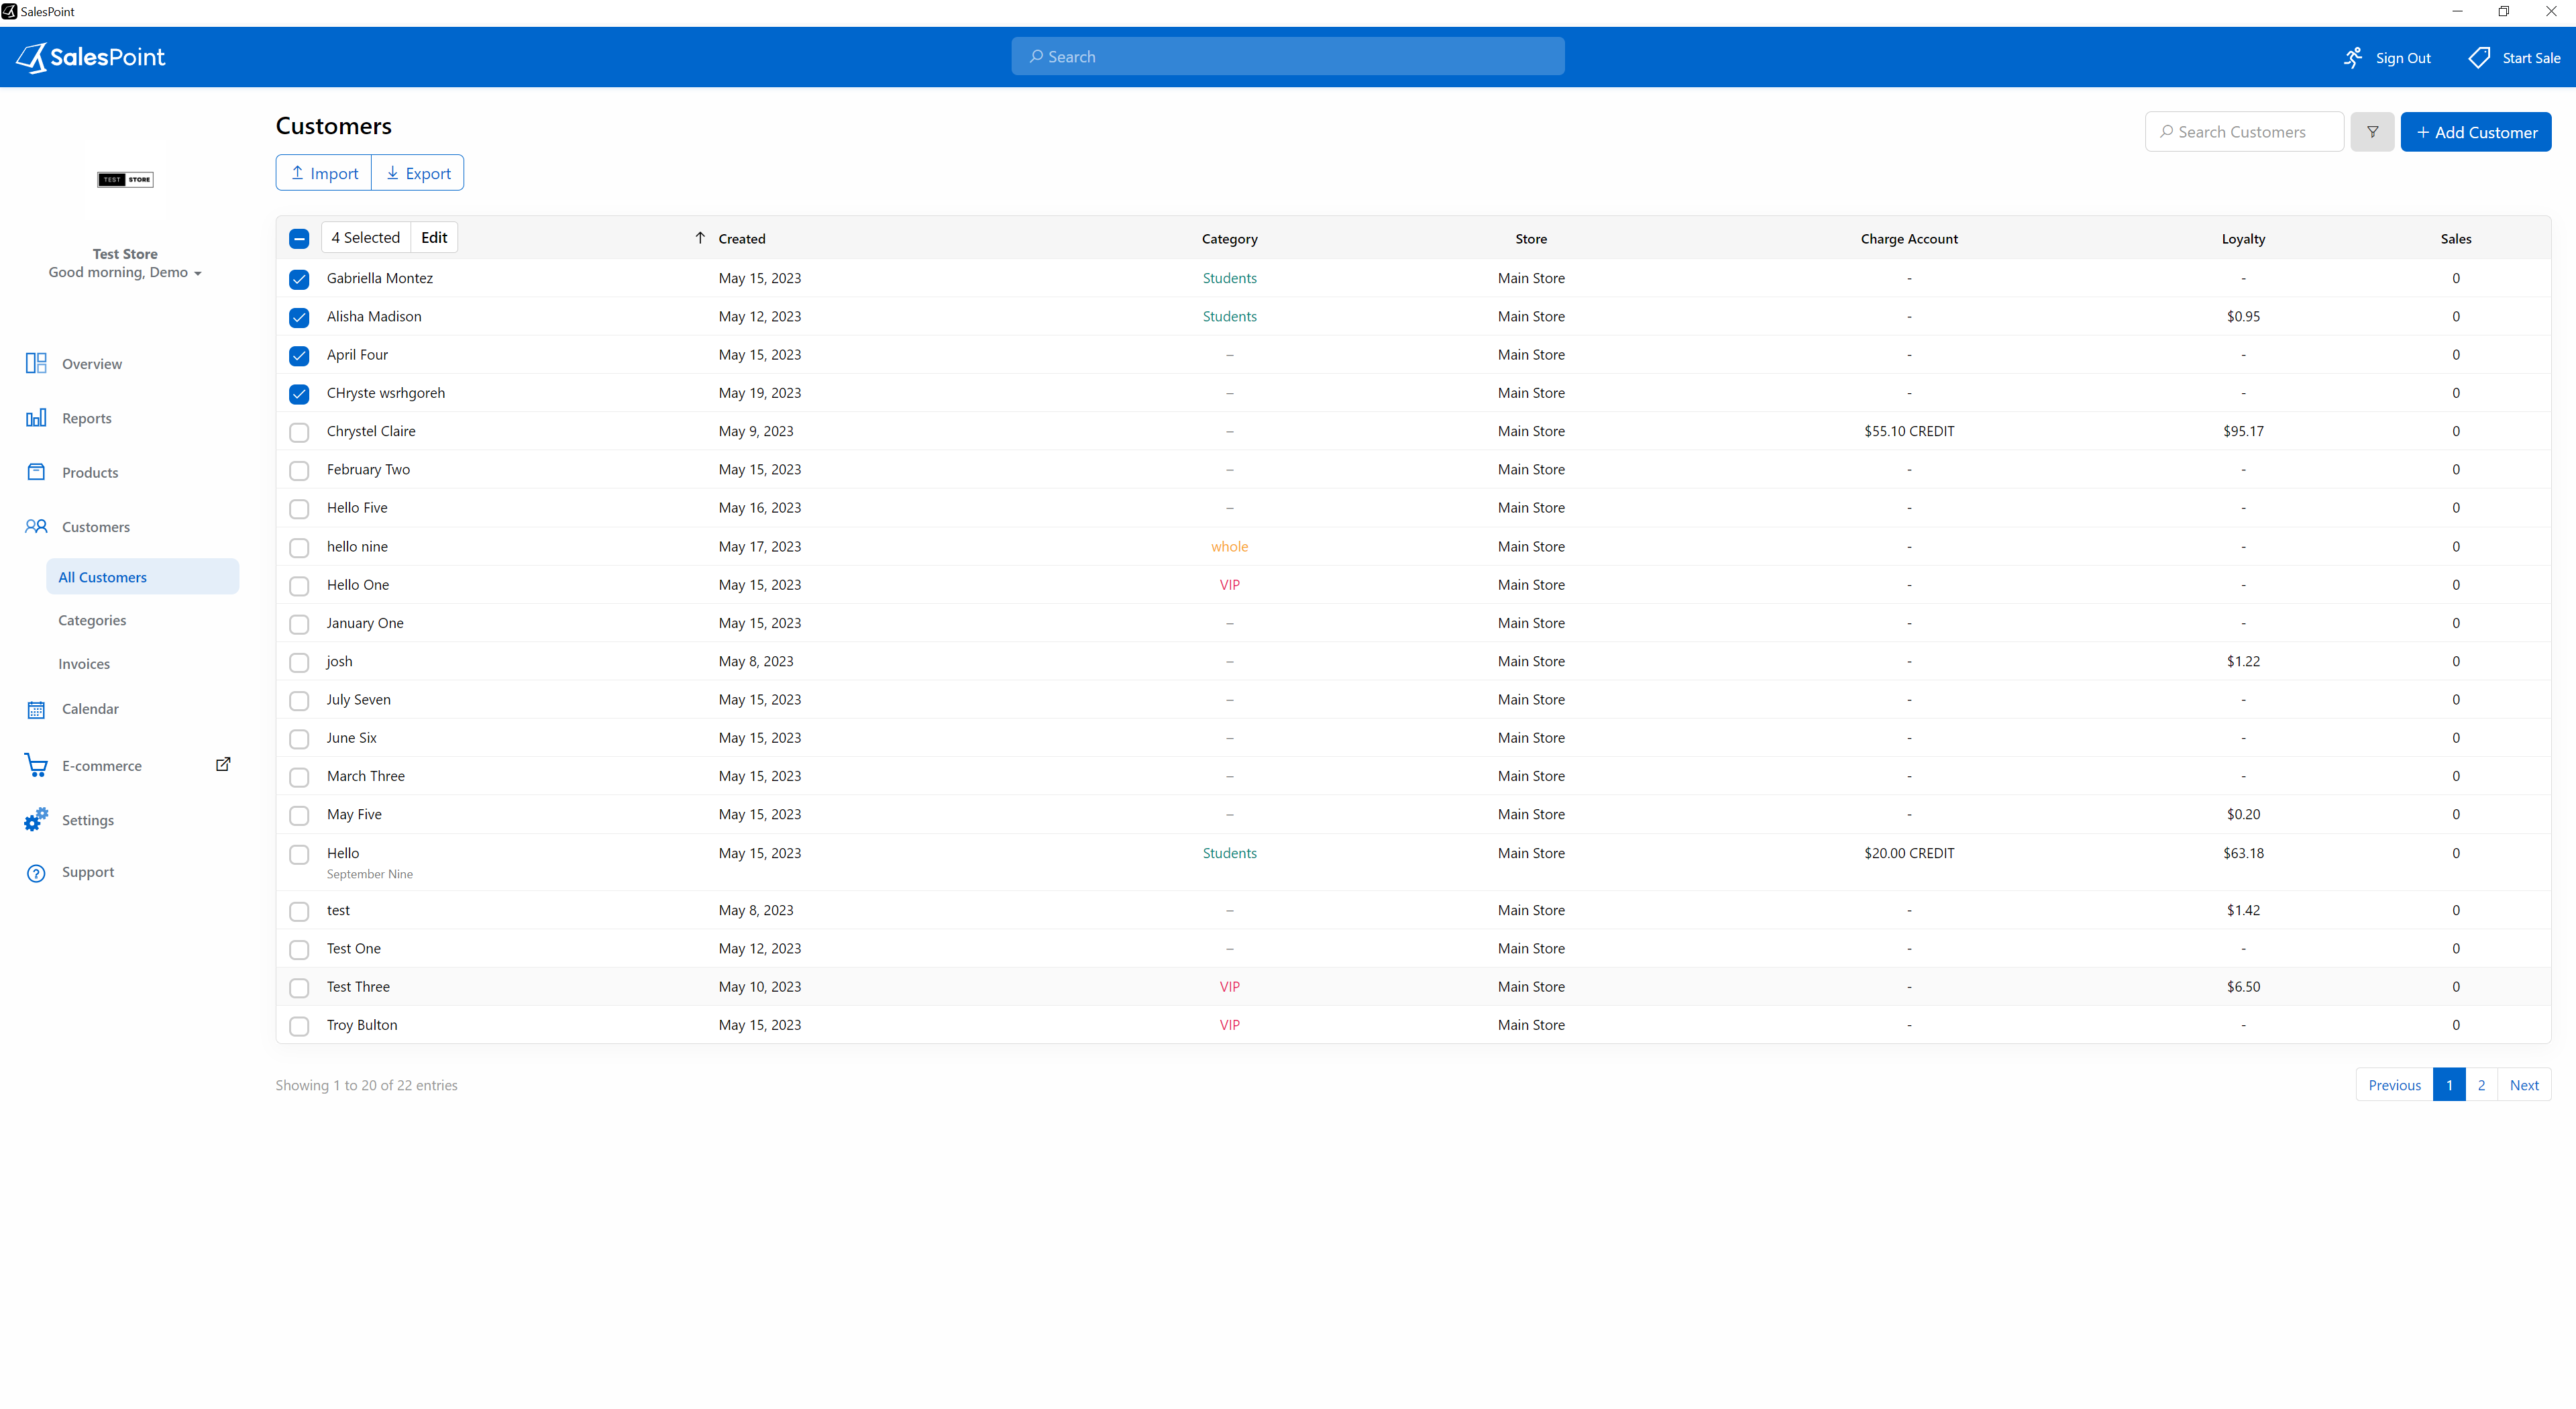
This makes it easier for updating multiple customers at once using the Bulk update feature.
1. To access the customer section, navigate to the Administration Screen (Dashboard/Back Office) and click on the tab. Next, select the subcategory tab.
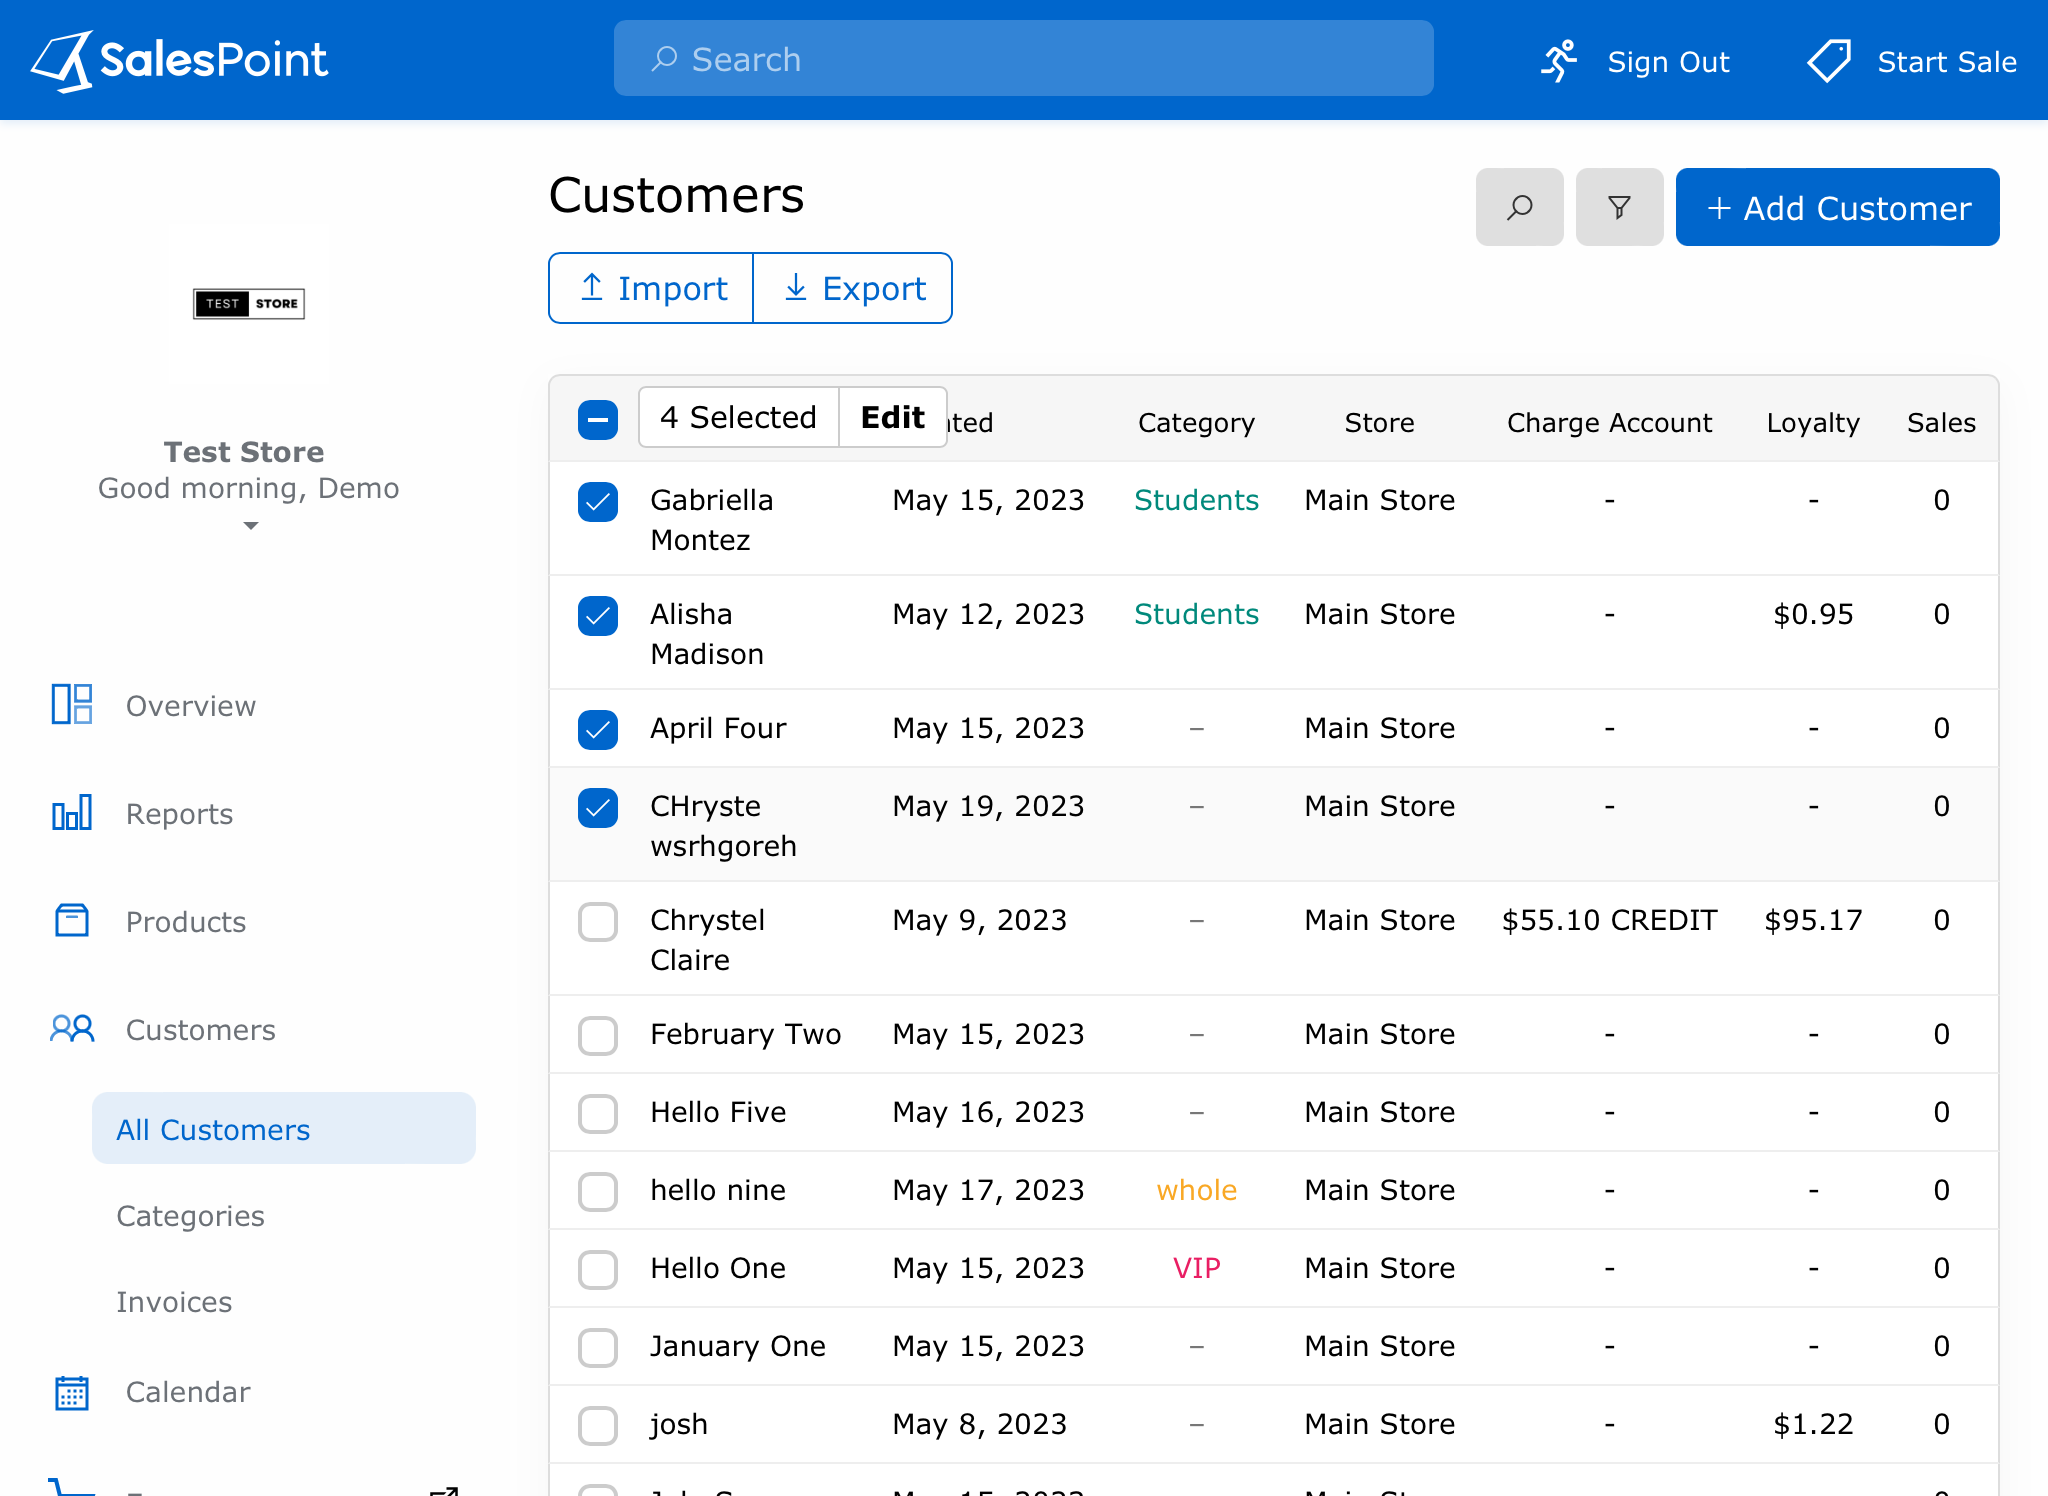
2. To the left of the screen, you will find checkboxes for each customer. You have the option to select customers one by one or the entire current page by clicking the checkbox at the top.
3. Once you have chosen the customers, you will notice the button located at the top of the screen, indicating the number of customers selected. Simply click on the button to commence the bulk update process for the chosen customers.
To update the selected customers' properties, tick the box next to the property you wish to update.
Learn more: Customers Bulk Update