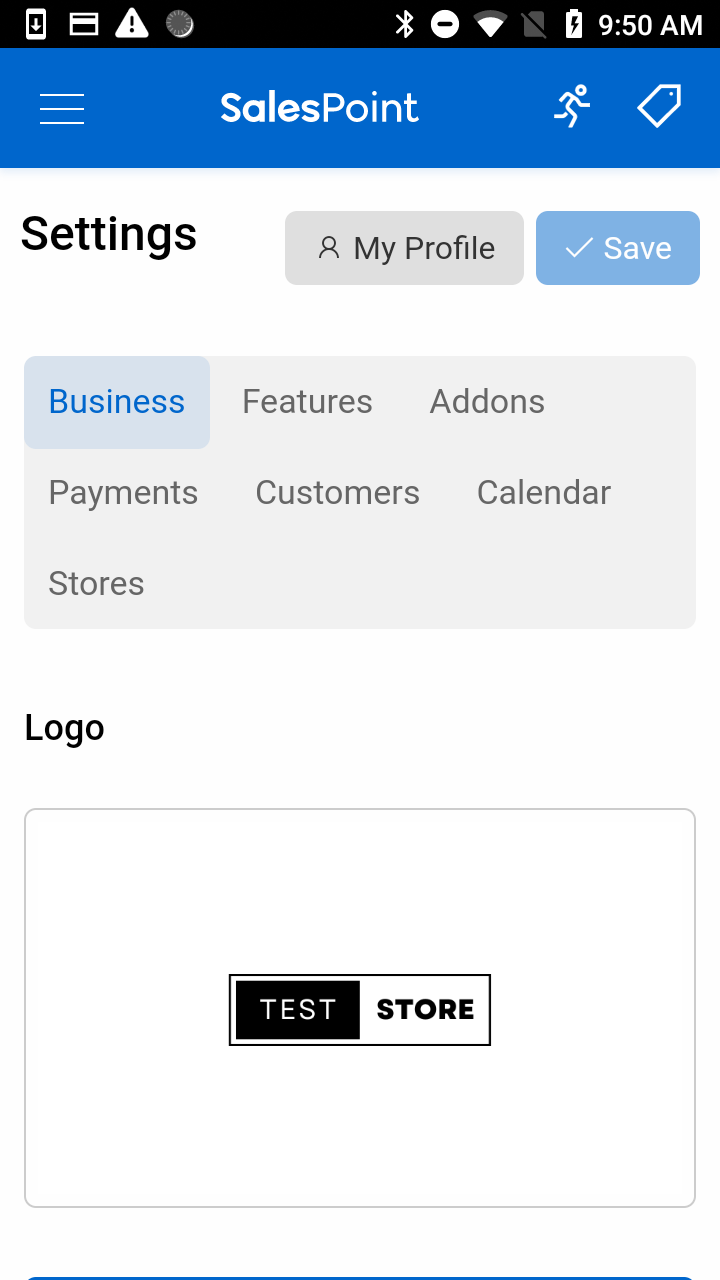
Refers to the configuration options available to customize the features and toggles you would like to use for your business. To access these settings, go to the Dashboard and click on the Settings tab, then select the General subcategory.
Business
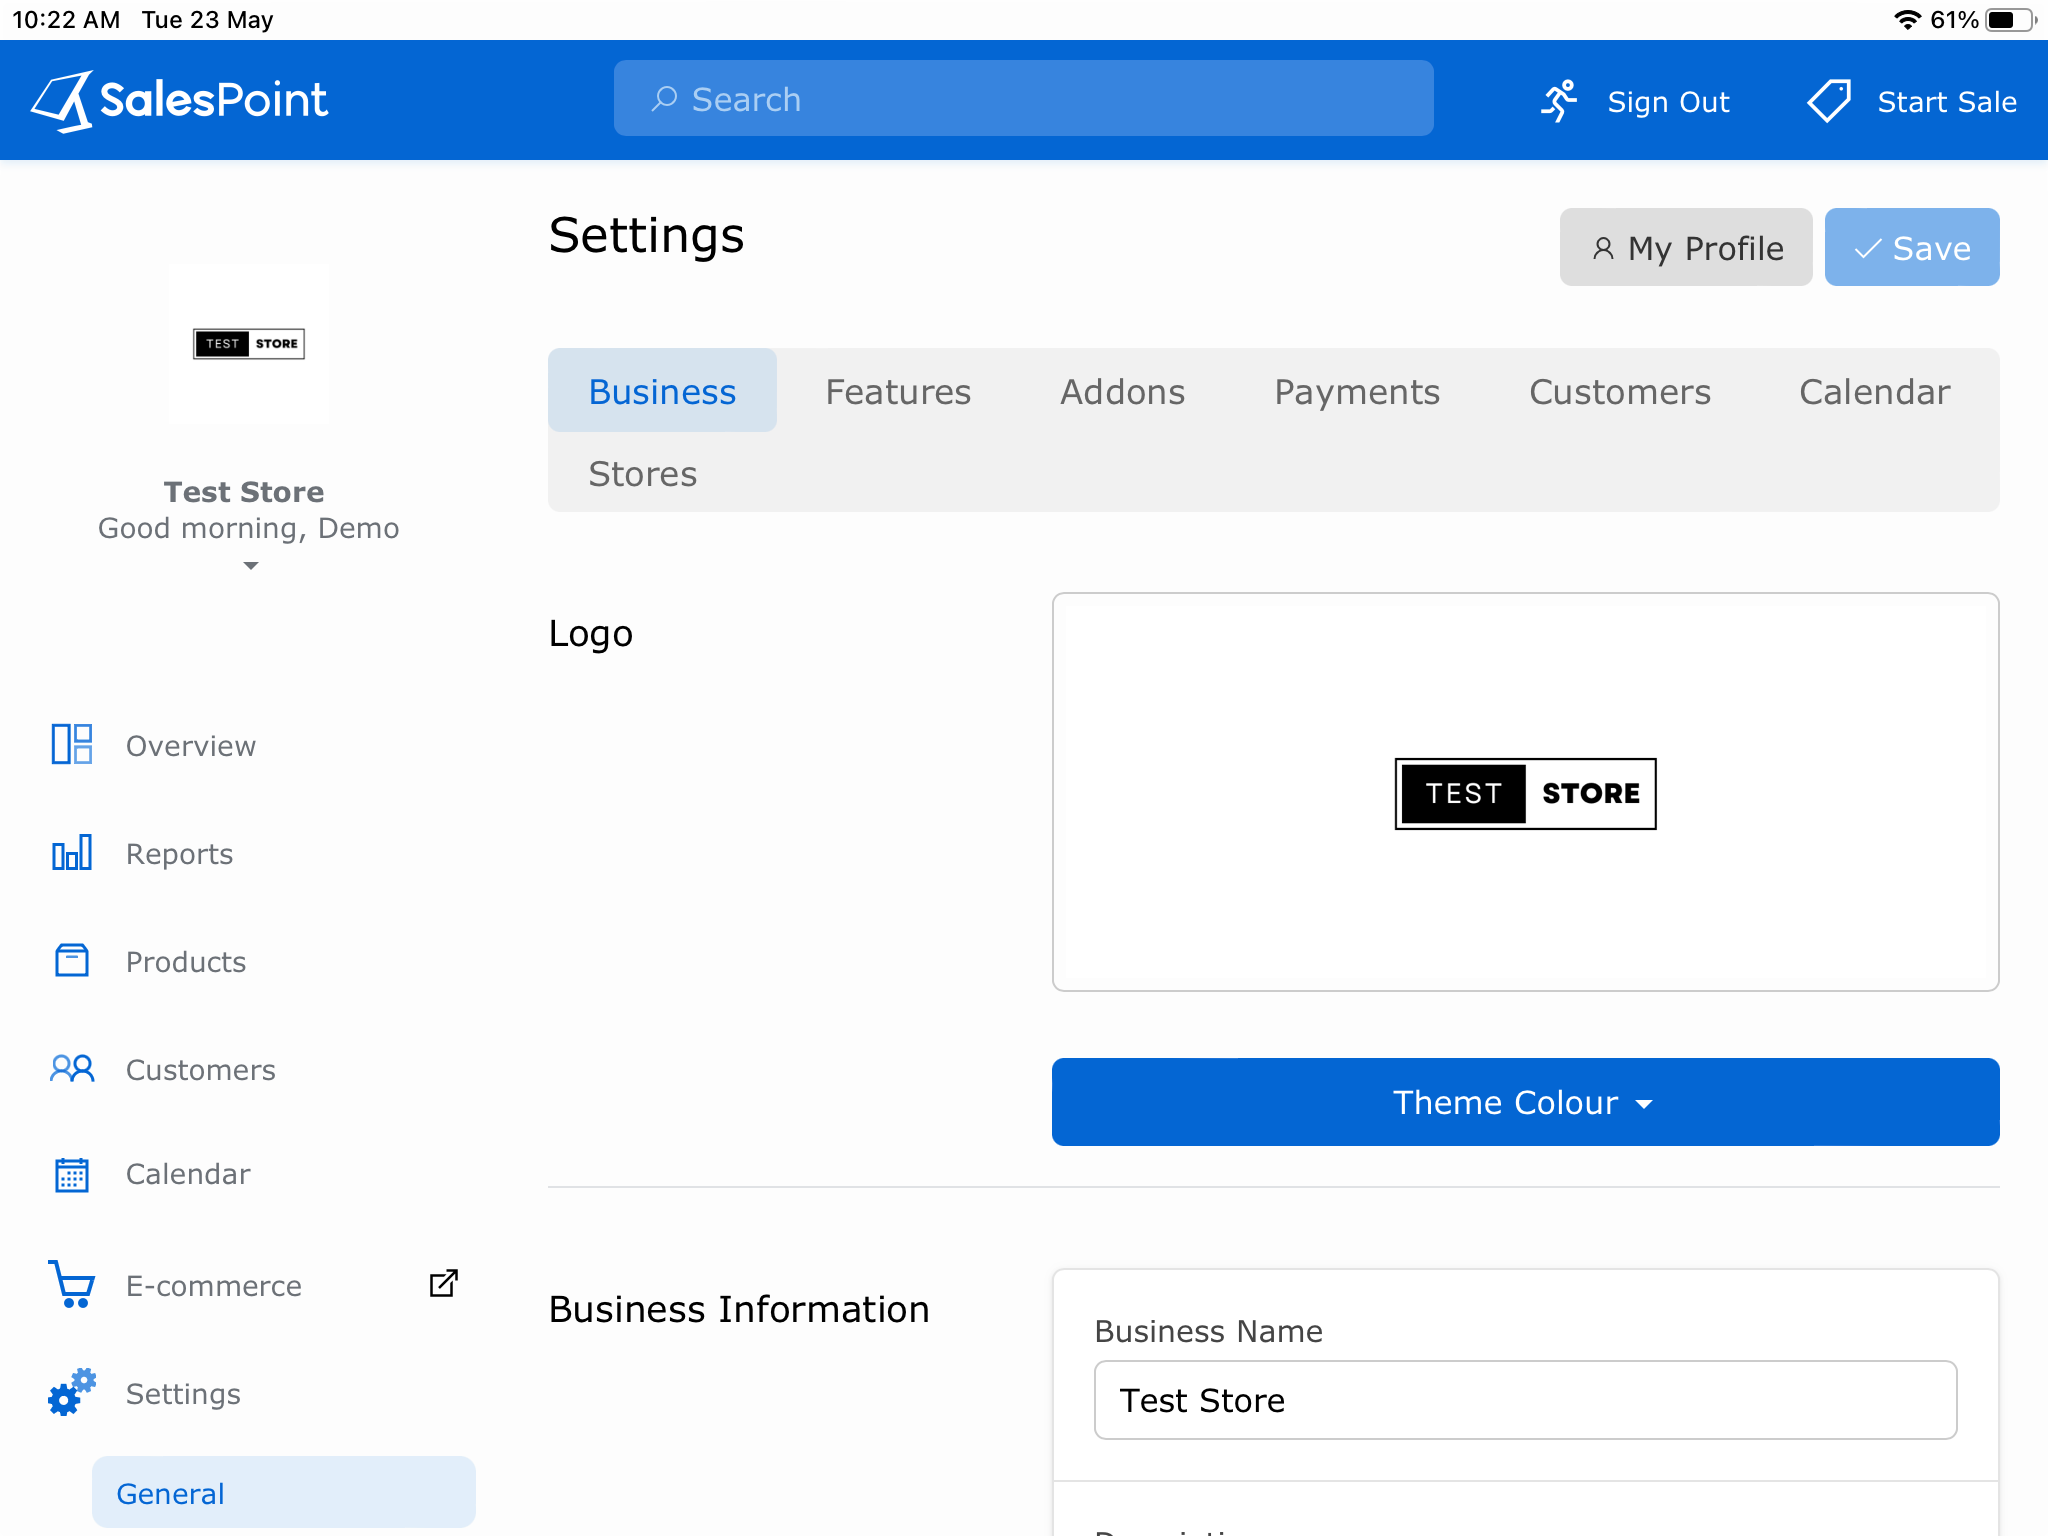
This section will allow you to add and edit important information about your store.
Logo Visual representation of your company’s brand identity.
Theme Colour
Change the theme colour of your app including the dashboard and the sale screen.
Business Name
Name of your store.
Business Description
A brief description of what your company does or a motto for your business.
Phone
A direct means of communication with customers, and facilitate order placement or customer support.
Website
A website is an online platform that provides access to information, products, and services offered by your business.
Address
Physical location of your store.
Change Hours
Modify the operating hours of your shop.
This section provides you with options to customize various aspects of your business operations such as products, reports, gift cards, and so much more.
Business Type
The type of structure your business is.
Register Balancing/ Float Register Balancing
Register Balancing
When enabled, it introduces a process that involves entering a float at the beginning of the sales day and recording the actual cash amount in the drawer at the end of the day. Enabling it guarantees that the amount of cash in the register corresponds to the sales transactions completed during the day.
Close Register Print Report
When register balancing is enabled and it’s time to close the register, you have the option to select the type of report you would like to receive. Selecting the desired report type ensures that you receive the specific information you need to effectively manage your business and track its financial progress.
Reporting
Reporting End of Day
Please choose the preferred time of day for receiving the end-of-day report.
To ensure you receive a comprehensive report, it's important to adjust the reporting time. By default, the reporting time spans a full 24-hour period from midnight to midnight. Please adjust the reporting time accordingly to obtain the desired report.
Separate Products by Options
This report will provide information on all products, and it will also separate the products based on their options.
Products
Combine Sale Items
When you add a product to a sale, the quantity of the product in the sale will increase instead of creating a new line for each product.
Markup Calculator
Using the markup calculator enables automatic calculation of the selling price of a product in your store based on its cost including tax. It calculates the percentage increase in the cost of the product and the amount of markup needed to achieve a certain profit margin.
Cost Includes Tax
The cost of the product or service includes any applicable taxes or fees.
Automatic Product Grid
When enabled, the product grid is automatically generated with the products already placed on the sale screen. However, if you disable this feature, you have the option to manually create your own product grid by turning off the toggle and saving the changes. After saving, you can edit the product grid by clicking the Edit Product Grid button.
Please note that this feature may not be available in the New Windows Version.
Show Product Images on Buttons
Display product images on buttons for easier visual identification of products during sales.
Prompt To Set Price If Price Is Zero
If the price of an item is zero, activating the toggle feature will result in an automatic prompt. After making a sale for the first time, you will be asked to enter a price for the item. The price you input will be saved and stored for future reference.
Tables
Enable Tables
Enabling the table feature allows you to easily assign orders to specific tables, making it convenient to manage your store's operations. This feature also lets you visually design table layouts, which is helpful for creating an organized seating arrangement. It simplifies the process for staff to assign tables to customers and ensures smooth order management. By utilizing this feature, you can enhance efficiency and provide a better customer experience in your store.
Temporary Tables
Enabling the temporary table feature allows staff to create a temporary table that is automatically deleted from the system once the sale is complete. This feature is particularly useful in retail settings when customers want to hold off on making their payments. It provides flexibility by allowing customers to reserve items or keep them on hold without requiring immediate payment.
Always Park Items on the Table
When you enable this feature, the sale screen will only have one option available for parking orders, and that is to assign them to a table. This functionality proves to be incredibly useful as it simplifies the workflow for staff members, allowing them to efficiently carry out their duties. By ensuring that orders can only be parked on a table, it streamlines the process and eliminates confusion, making it easier for staff to manage and track orders.
Capture the Number of Guests / Number of Covers
When creating a new sale, the user will be prompted to enter the number of guests for the table that will be dining in.
Dining Choice
Enable Dining Choice
Enabling the Dining Choice feature gives staff the ability to offer customers the option to choose between takeaway or dine-in for their orders.
Require Dining Choice
This feature prompts staff members to ask customers how they would like their food to be served, either as a takeaway or for dining in at the establishment. This prompt typically appears before parking the order or during the payment process.
Default Dining Choice
Refers to the pre-selected or default option for how a customer's food order will be served, whether as a takeaway or for dine-in.
Takeaway Queue
Enabling this feature provides a dedicated system for efficiently managing and handling takeaway orders, including those orders received via phone.
The Tables and Dining Choice only exists when selecting either Hospitality or Other as the Business Type .
Order Numbers
Enable Order Numbers
Provides a unique identifier for each order that is placed. This is useful for customer reference and can help track orders.
Auto Generate Number
When enabled, the product grid is automatically generated with the products already placed on the sale screen. However, if you disable this feature, you have the option to manually create your own product grid by turning off the toggle and saving the changes. After saving, you can edit the product grid by clicking the Edit Product Grid button.
Customer Feedback
Enable Customer Feedback
Allows customers to provide their opinions, suggestions, or rating on the product or services offered by the business.
Validate Feedback on Payment
Requires customers to provide feedback before completing the payment process.
General
Items Per Page
To change the number of items displayed per page on the dashboard, you can select your preferred quantity for viewing.
Keep in mind that for Android devices with limited memory capacity, it is advisable to reduce the number of items displayed per page to optimize performance.
Gift Cards
This feature allows you to sell gift cards to customers and enables them to redeem the value of the gift card during a purchase.
Web Browser Sales
This means that it is possible to make sales using a web browser instead of using our native applications.
Ask For ID
Request a form of identification from the customer to verify their identity or age. This can either be done on payment or when scanning or selecting a product.
Payments
There are various options to enable different payment methods to accept payments
Cash
Enable the acceptance of cash as a payment method for transactions.
EFTPOS
Allow EFTPOS transactions as a payment method during sales.
Allow Cash Out
Enabling this feature allows a customer to withdraw cash from their bank accounts, even without requiring a purchase.
Cash Out Requires Purchase
When this feature is enabled, it indicates that customers can only receive cash out if they first make a purchase in-store. In this case, the cash-out option is available on the sale screen, but customers are required to complete a purchase transaction before they can receive cash out. Conversely, when this feature is disabled, the EFTPOS system may offer a separate cash-out option on the sale screen.
Bank Deposit
Refers to a method of payment where the customer transfers the amount due for their purchase to the seller’s bank account.
Custom Payment
Not Predefined in the system and can be customized according to specific needs and requirements. eg. Afterpay
Customers
This section enables features such as email receipts, customer loyalty programs and so much more.
Default Category for New Customers
You can choose a category for new customers, which will then automatically be assigned as the default category whenever a new customer is added to the system.
Default Customer for New Sales
When you create a new sale, the system will automatically assign a default customer to that sale.
Share Customers Between Stores
Allows customers to be shared across multiple store locations. This means that when a new customer is added to the system at one store, that customer will also be available to all other stores that are part of the network.
Automatically email customers’ receipt
Automatically send a copy of the customer’s receipt via email.
Sales require a customer to be selected
This means that to make a sale, the employees must select a customer from the system before payment or parking.
Loyalty
Reward customers for spending an amount in your store.
Charge Account
Enable charge account for customers to charge sales to their account and to be paid back later.
Modern Invoices
Enabling the customer invoice feature allows you to automatically generate and send invoices to customers when they make a purchase from your store.
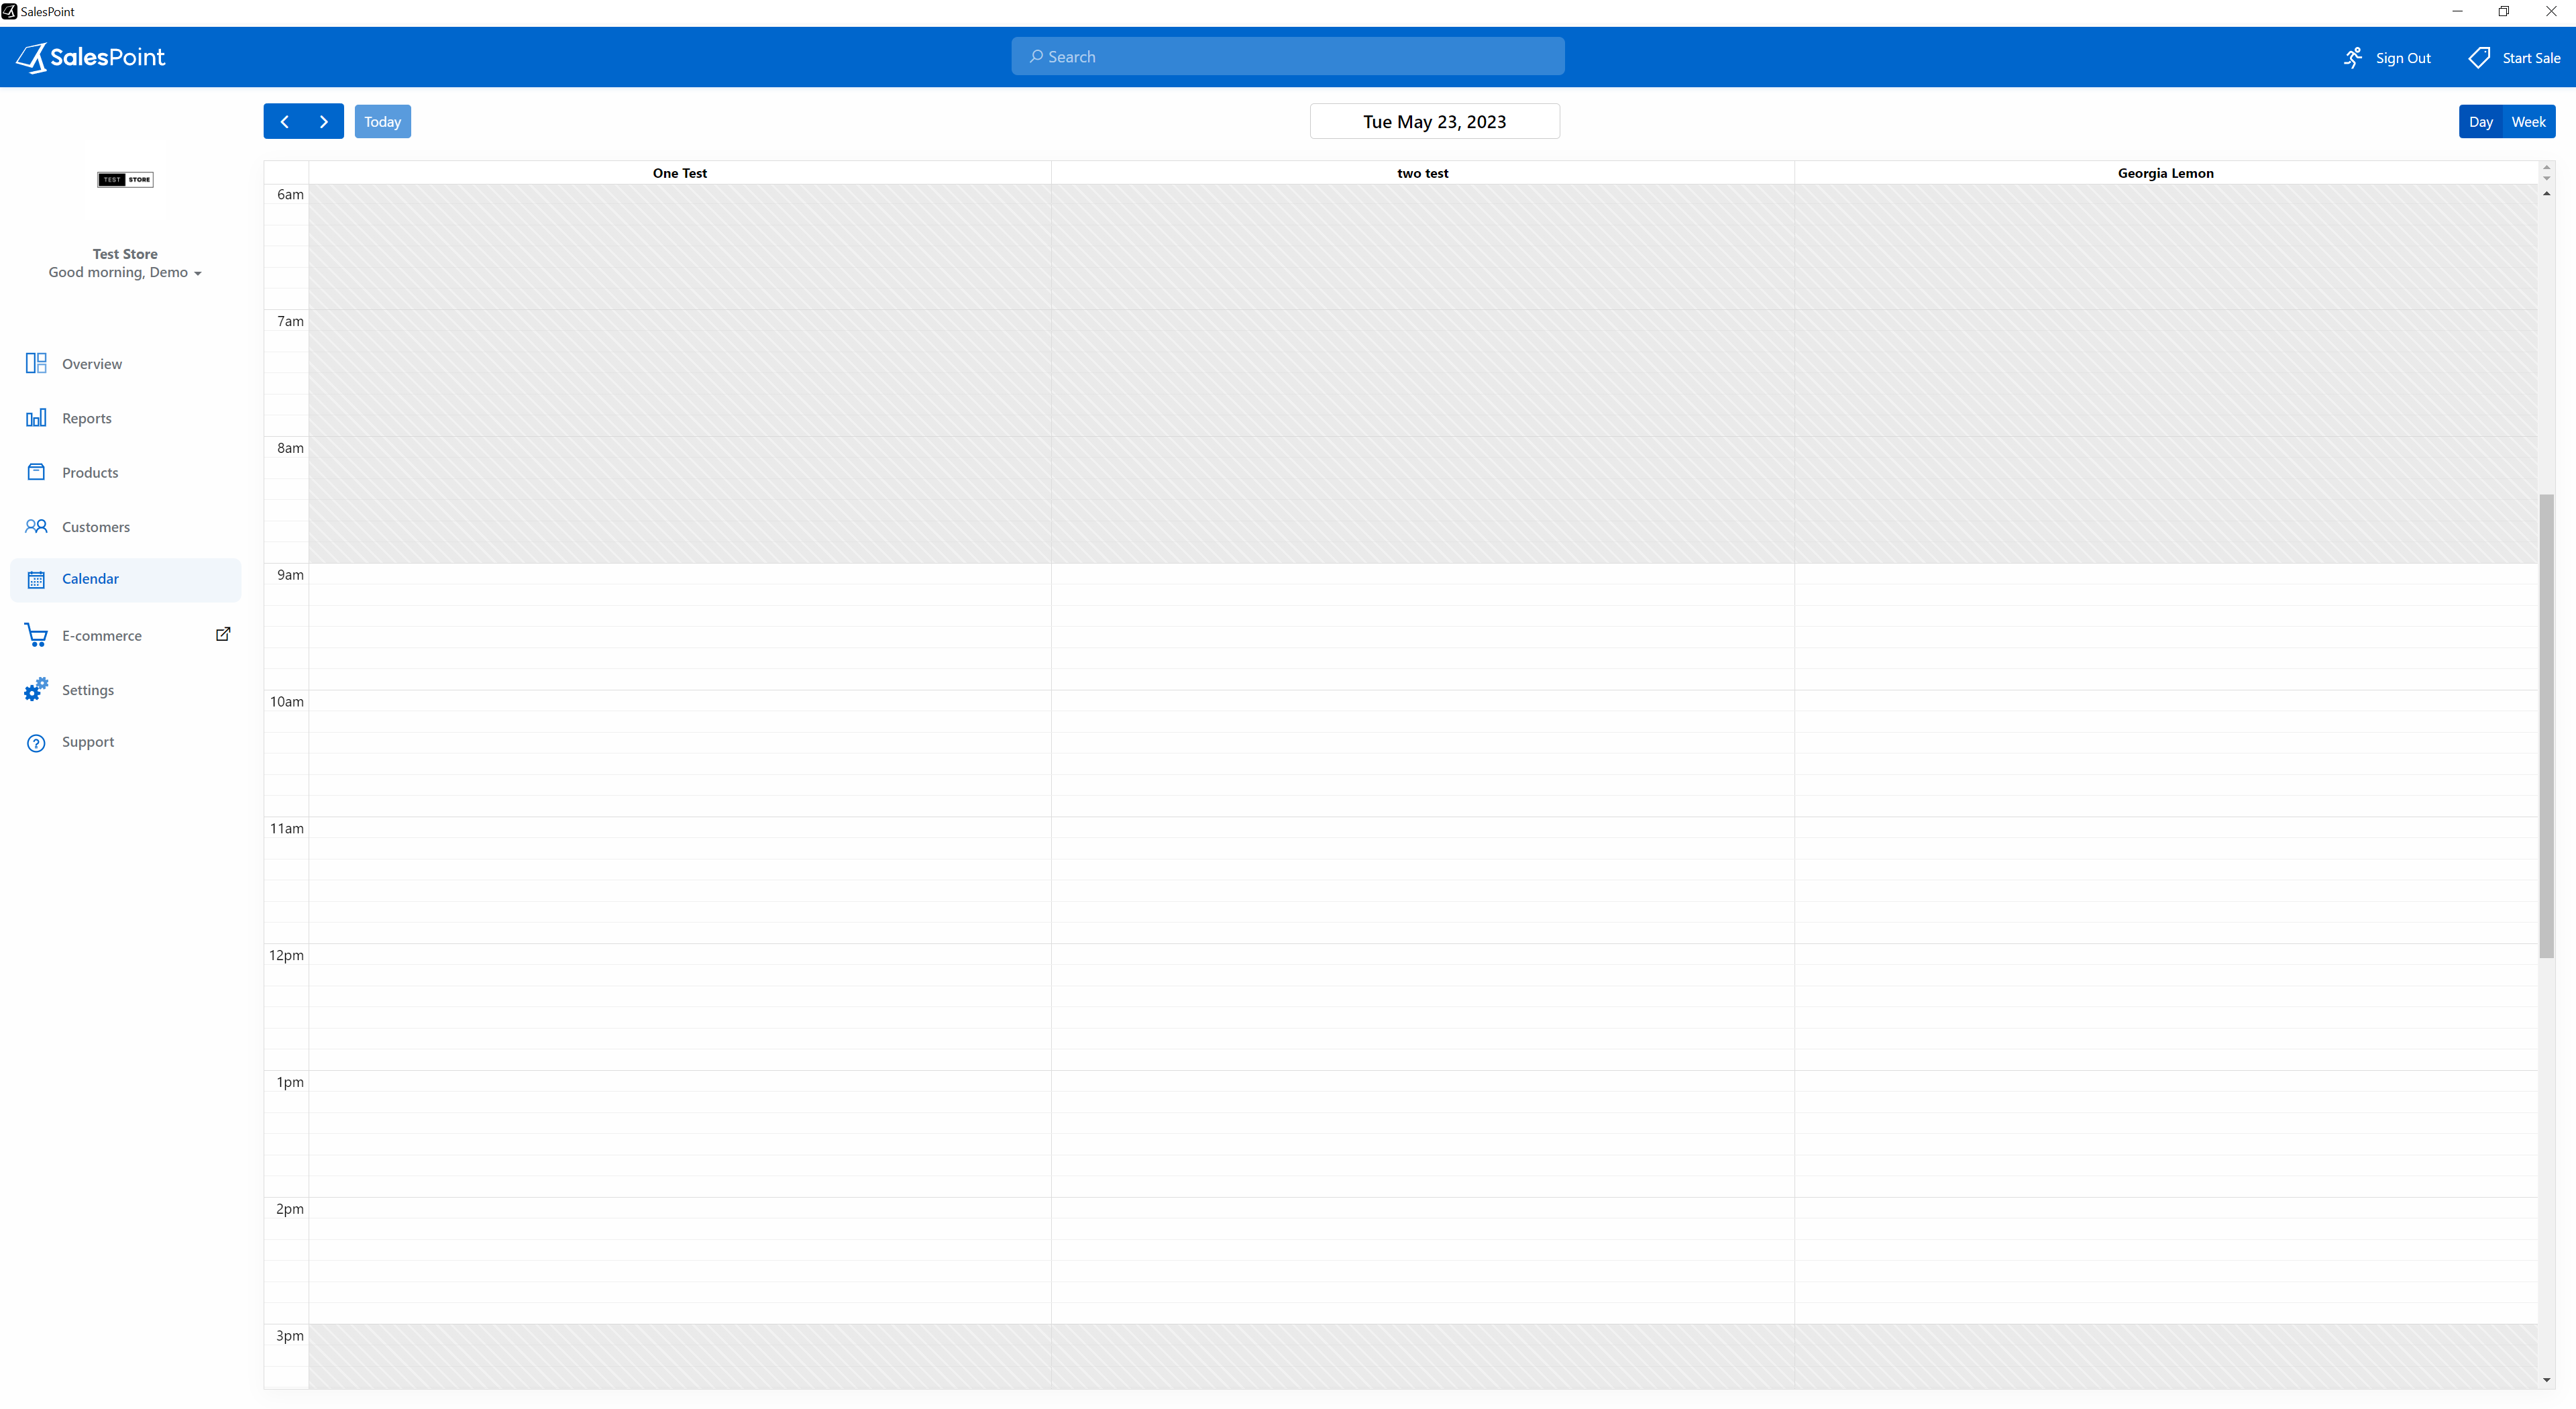
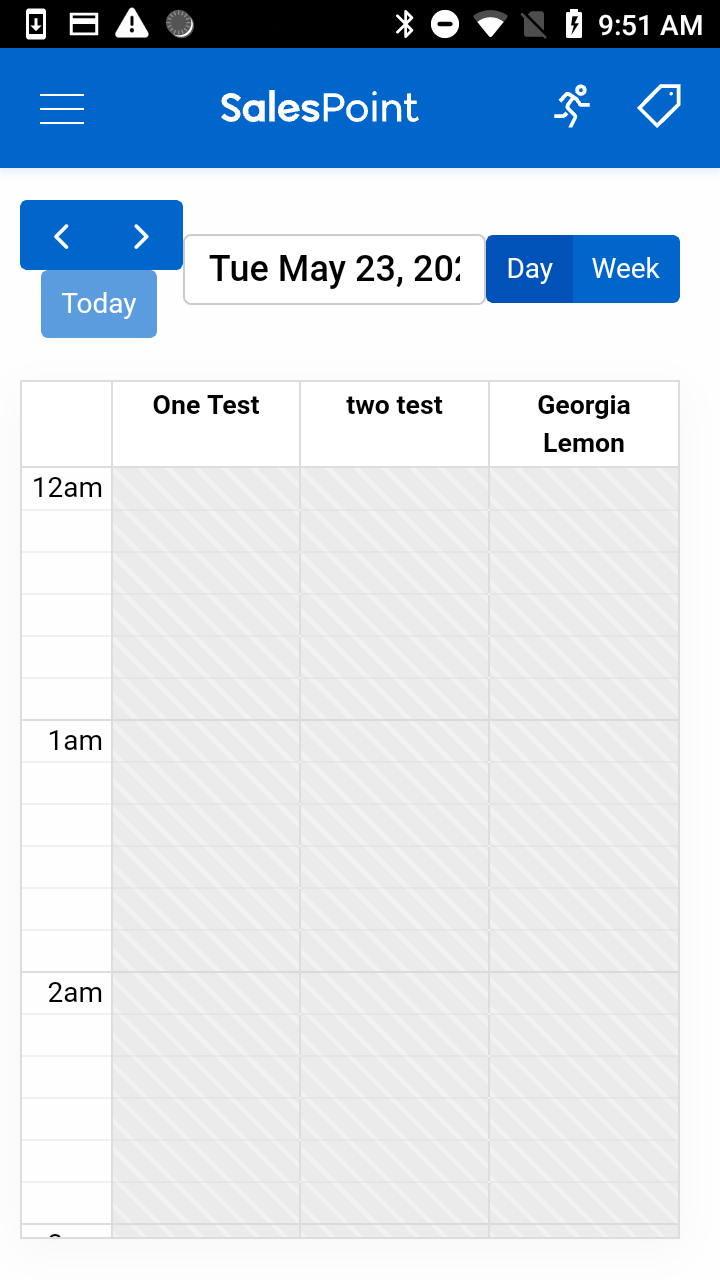
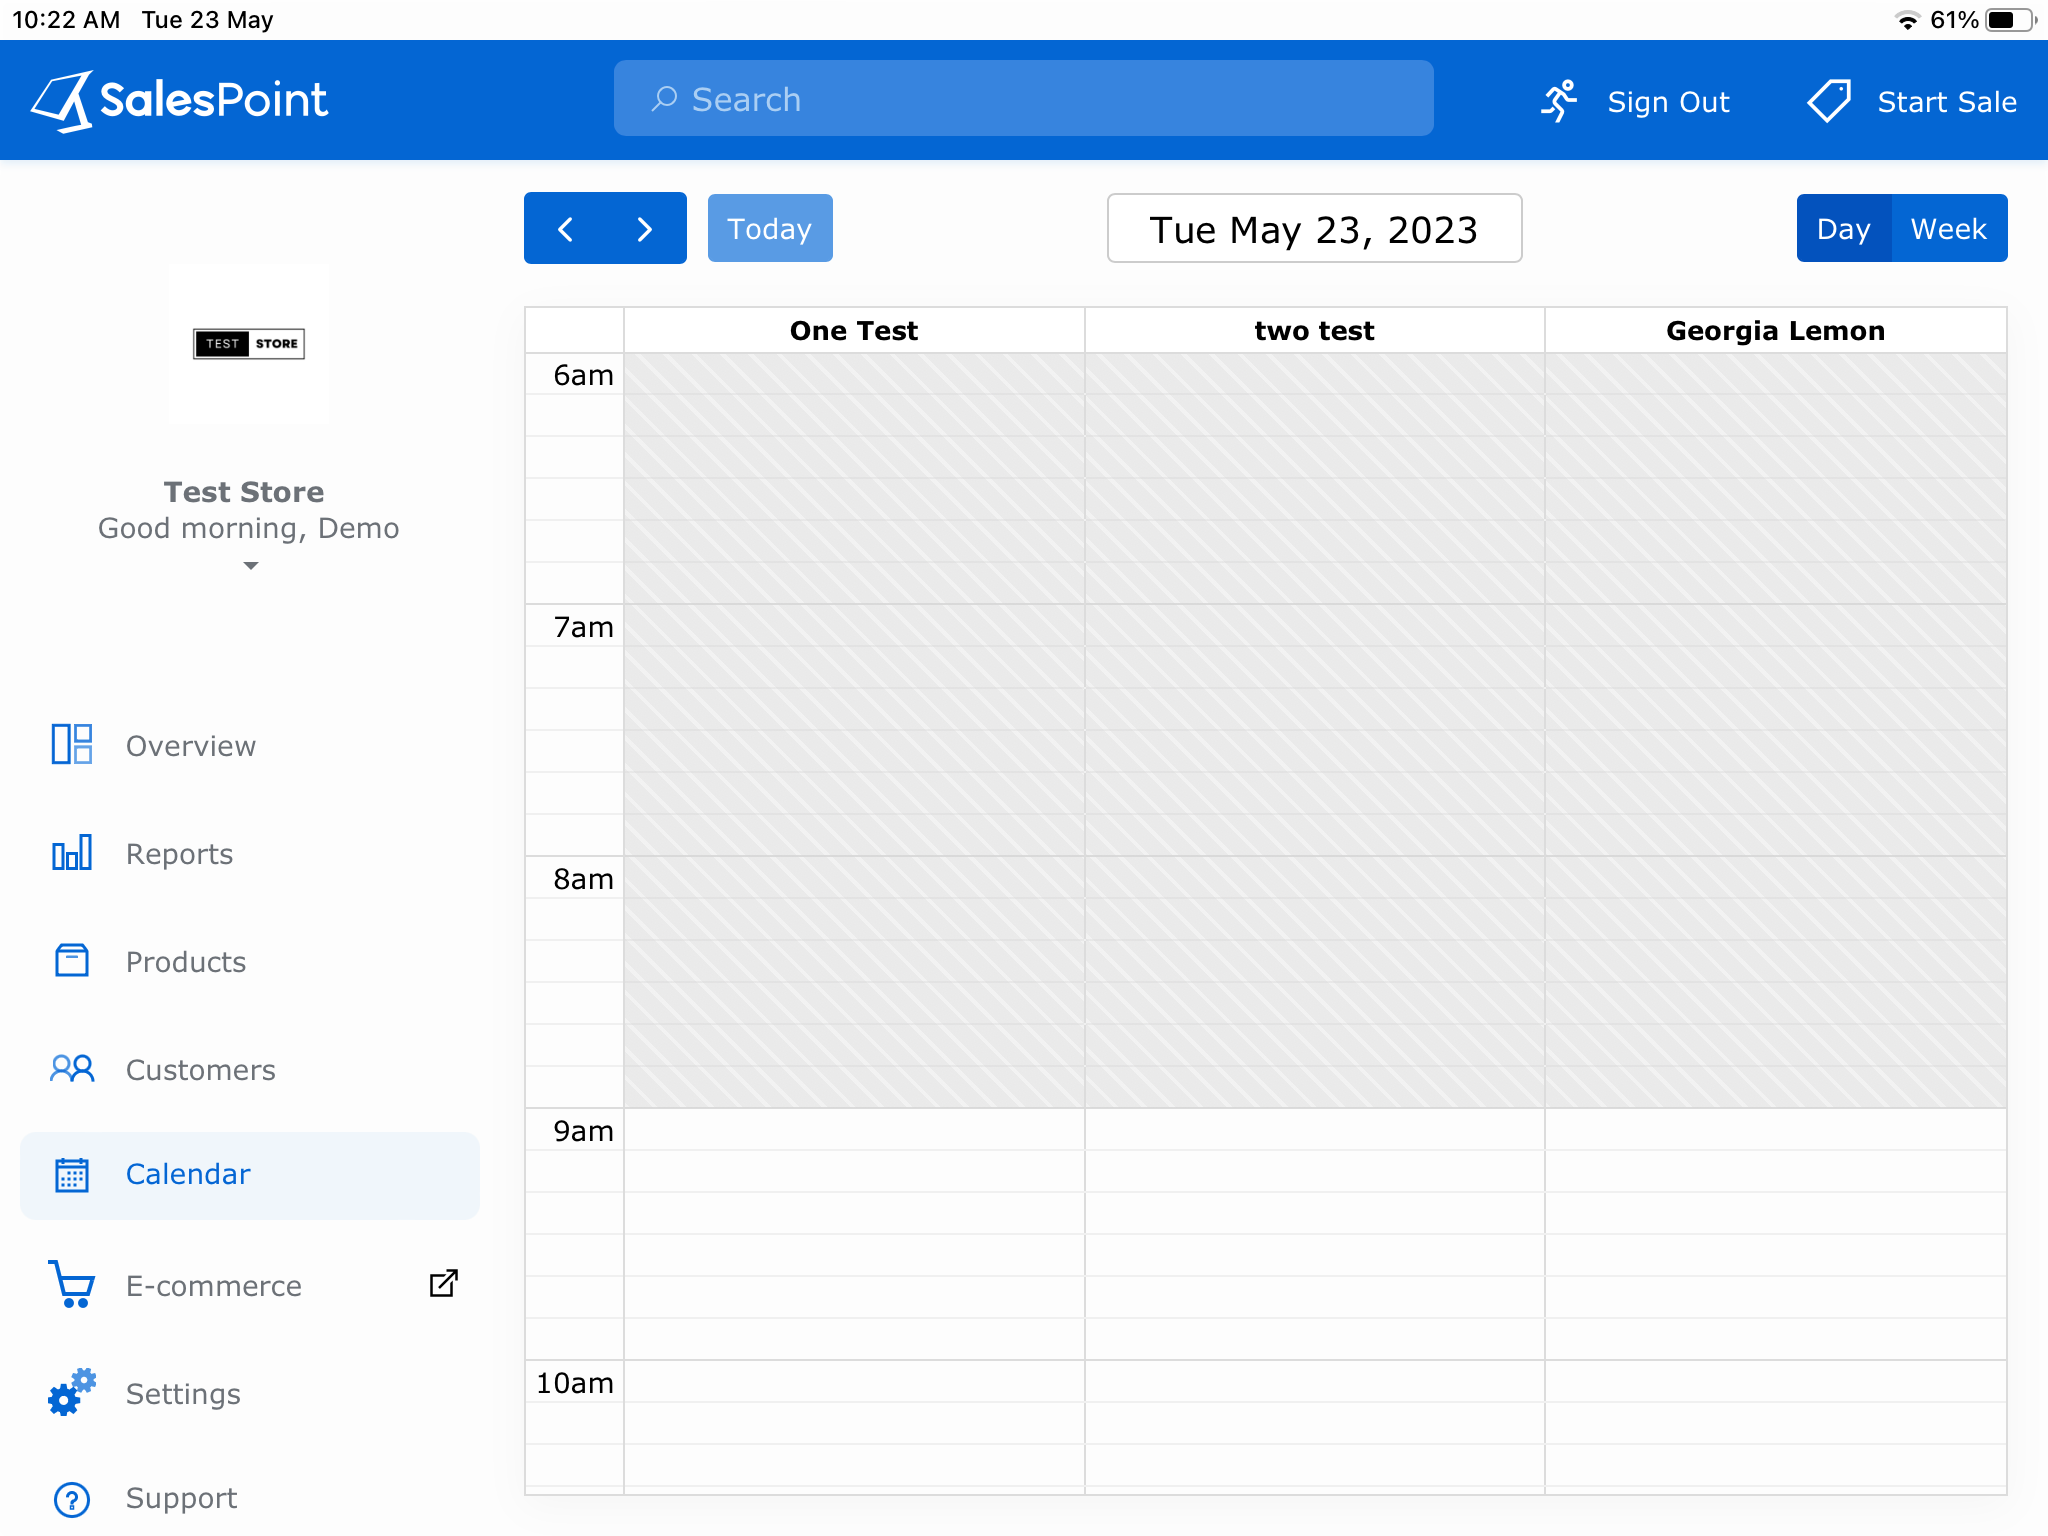
Calendar
This section provides the option to enable the calendar feature which allows you to schedule appointments and bookings. To create a new appointment or booking, simply click on an available time slot on the calendar, which can be accessed from either the sale screen or the dashboard.
Enable Calendar
Allows employees and administrators to view and manage appointments, events, or bookings.
Calendar Mode
The calendar provides multiple options including “Calendar Mode: By staff” where bookings are made through the staff column, “Calendar Mode: By Table” where bookings are made through the table column and “Calendar Mode: Shared” which is for any bookings.
Stepping
The interval of time used in the calendar to display the availability of booking slots. For example, if the stepping is set to 15 minutes, the calendar will display available time slots every 15 minutes.
Send SMS Reminder
Enabling this feature in the calendar will automatically send reminders to customers via SMS before their scheduled appointment.
If the Calendar Mode is set to By Staff , these toggles will show up:
Staff can see appointments for other staff
The staff members can view the scheduled appointments of their colleagues.
Staff can create appointments for other staff
The staff members can create appointments for other employees in the system.
This section allows you to add multiple stores to your account. To add a new store, click on the Then press Add Store button.
Name
Name of your other store.
Region
The location where the store is the country.
Address
The physical location of the store.
Phone
Phone number of a store where customers can call for inquiries, reservations, or any other related concerns.
Receipt Footer
Additional information about your store.
Store Hours
Specific opening and closing times of the store.
By integrating store hours into the calendar, you can easily assess available time slots and effectively manage bookings within the designated operating hours. To learn more please visit: How to Set Up Store Hours on Your Calendar.