Set up your new device to use your hardware such as printer, scanner and cash drawer.
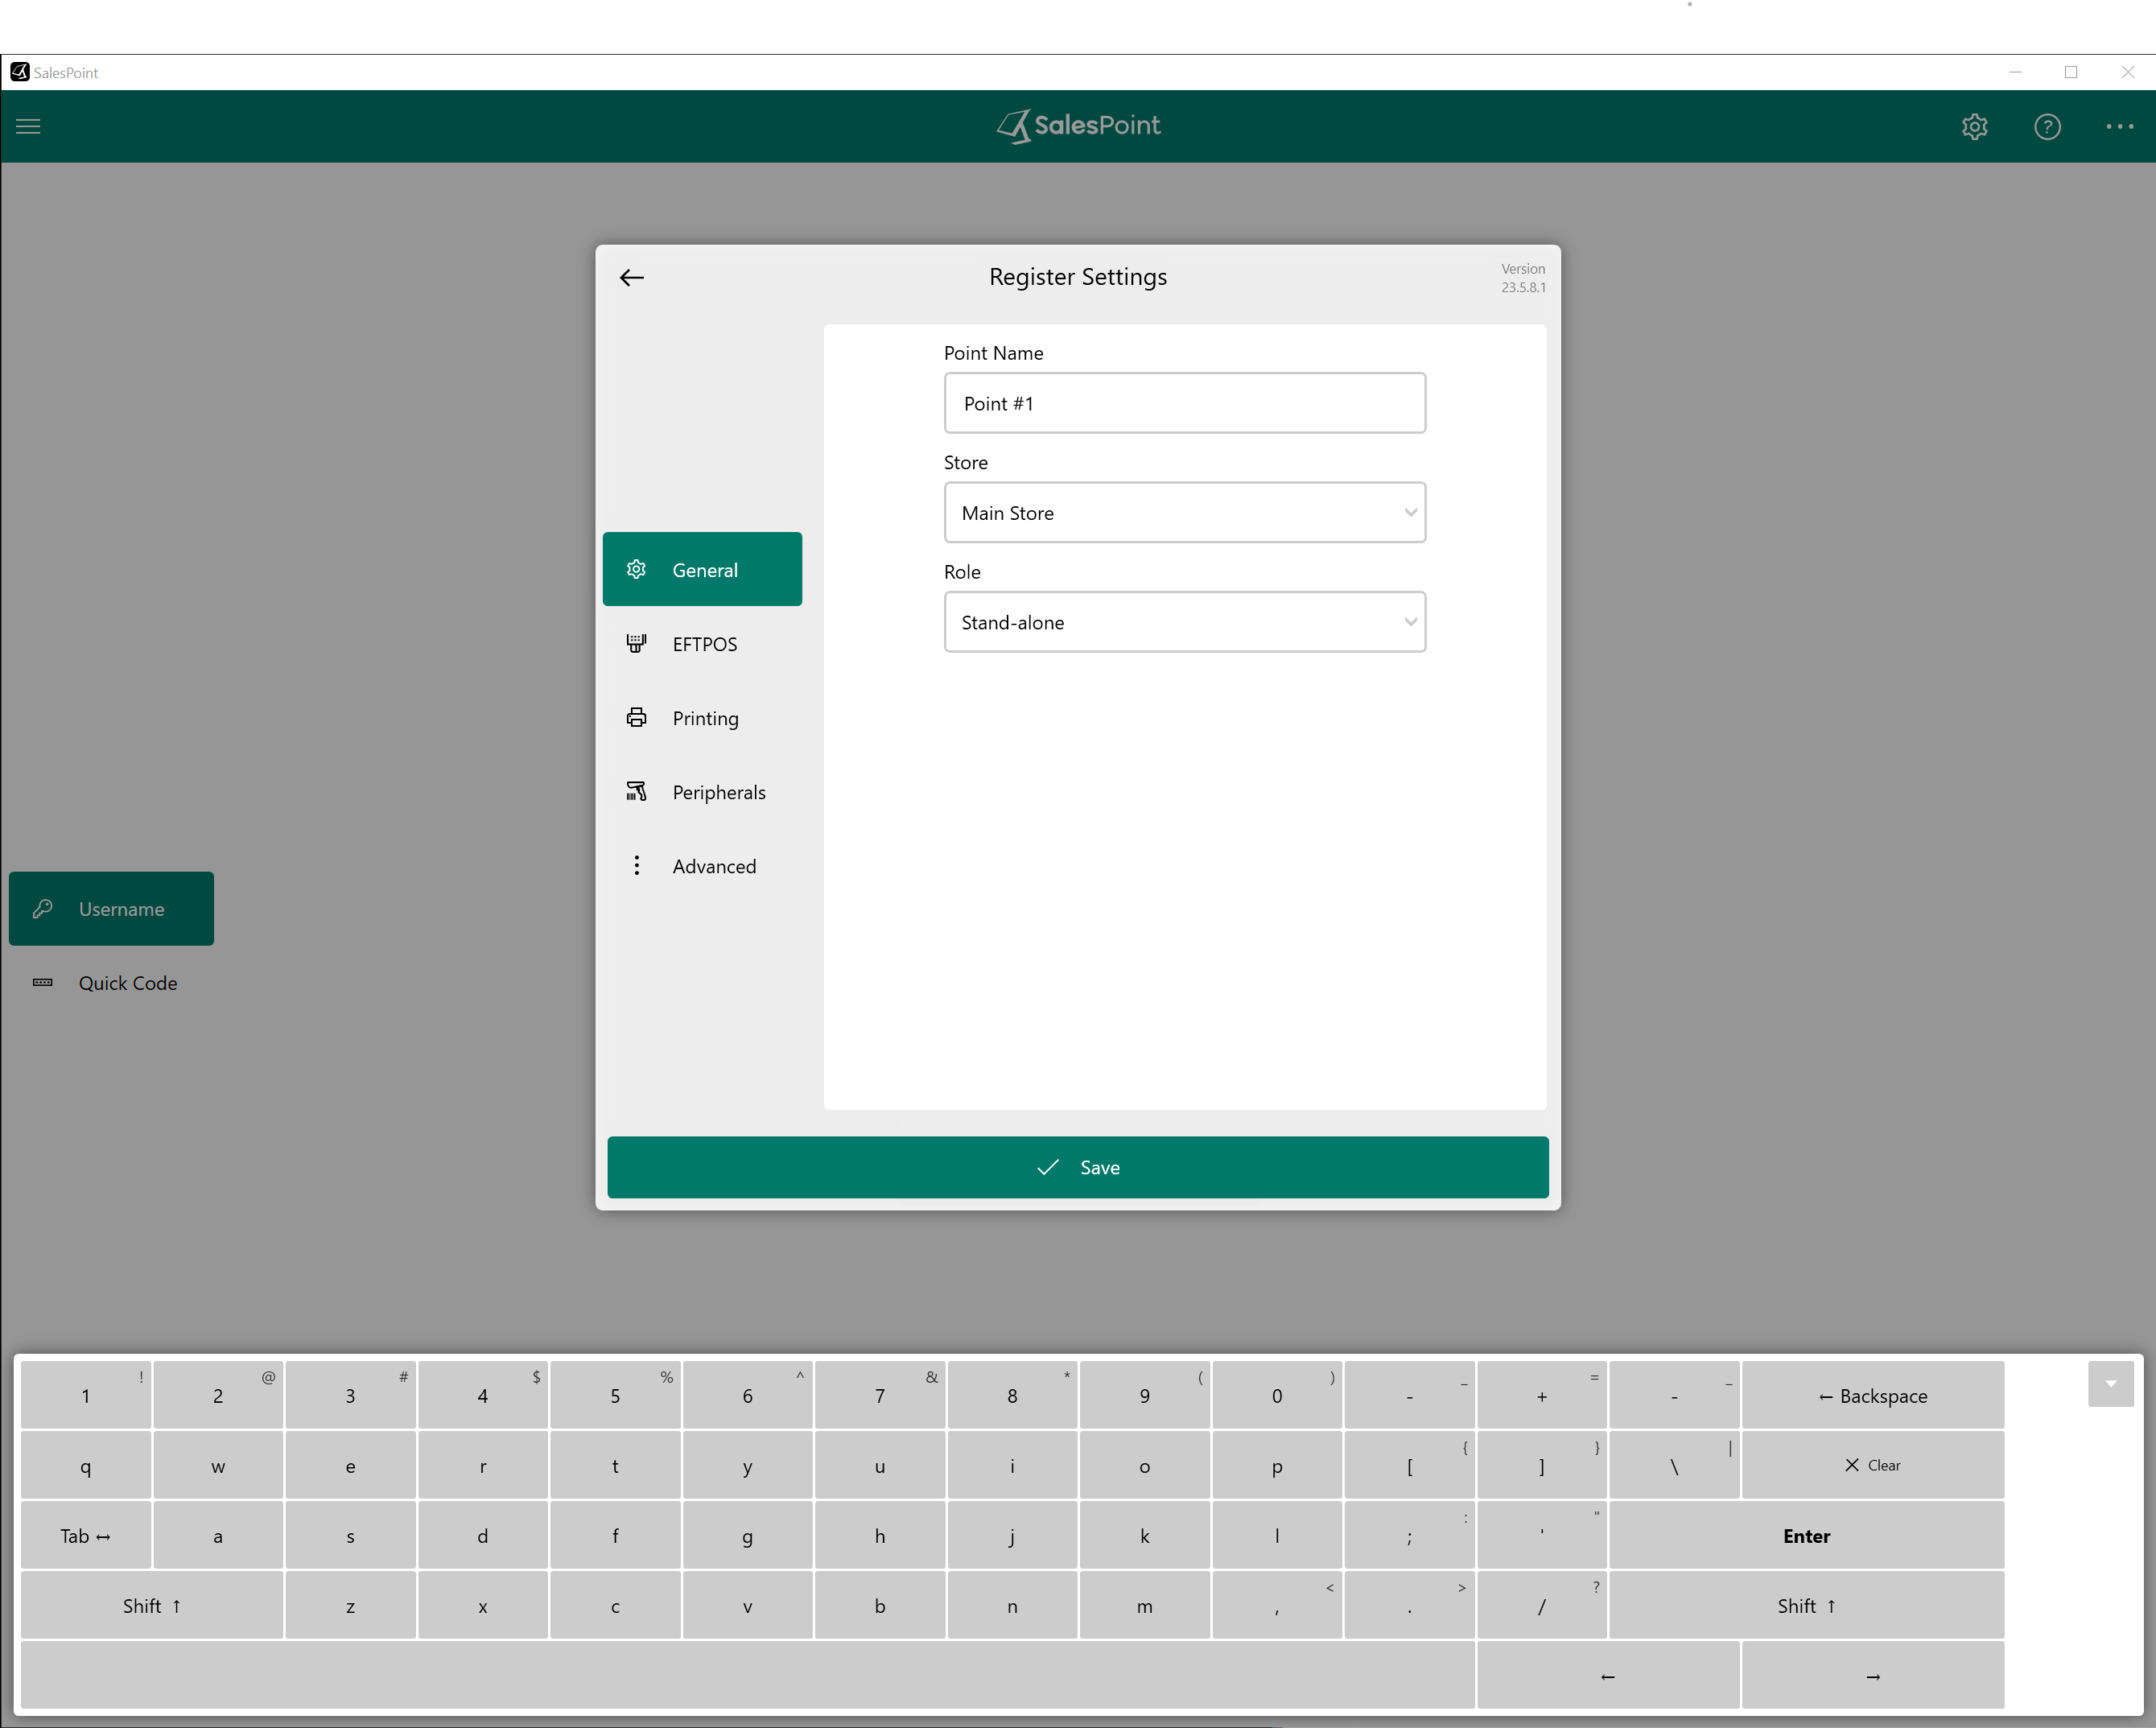
Register Hardware Settings
After your device has successfully signed into your store, you might need to configure your hardware to enable print, barcode scanning, and integration with payment methods.
To access the Register Hardware Setup Screen, you must first sign out from your store as it can only be accessed from the sign-in screen.
From sign in, press the button, on the top right, to access the register hardware settings.
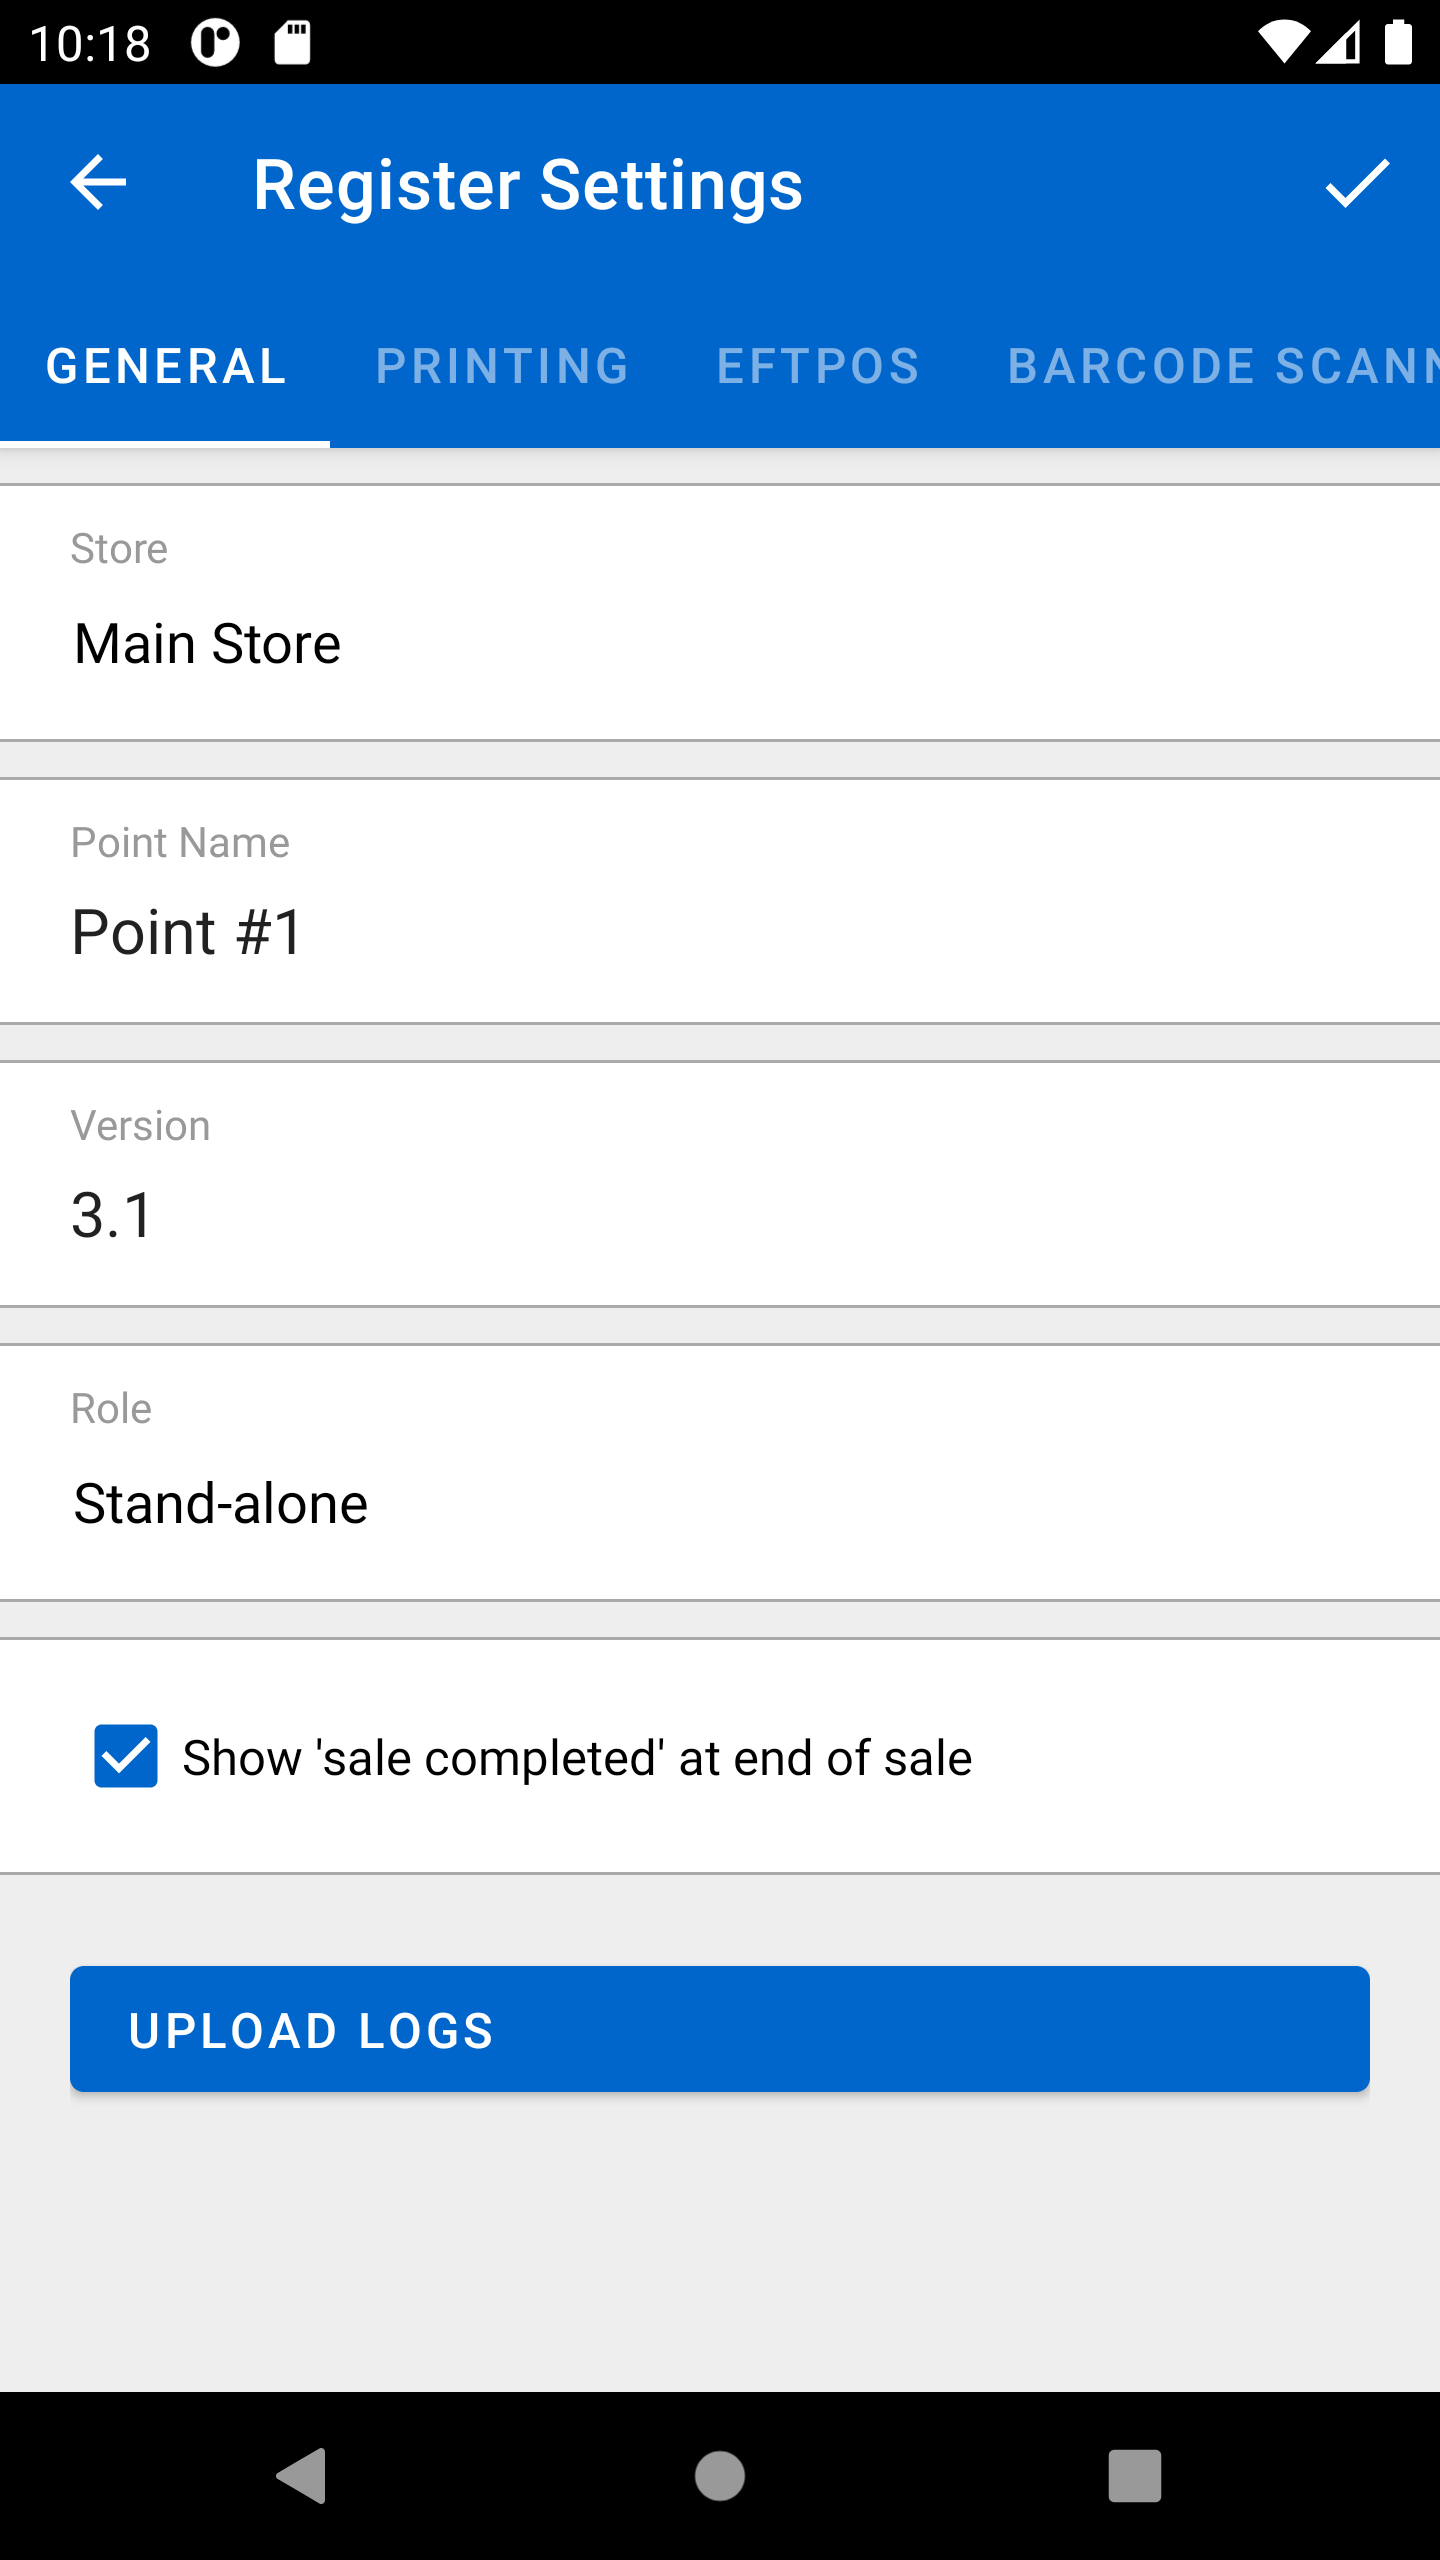
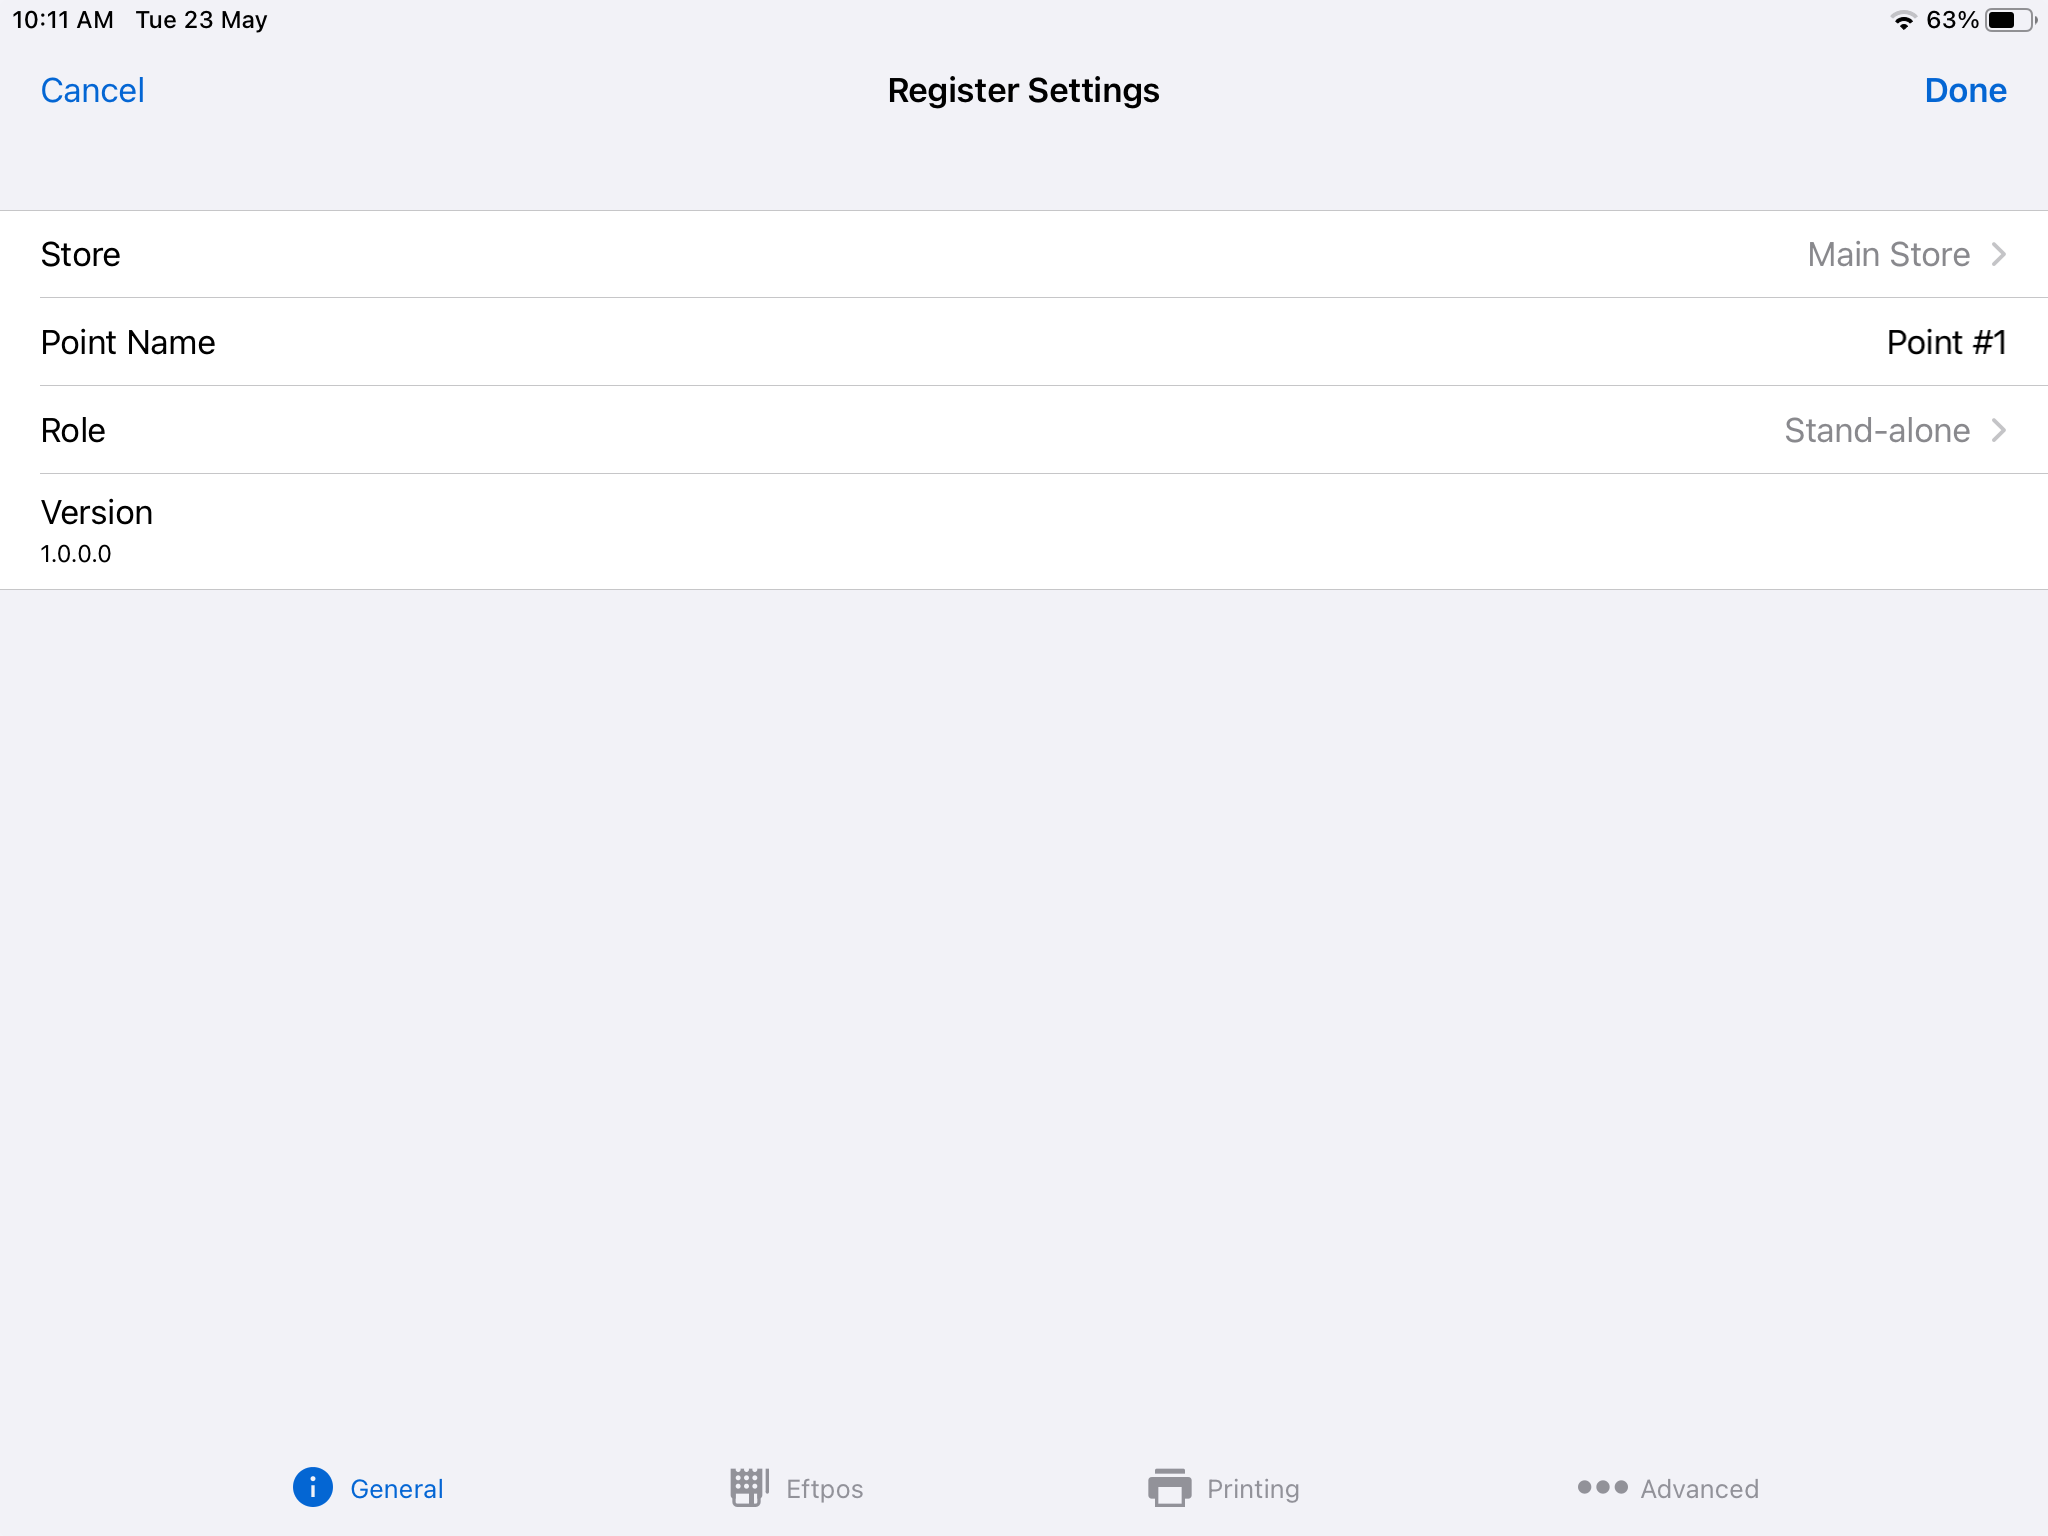
Point Name
Name of the register to use in reports.
Store
The current store the register is located.
Role
The role of your device refers to the specific function or purpose of a device, categorizing it as a client, server, or stand-alone. In the client role, the device requests services or resources from other devices. In the server role, the device provides services to clients. In the stand-alone role, the device operates independently without needing to rely on other devices.
Printing
Print Receipt
The dropdown menu allows you to specify your preferred printing method for receipts during sales transactions. You can customize the receipt printing settings to suit your preferences.
When set to Ask - On by Default , this means that after completing a sale, a toggle for printing the receipt will appear and it will prompt the customer to indicate their preference for a printed receipt. If the customer wishes to have the receipt printed, you can enable the toggle, and the system will proceed with printing the receipt.
Receipt Printer
Choose the preferred connection method for the receipt printer.
Kitchen Printer
An option for hospitality is if a store has a different printer for kitchen food orders.
EFTPOS
EFTPOS
The type of integrated EFTPOS (if any).
Depending on the type of integrated EFTPOS selected there may be more options available. Please contact your provider for the value used for these settings.
Open Cash Drawer On Payment
When this feature is activated, it enables the cash drawer to open automatically as soon as a sale is finalized, serving as a clear signal to the staff members that a payment has been successfully processed. This feature provides a visual indication of completed transactions, helping staff members stay informed and efficiently manage the payment process. Additionally, it assists staff members in keeping track of the merchant copy of the receipt. Once the sale is completed, the staff can easily retrieve the merchant copy and place it securely in the cash drawer, ensuring proper documentation and organization of transaction records.
Barcode (Android Only)
Keyboard Scanner
If an Android device is linked to a barcode scanner, the scanner will function as a keyboard and read the barcode.
Camera Barcode Scanner
Mark the checkbox to activate the camera on your Android device for scanning products. Once selected, you can choose multiple barcode scanner symbologies according to your store's requirements. After enabling the feature, the barcode scanner icon will be visible on the sales screen, allowing you to scan items.
Peripherals (Windows Only)
Barcode Scanner To set up a barcode scanner on your Windows device, ensure that the scanner is properly connected. Click on the Start Sale button and scan any barcode. Once the barcode is detected, you can start using the scanner to scan products, services, or goods effortlessly.
Show the 'Sale Completed' Dialog
A pop-up window will emerge to indicate the conclusion of a sale. Along with this, you will be prompted with options to print or email the receipt.
Show the 'Kitchen Print' Dialog
A pop-up window will prompt whether a product should be printed as a kitchen order.
Product Button Images
Enable the image to display on a product button.
Currency Input
Currency input refers to a feature that allows you to enter money amounts in a specific format. When this feature is activated, you input the amount starting from the right side and as you add more money, the digits move all the way to the left.
For example, when entering a dollar amount during the payment process, you begin with ‘$0.01’ on the right side and then continue adding digits to the left until you reach ‘$1.00’.
Full Screen (Windows Only)
Activate the full-screen mode for the app.
Touch Screen Keyboard (Windows Only)
This feature is particularly helpful for devices without a physical keyboard. It generates an on-screen keyboard when you use the app.